Permanent Marks For Toolroom Parts
In a toolroom, every part needs to be identified quickly and correctly. A clear part number, cavity code, revision mark or hardness note saves time when a mould comes back for repair, or when a die set is split up for servicing. Fibre laser marking is well suited to this work because it gives sharp marks on steel, stainless steel, aluminium, carbide and coated tooling parts without ink, labels or hand stamping.
For dies, moulds, punches, inserts and holders, the mark must survive oil, coolant, handling and cleaning. A fibre laser gives a permanent result with very little surface damage, which matters when you are working on close tolerance parts. It also helps if your team needs serial traceability for audits, customer sign off or internal quality records.
Many Gauteng toolmakers work in shared spaces where one machine has to handle small parts in the morning and larger fixtures after lunch. A compact fibre laser system fits that kind of shop well, especially when it is used for repeated short runs and fast changeovers. It is also a practical choice for coastal clients who want a marking method that does not rely on consumables and is less affected by humidity.
Typical tooling parts and marking jobs
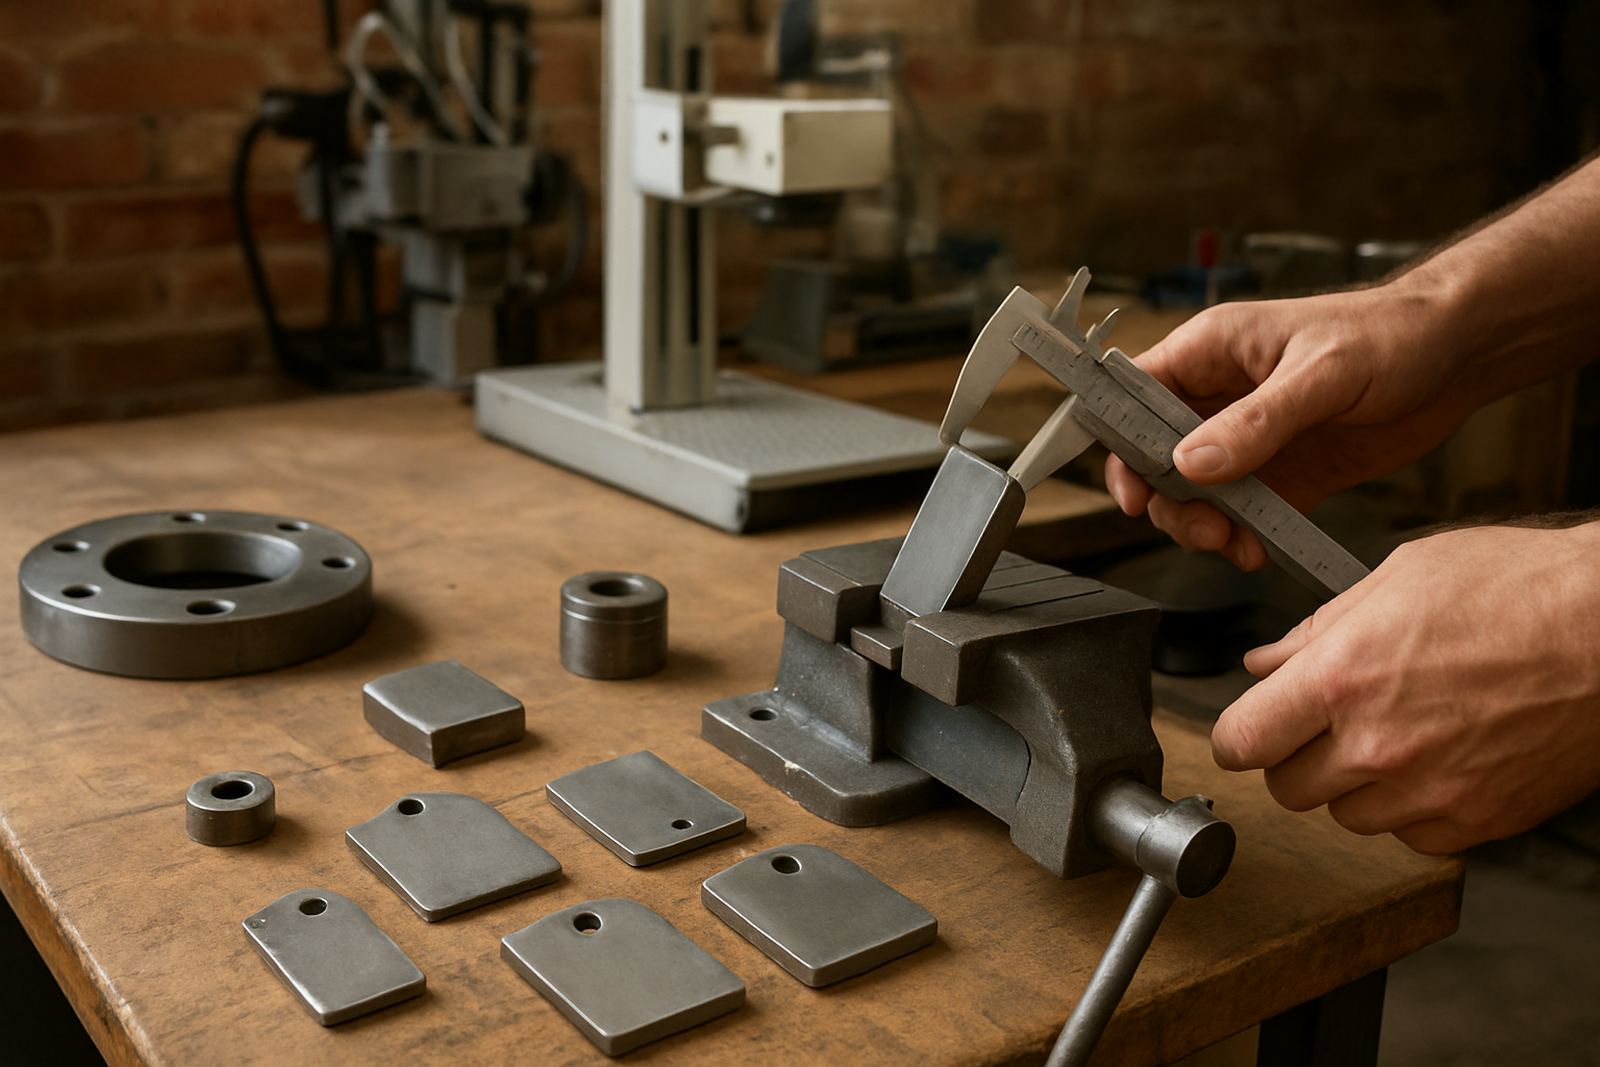
Most toolmaking shops use laser marking for identification rather than decoration. The usual jobs include numbers, logos, calibration notes and small technical details that must stay legible through the life of the tool. On finer work, the beam can produce tiny text and matrix codes for traceability, which is useful when parts are moving between design, machining, fitting and final inspection.
- Die plates, stripper plates and punch holders
- Mould inserts, cavity blocks and core pins
- Jigs, fixtures, locators and setup gauges
- Specialised tooling, sleeves and bushings
- Repair marks, revision numbers and serial codes
We often see toolrooms needing a machine that can handle both deep, durable marks and lighter surface identification. That means the system must be set up correctly for speed, focus distance and part handling. A good setup avoids blurry edges, overburning and marks that are too shallow to survive grinding or polishing. If your parts are small, fixturing matters just as much as the machine itself, maybe more.
Machine setup for a working toolroom
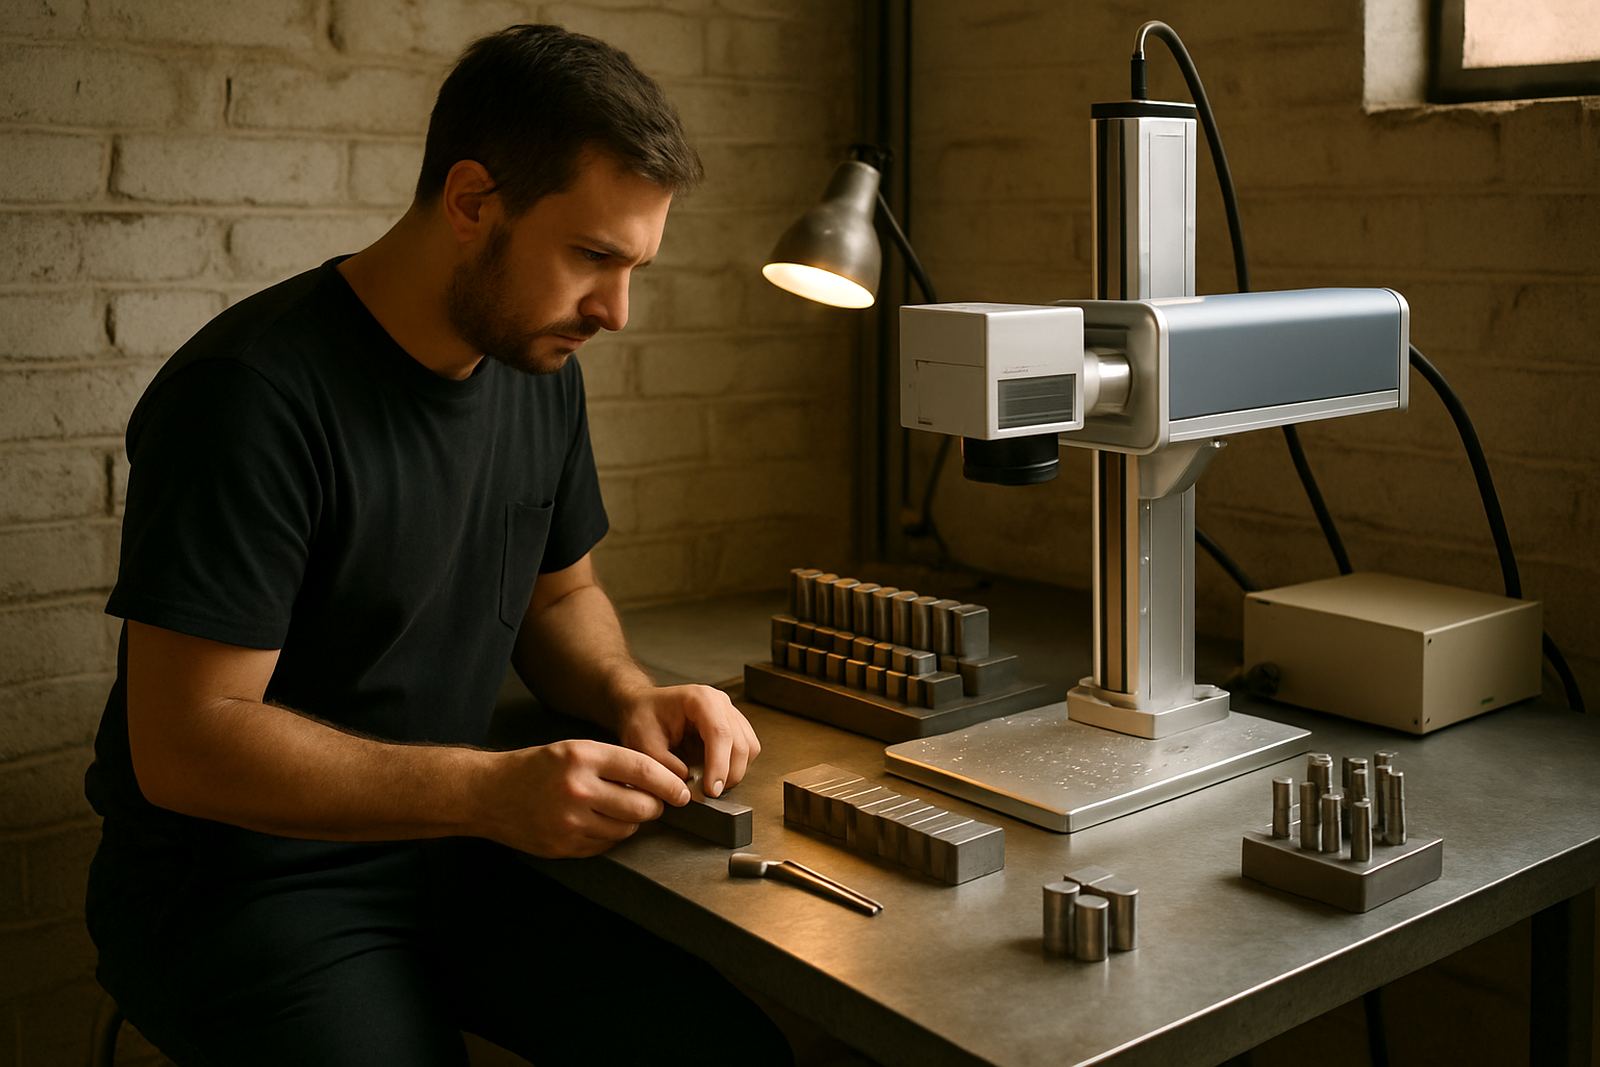
The right layout depends on the size of the parts and how often you need to mark them. A small bench-top unit is often enough for inserts, tags, small mould components and hand-sized tooling. If you regularly mark long dies, large plates or grouped parts, allow for a sturdier table, better access and space to move finished items in and out without knocking edges or damaging the surface finish.
Good planning starts with the way the job travels through the workshop. Marking should happen after machining and before final sign off, with enough space for inspection beside the machine. If your team is running short shifts or working around load-shedding, it helps to place the unit where power backup can support the PC, extractor if used, and any motion stages. Stable power and a clean work area make a big difference to repeatability.
- Allow clear space for loading heavy plates without lifting strain
- Use fixed jigs for repeat jobs so marks land in the same position
- Keep a small inspection light nearby for checking depth and clarity
- Store common files, fonts and job templates in one place
- Plan for dust control if grinding or polishing happens close by
Common mistakes that cost time and scrap
The biggest mistake in toolmaking is assuming the machine will solve a layout problem on its own. If the part is not seated properly, or the datum is wrong, the mark ends up in the wrong place. That might sound small, but on a mould insert with limited face area it can mean scrapping the piece or reworking it under pressure.
Another common issue is trying to mark too fast on a surface that needs a slower pass. Tool steels with a polished finish, or parts with a hard coating, often need a test sample first. Skipping that step can lead to marks that look uneven or too light. It also helps to check the final cleaning process because some marks look fine before oil removal but fade in poor lighting or after handling.
Toolrooms also run into trouble when they do not keep a clear record of settings. If one operator uses a different focus height or power level, the results change from job to job. Simple job sheets and saved programs cut down on repeat errors and make handover easier between shifts. This is especially useful when the same part returns months later for repair or modification.
Training, software and day-to-day use
Most toolmaking teams want a machine that can be learned quickly without slowing production. We set up the system, show the operator how to load parts, choose settings and verify the mark, then hand over a practical process for everyday use. The goal is simple: less guesswork and fewer rejected parts.
Software setup is part of that. A good workflow lets you store templates for part numbers, customer codes, date fields and revision details. It also helps if the system can handle common tooling file formats and basic text layouts without making the operator jump between screens all day. For teams with more than one shift, we recommend keeping the interface as simple as possible.
- Use a standard naming system for part numbers and revisions
- Keep one approved font set for technical marks
- Build a sample library for common steels and finishes
- Train more than one person so one absence does not stop work
For clients in Germiston, Jet Park, Isando, Kempton Park, Boksburg and Alberton, on-site training is often the fastest route to consistent results. We also support nationwide installs, so remote sites can get the same practical setup and follow-up. Some workshops prefer a short session for operators and a second session for supervisors, which works well when the team is new to fibre laser marking.
Budget ranges for toolmaking shops
Toolmaking budgets vary a lot depending on part size, marking speed and whether you need simple bench work or a more complete workstation. For a small workshop marking inserts, holders and smaller tooling components, entry-level systems can start from about R180 000 to R280 000. Mid-range setups for more regular production and better fixturing usually sit between R280 000 and R450 000. Larger or more specialised installations with extra accessories, motion stages or custom fixtures can move beyond R450 000.
It is worth budgeting for the full working setup, not only the machine. That includes installation, operator training, software setup, sample marking, fixture design and follow-up support. If you are replacing an older marking method, also allow for any changes to your workflow, especially if the part has to move between machining, inspection and assembly. A cheaper machine that needs constant adjustment can cost more over time than a better matched unit.
If your workshop runs around municipal restrictions, power interruptions or shared factory space, ask for a setup that suits the site rather than forcing the site to suit the machine. That makes a practical difference in uptime, and it keeps the marking process steady when production gets busy.
Support from Wadeville for South African toolrooms
From our Wadeville base in Germiston, we support toolmaking clients across Gauteng and nationwide with installation, training, preventive maintenance, breakdown repairs, spares supply, focus calibration, fixture design, sample marking, process optimisation, site relocation and remote assistance. That means you can get help whether the issue is a new setup, a repeat mark that is not lining up, or a machine that needs checking after a move.
Toolrooms need equipment that keeps working under pressure, not just on day one. We keep the focus on reliable marking, clear handover and practical support that fits the way South African workshops actually run. If you need help matching a machine to dies, moulds, holders or inserts, the enquiry form on our contact page is the best place to start.