


Home / Notes

Marking Notes

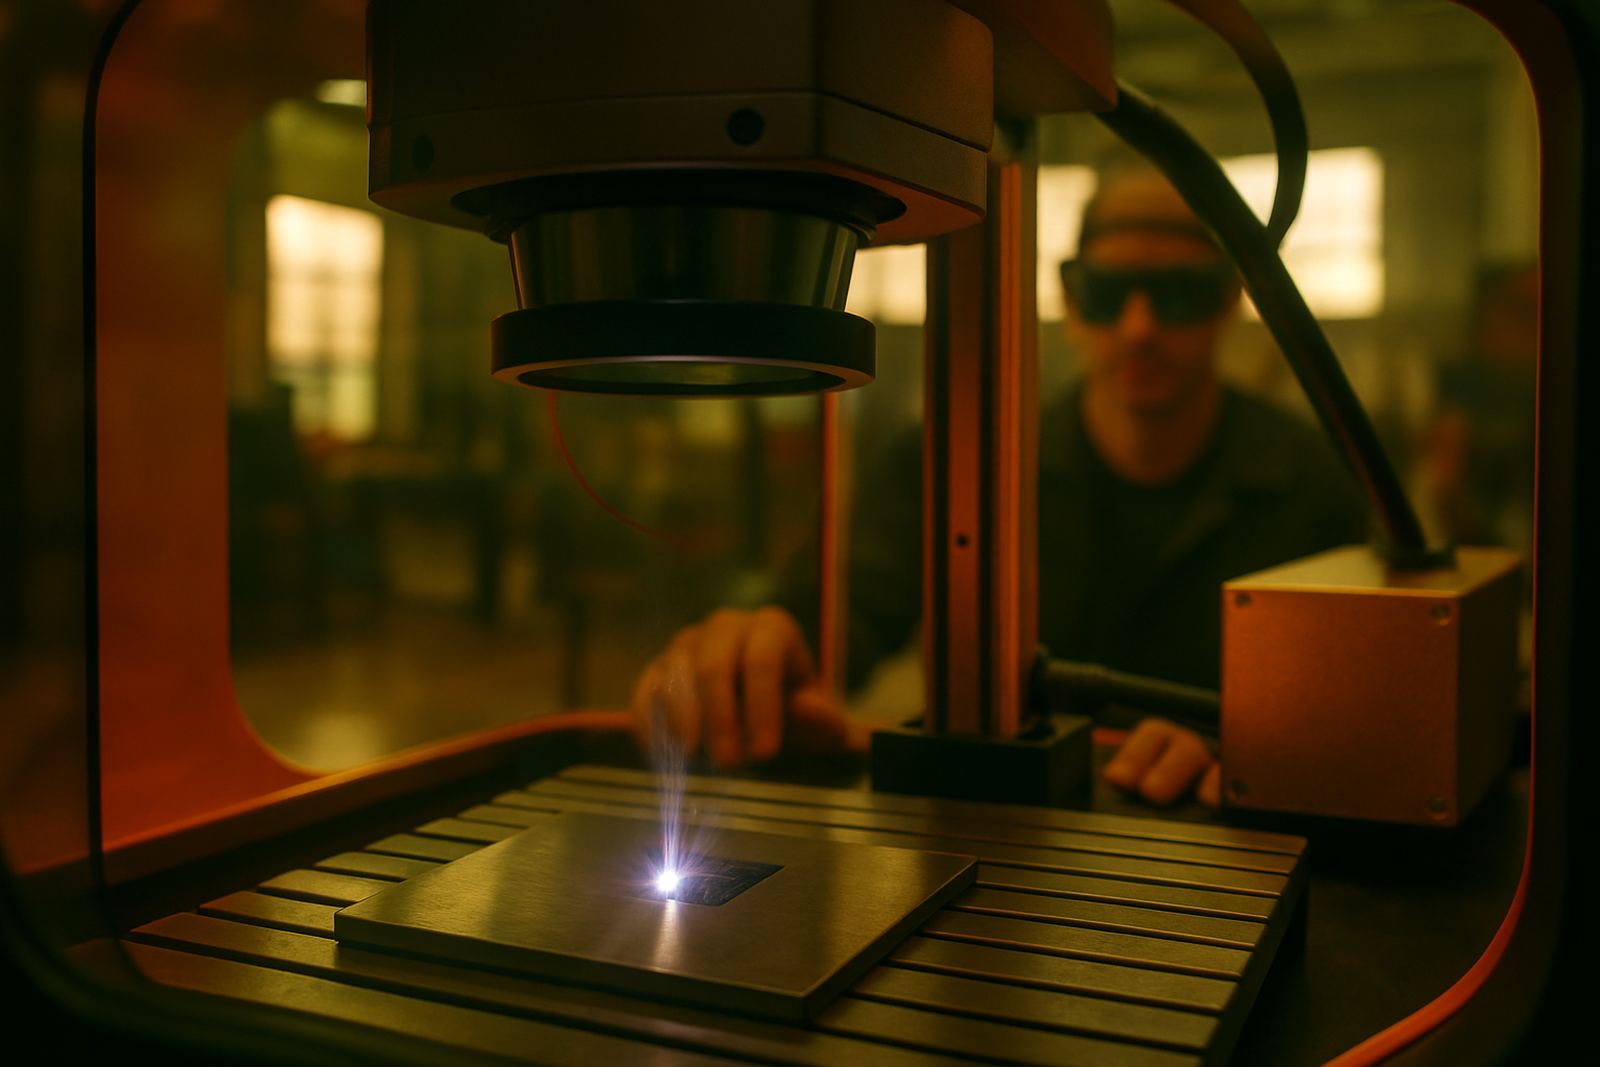
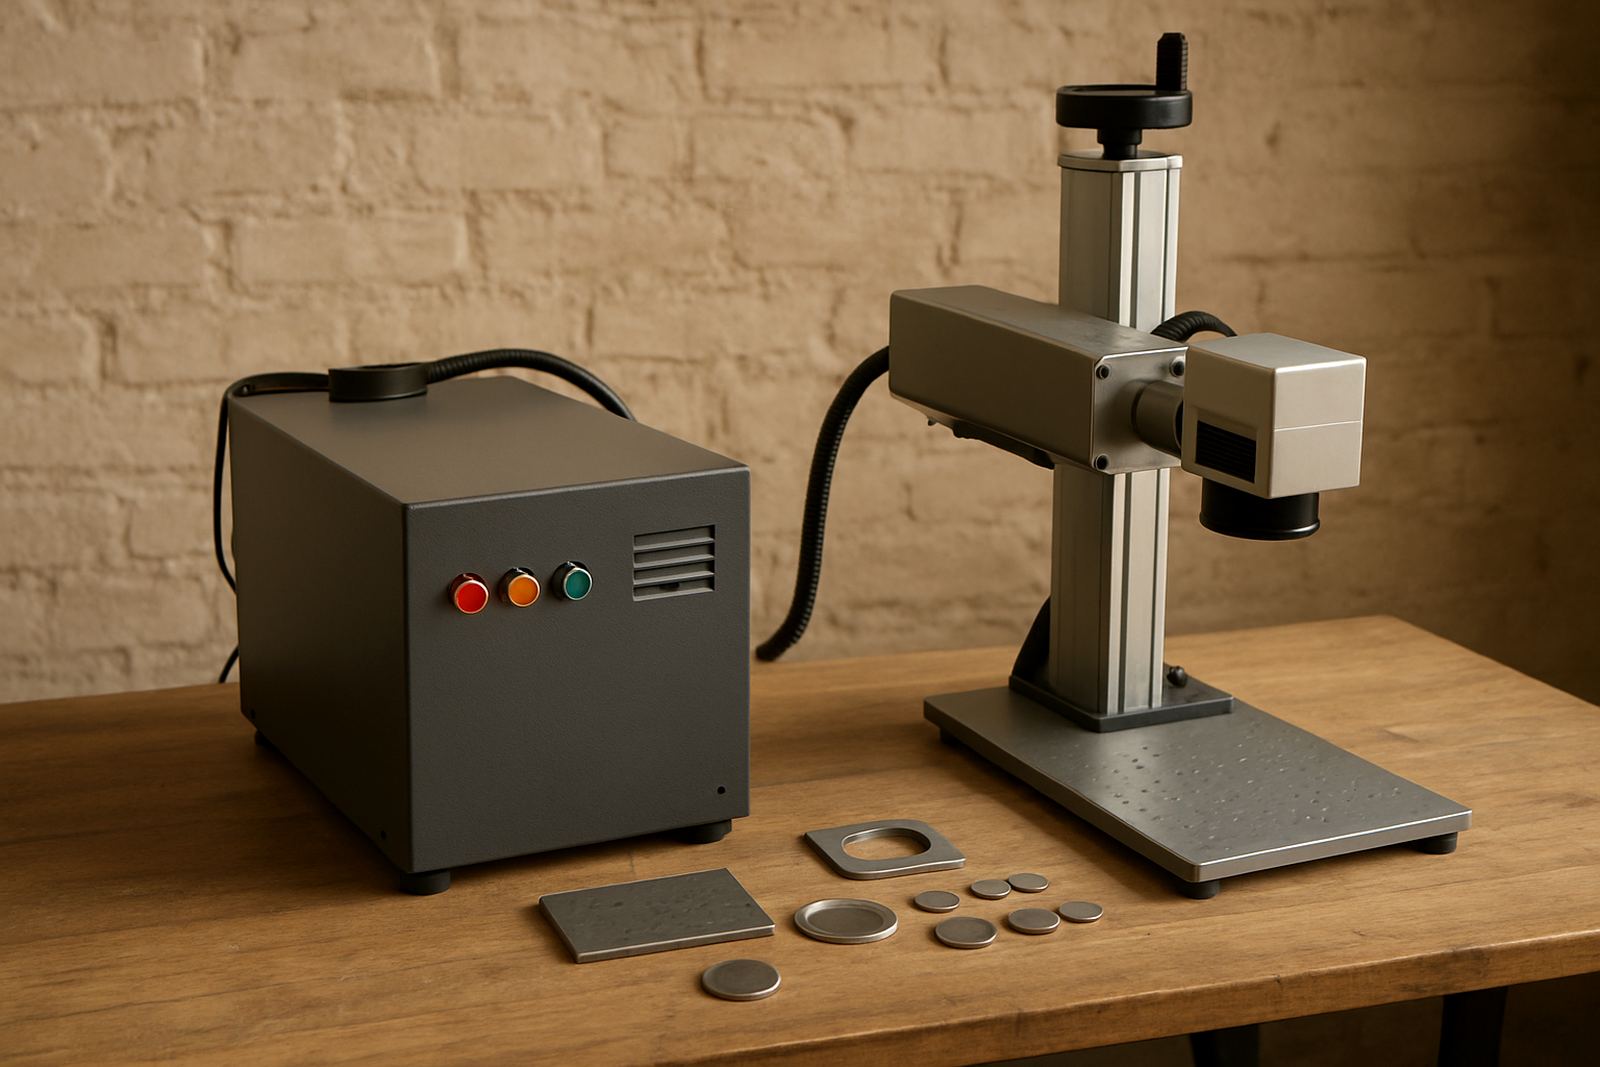
These short articles explain common fibre laser marking topics in plain language. Use them to compare methods, avoid mistakes and understand what affects final marking quality.

Marking Notes
What Is Fibre Laser

What Is Fibre Laser

An introduction to how fibre laser marking works and why it suits metal applications.

Marking Vs Engraving

Marking Vs Engraving

Understand the difference between surface marking and deeper engraved results.

Best Metals To Mark

Best Metals To Mark

A practical look at common metals and their fibre laser marking response.

Stainless Marking Tips

Stainless Marking Tips

Key settings and preparation notes for crisp marks on stainless steel parts.

Aluminium Marking Tips

Aluminium Marking Tips

How to improve contrast and consistency when marking aluminium components.

Brass Marking Tips

Brass Marking Tips

Guidance for decorative and industrial marking on brass items and plates.

Gold Jewellery Marking

Gold Jewellery Marking

Important considerations for fine engraving on gold jewellery pieces.

Silver Jewellery Marking

Silver Jewellery Marking

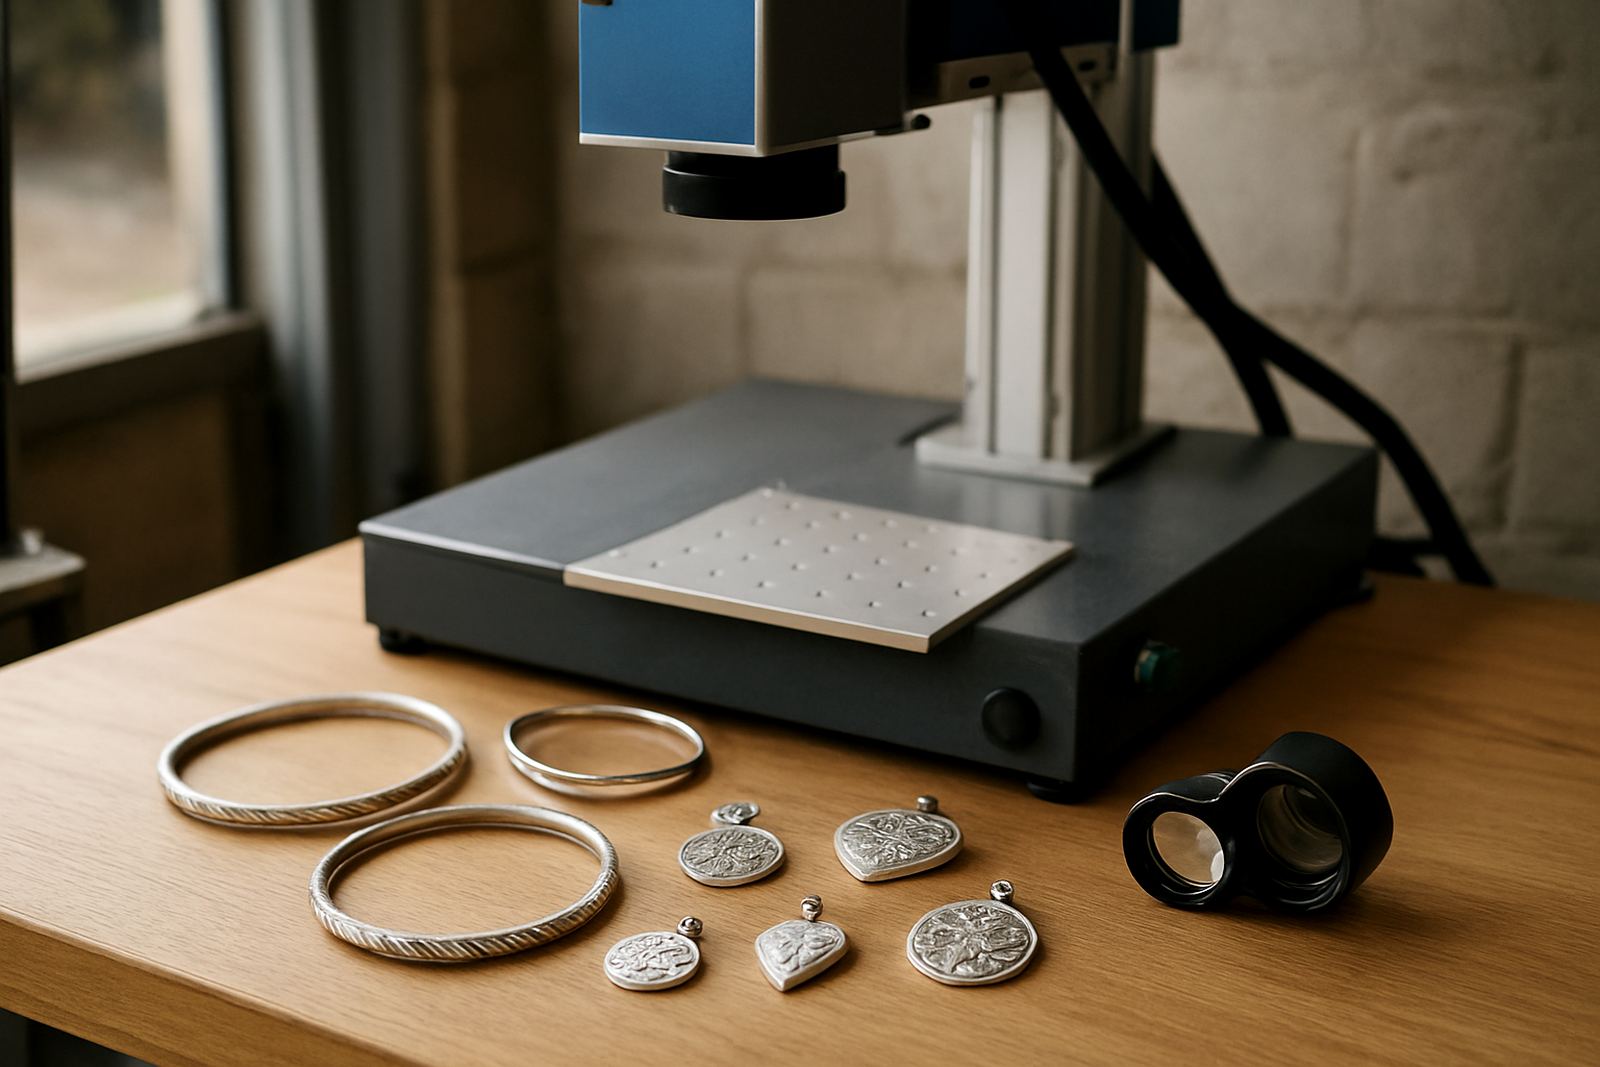
Tips for neat, controlled engraving on silver rings, pendants and bangles.

Deep Engraving Basics

Deep Engraving Basics

What affects depth, speed and edge quality in multi-pass metal engraving.

Black Marking Stainless

Black Marking Stainless

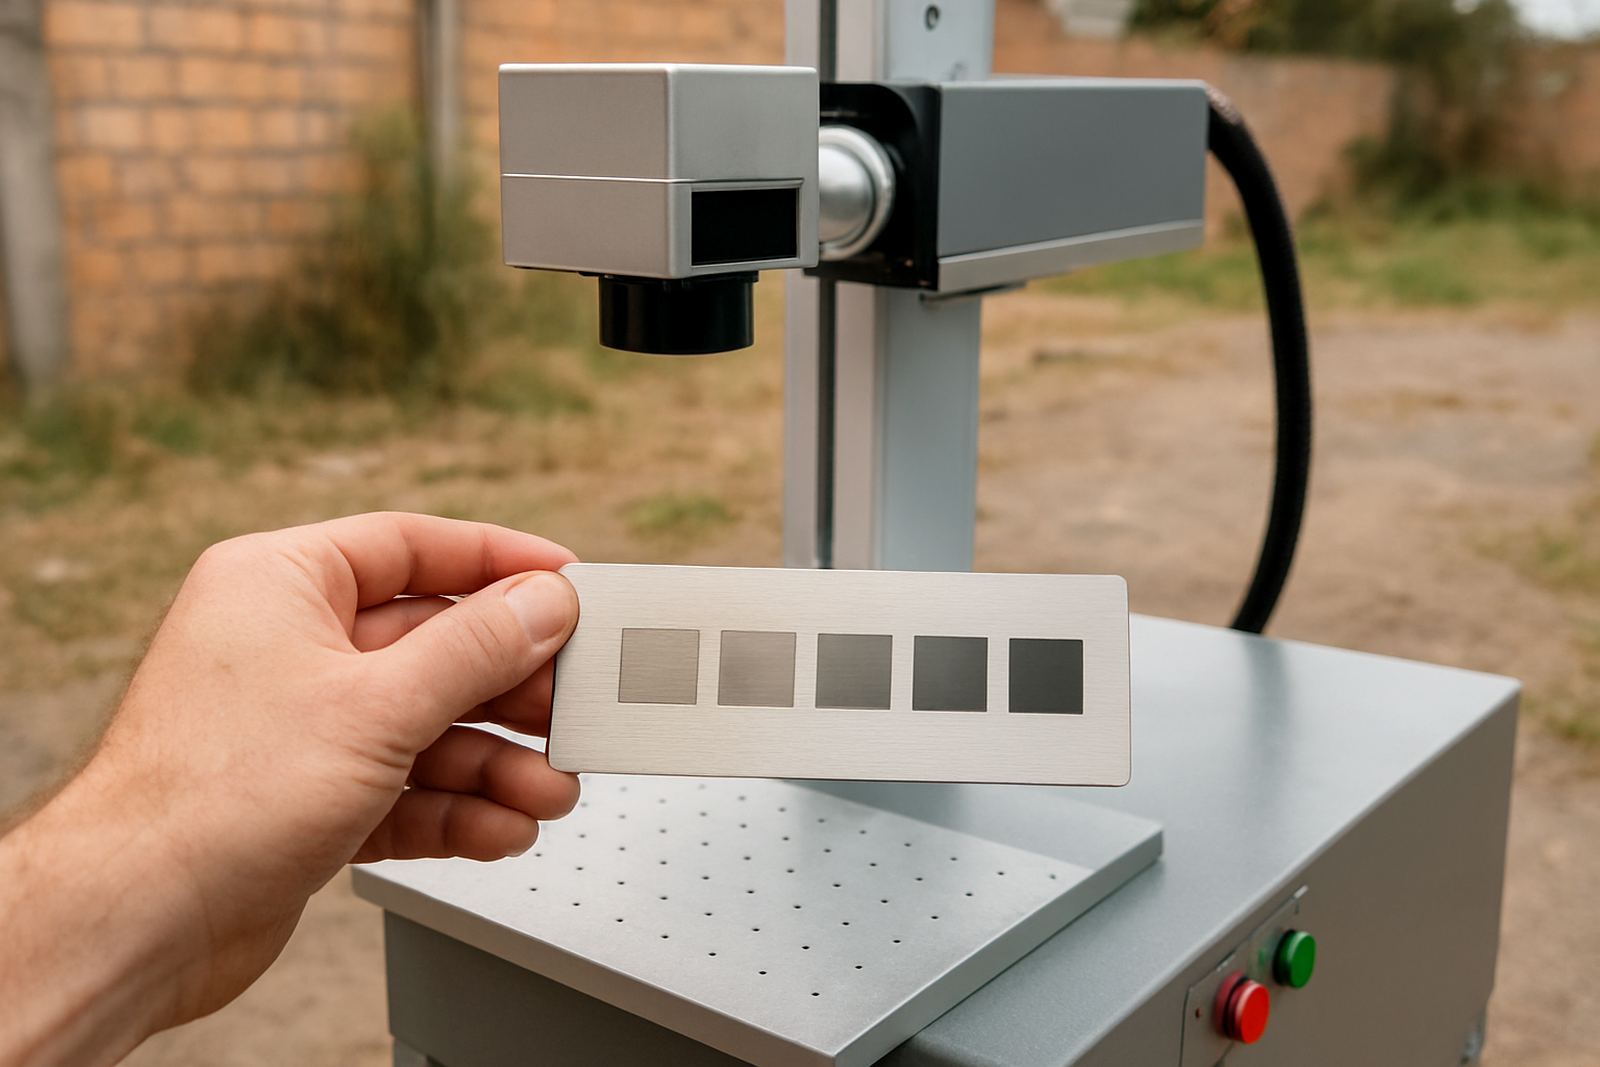
How darker contrast marks are achieved on stainless steel surfaces.

Colour Marking Explained

Colour Marking Explained

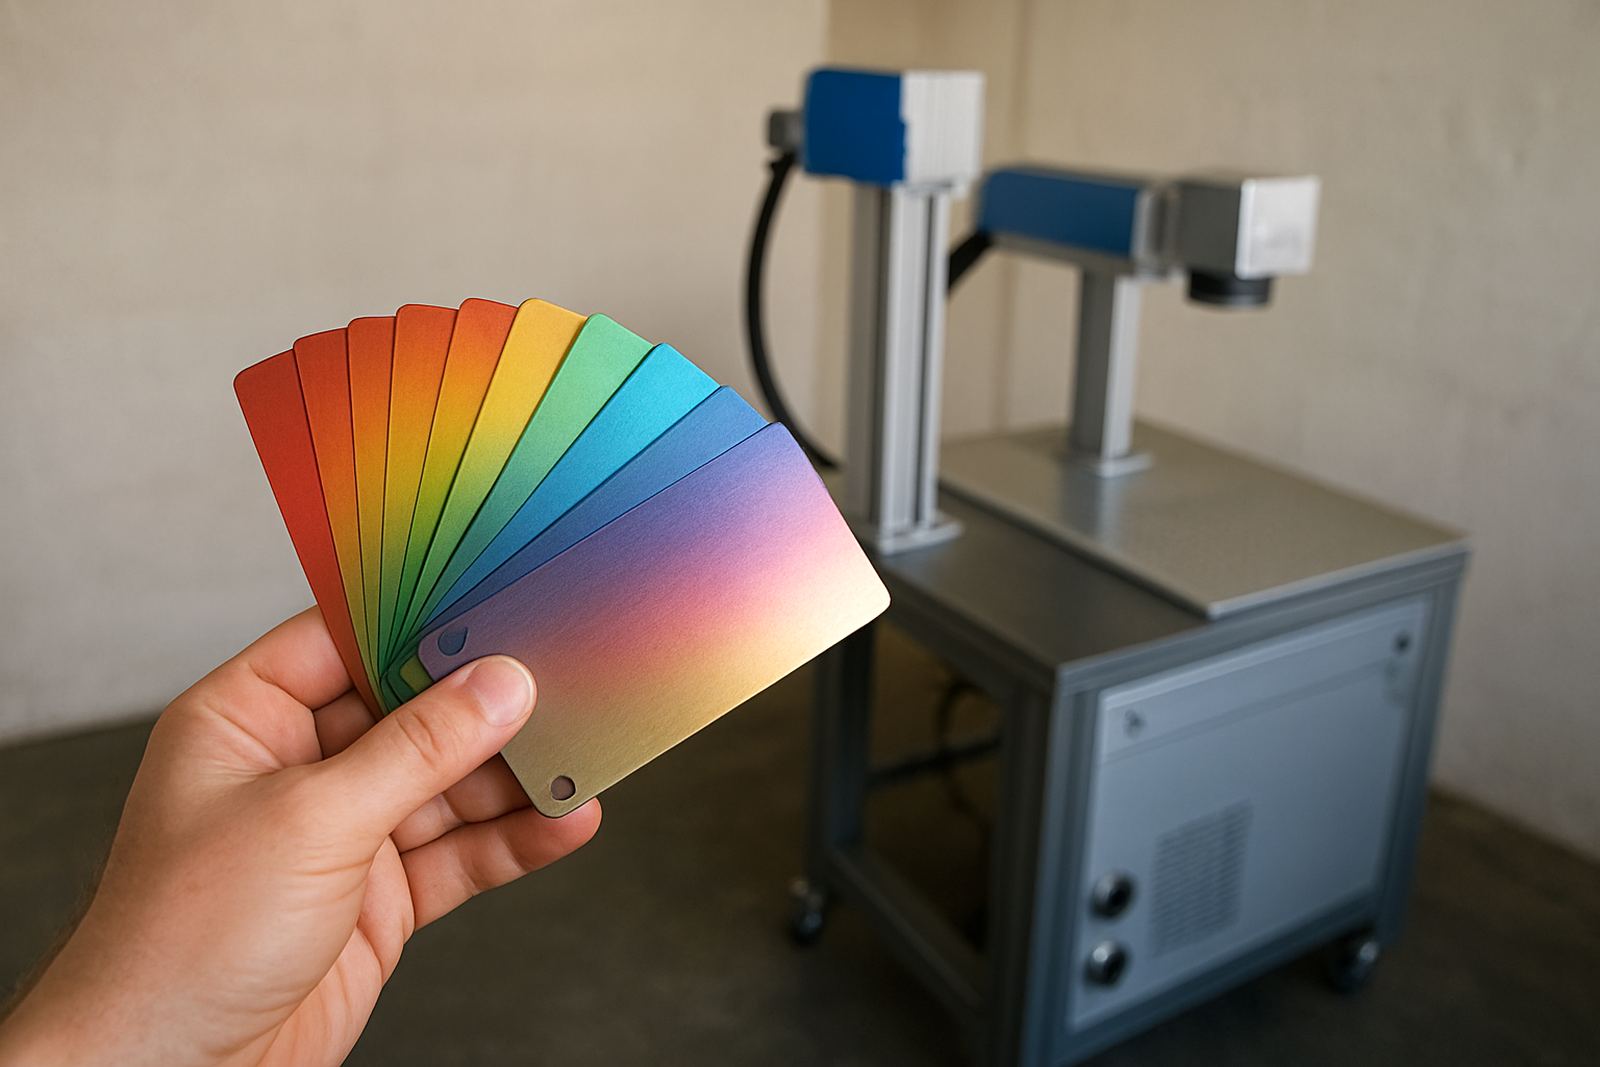
A simple explanation of colour effects on selected metals with pulse control.

Serial Numbering Basics

Serial Numbering Basics

How sequential numbering works in fibre laser software and production jobs.

Data Matrix Guide

Data Matrix Guide

Why 2D codes are used and what makes them easy to scan.

QR Code Marking

QR Code Marking

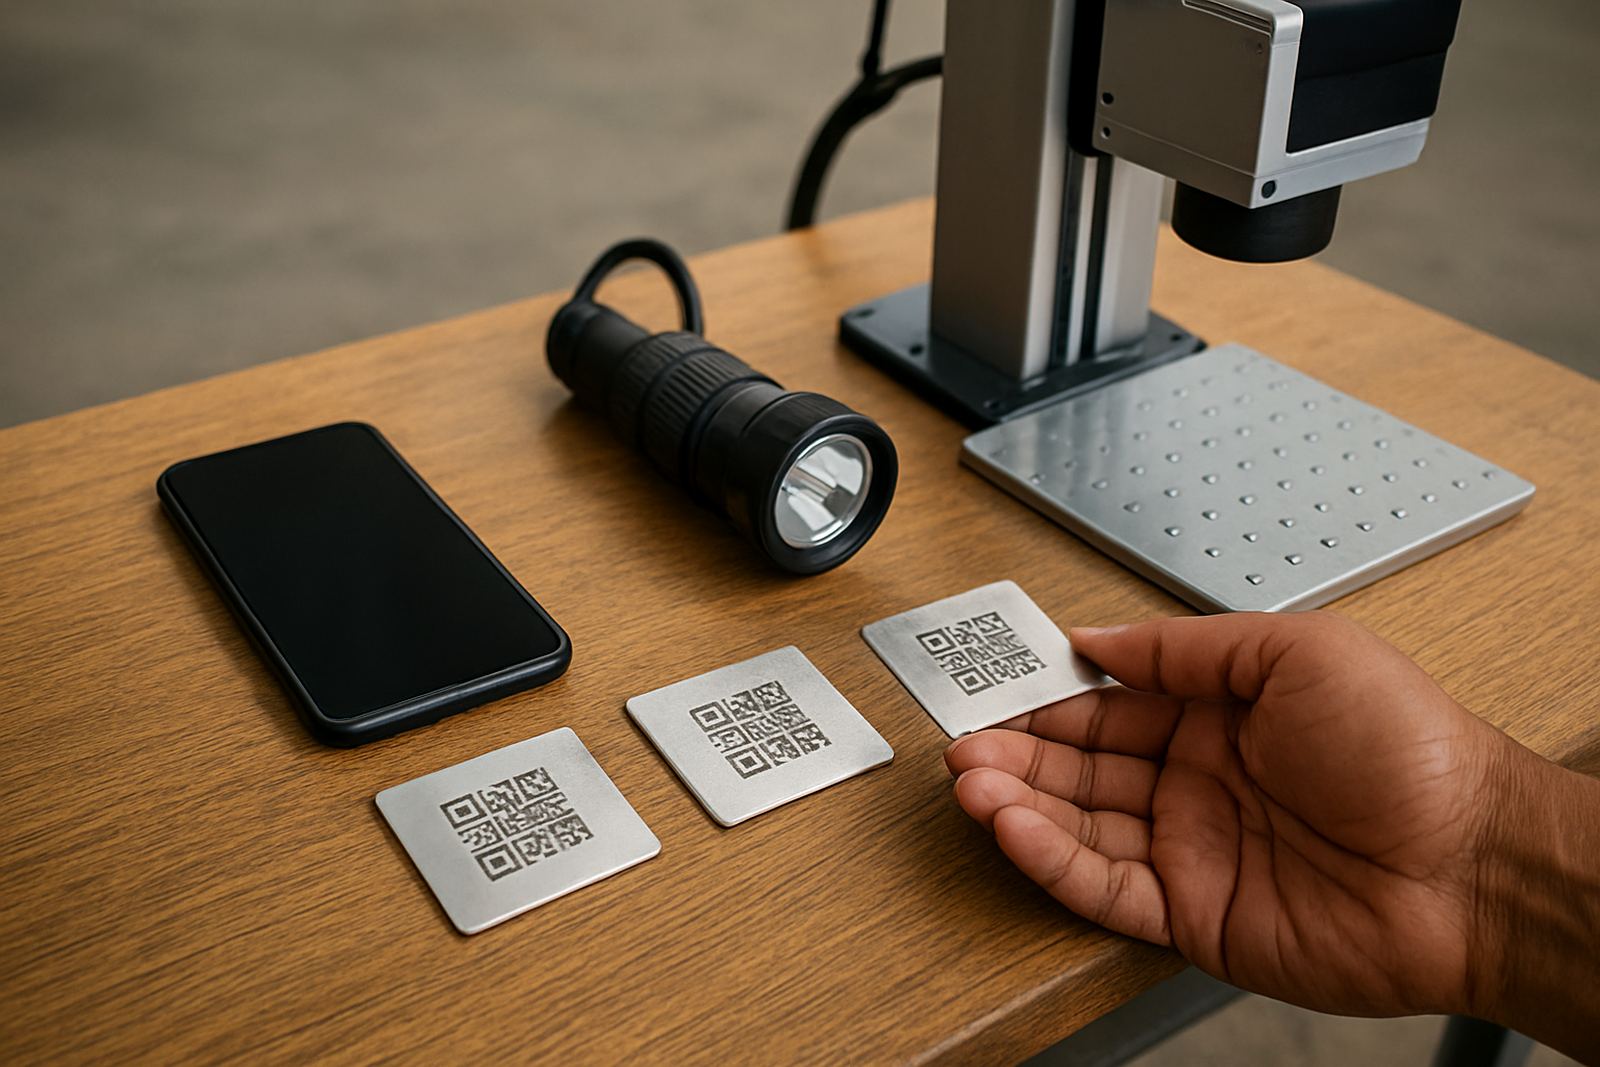
When QR codes make sense and how to keep them readable on metal.

Logo Marking Quality

Logo Marking Quality

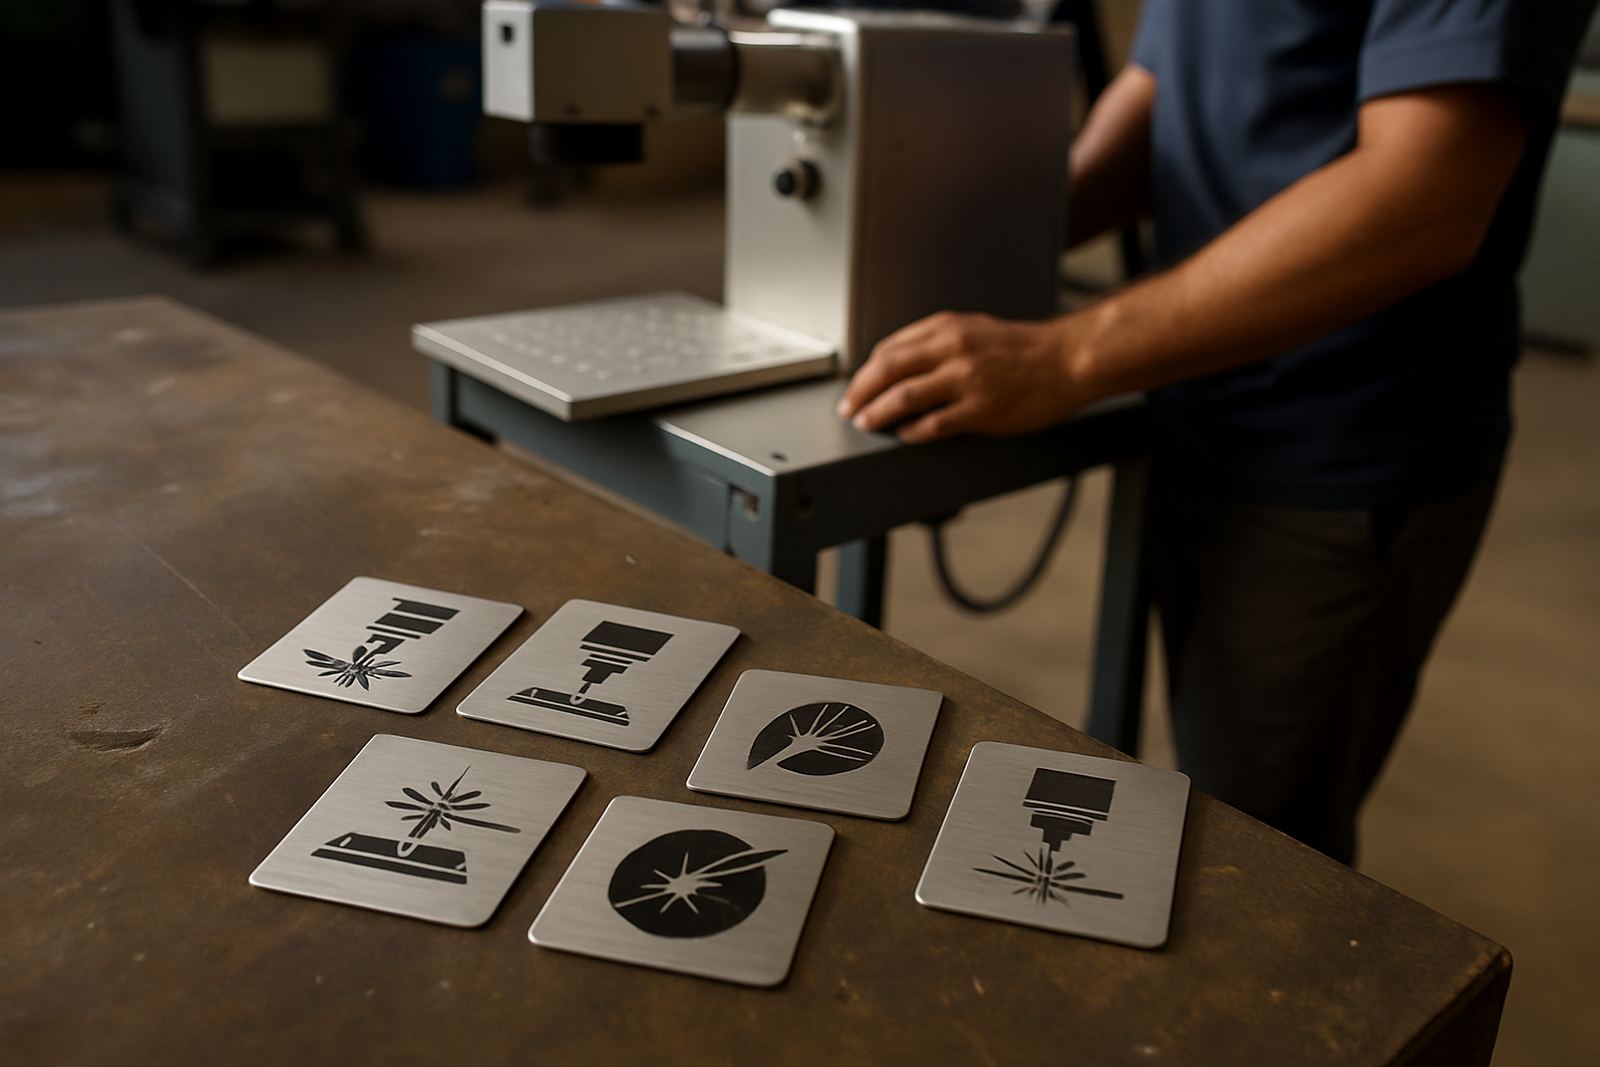
What improves line sharpness and fill consistency for company logos.

Tiny Text Marking

Tiny Text Marking

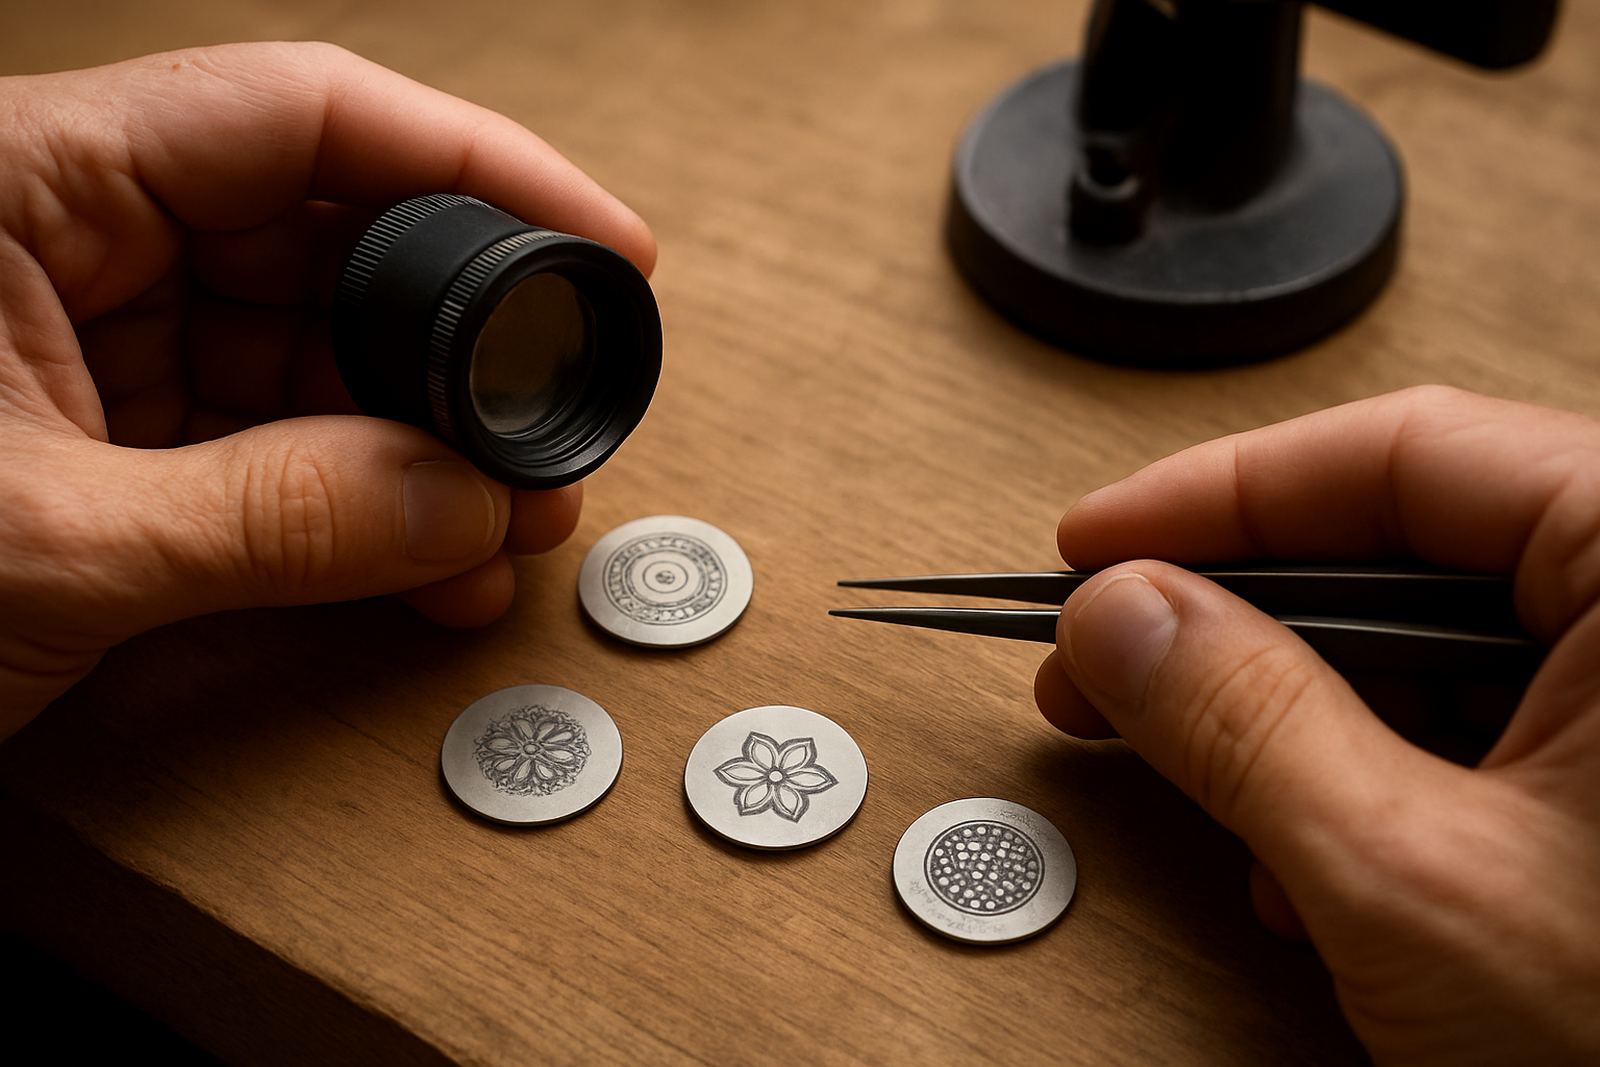
Best practices for miniature lettering on jewellery and small engineering parts.

Rotary Marking Basics

Rotary Marking Basics

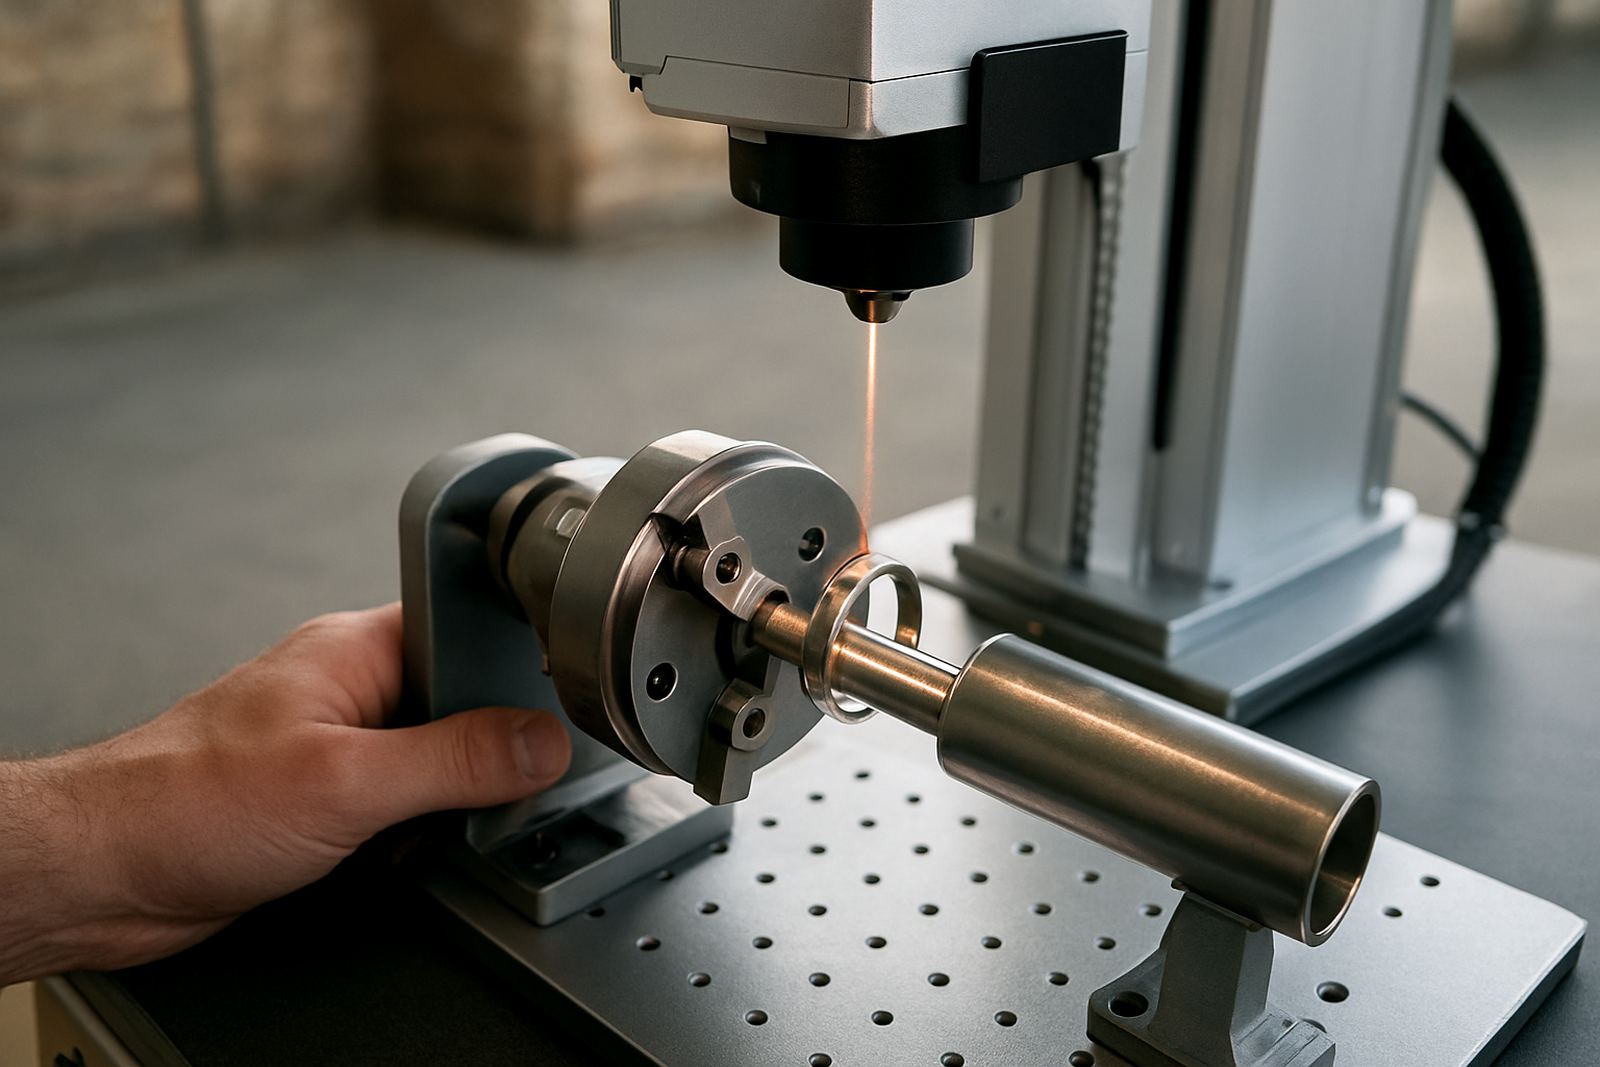
An overview of marking tubes, rings and round parts with a rotary axis.

Flat Part Fixturing

Flat Part Fixturing

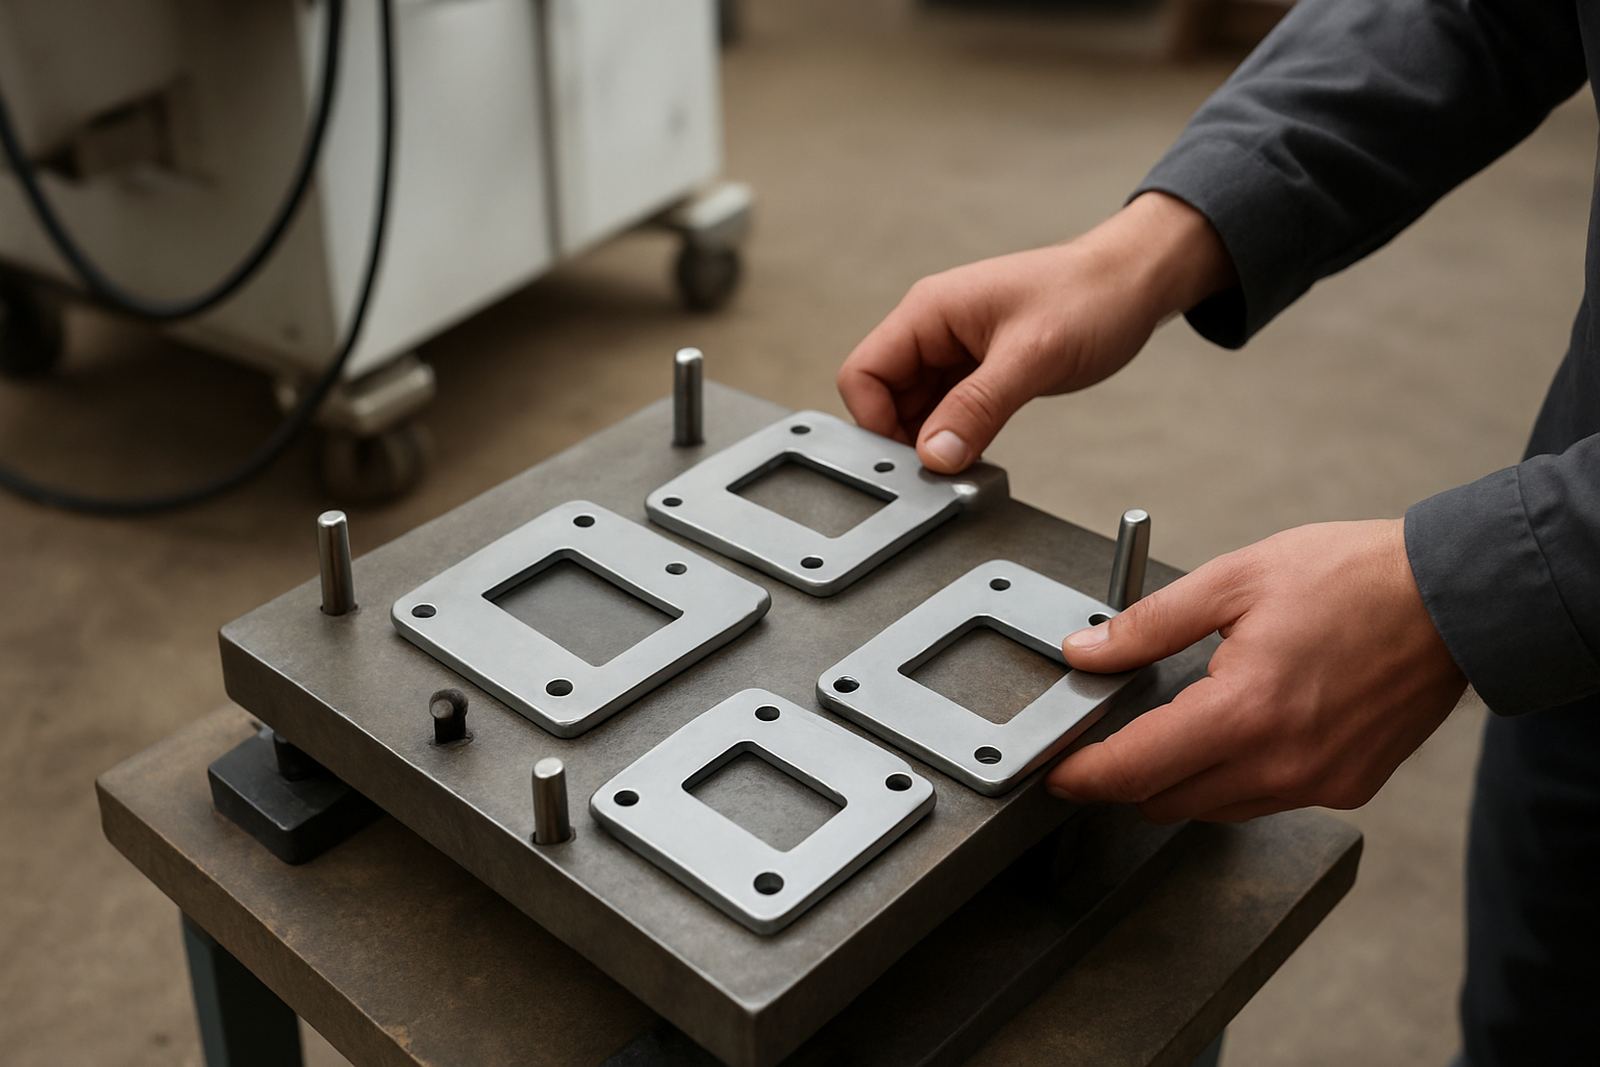
Simple fixture ideas for keeping flat parts aligned and repeatable.

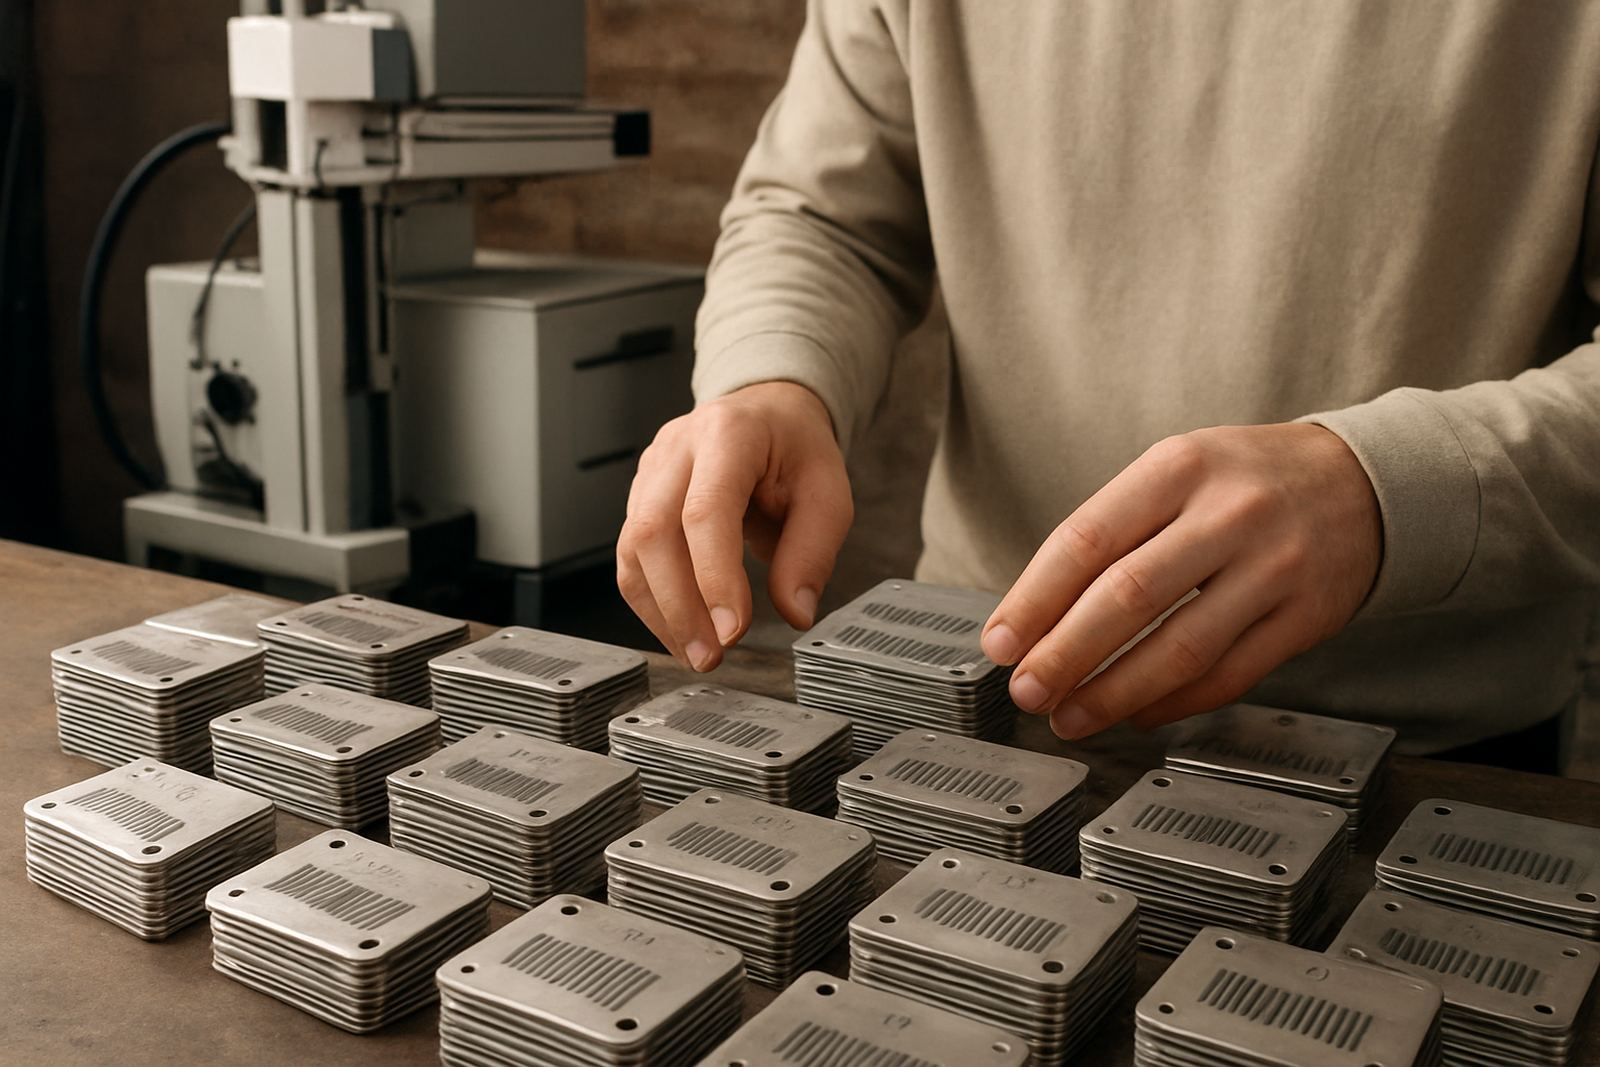
Batch Marking Methods

Batch Marking Methods

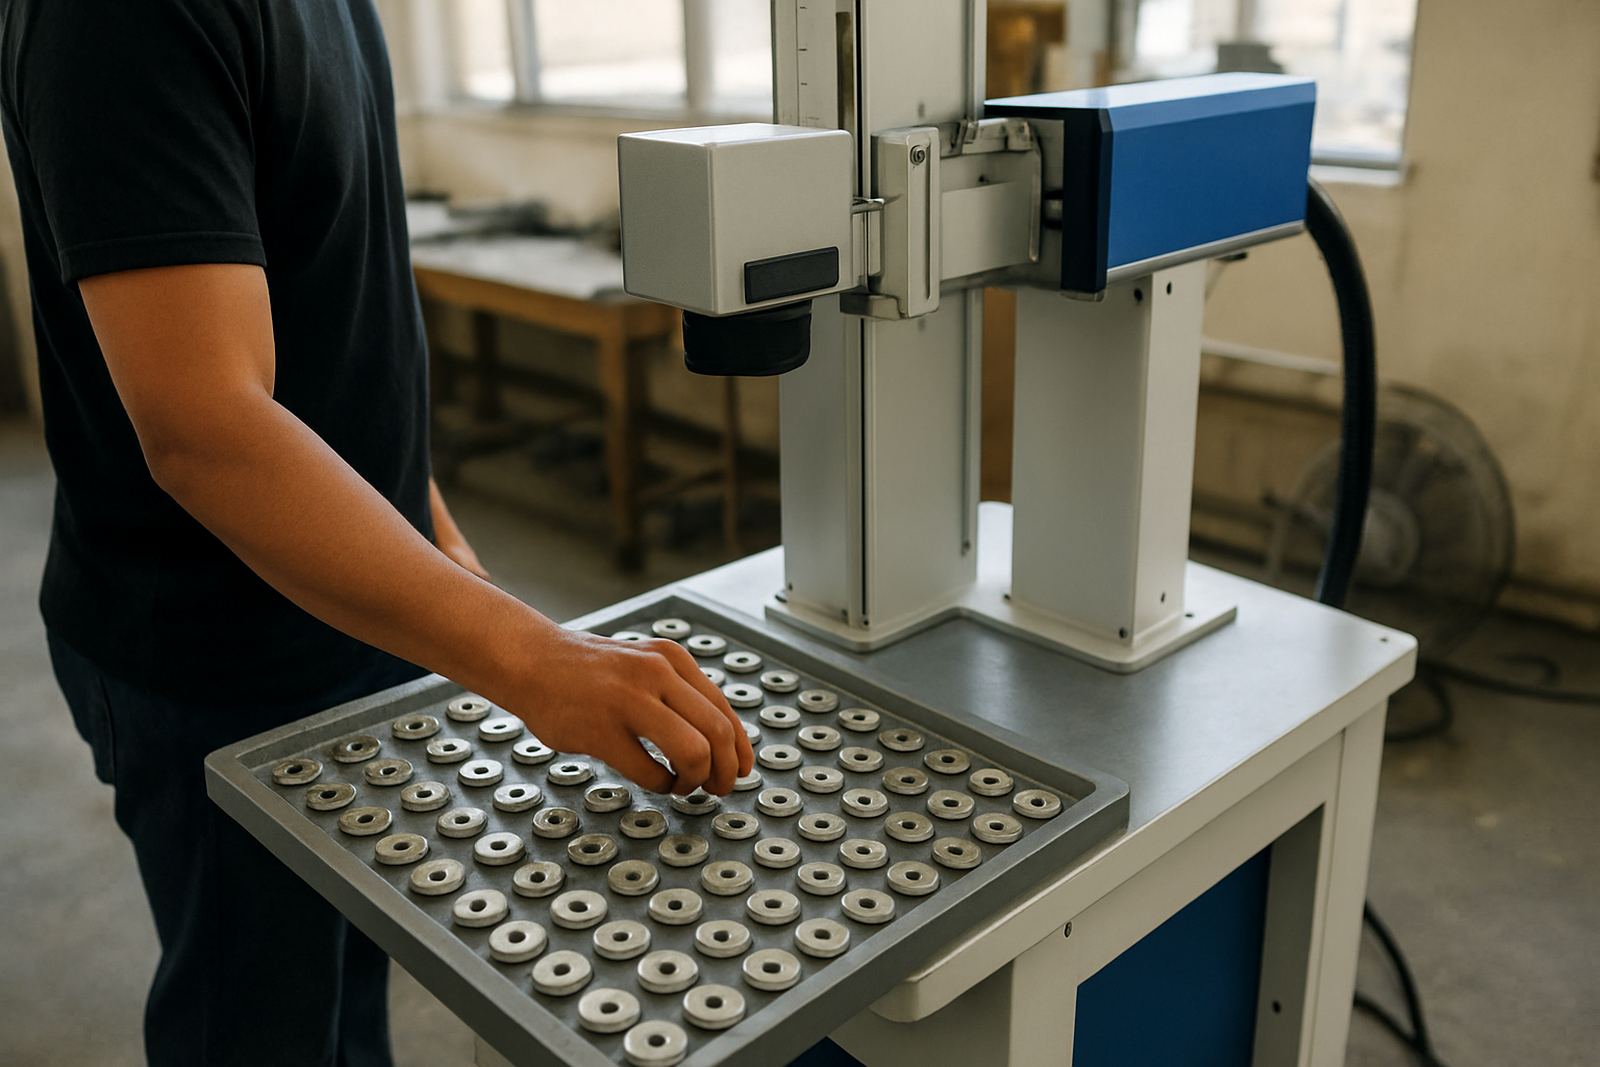
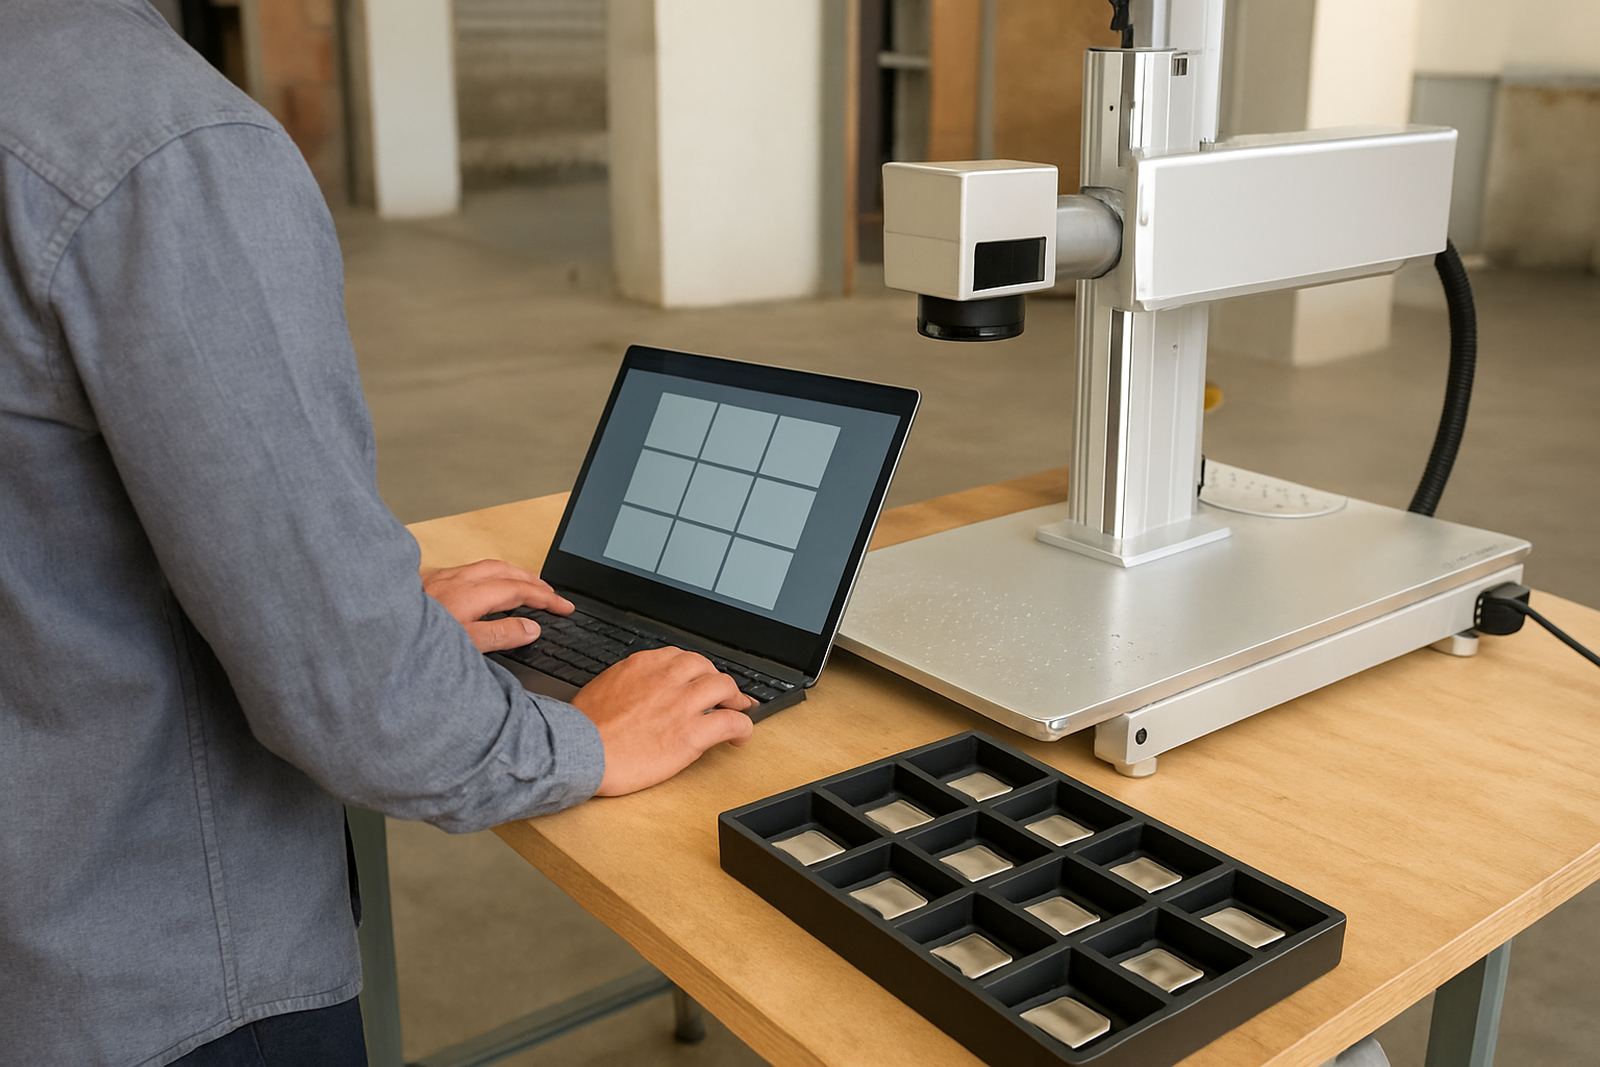
Ways to load multiple components efficiently without losing mark consistency.

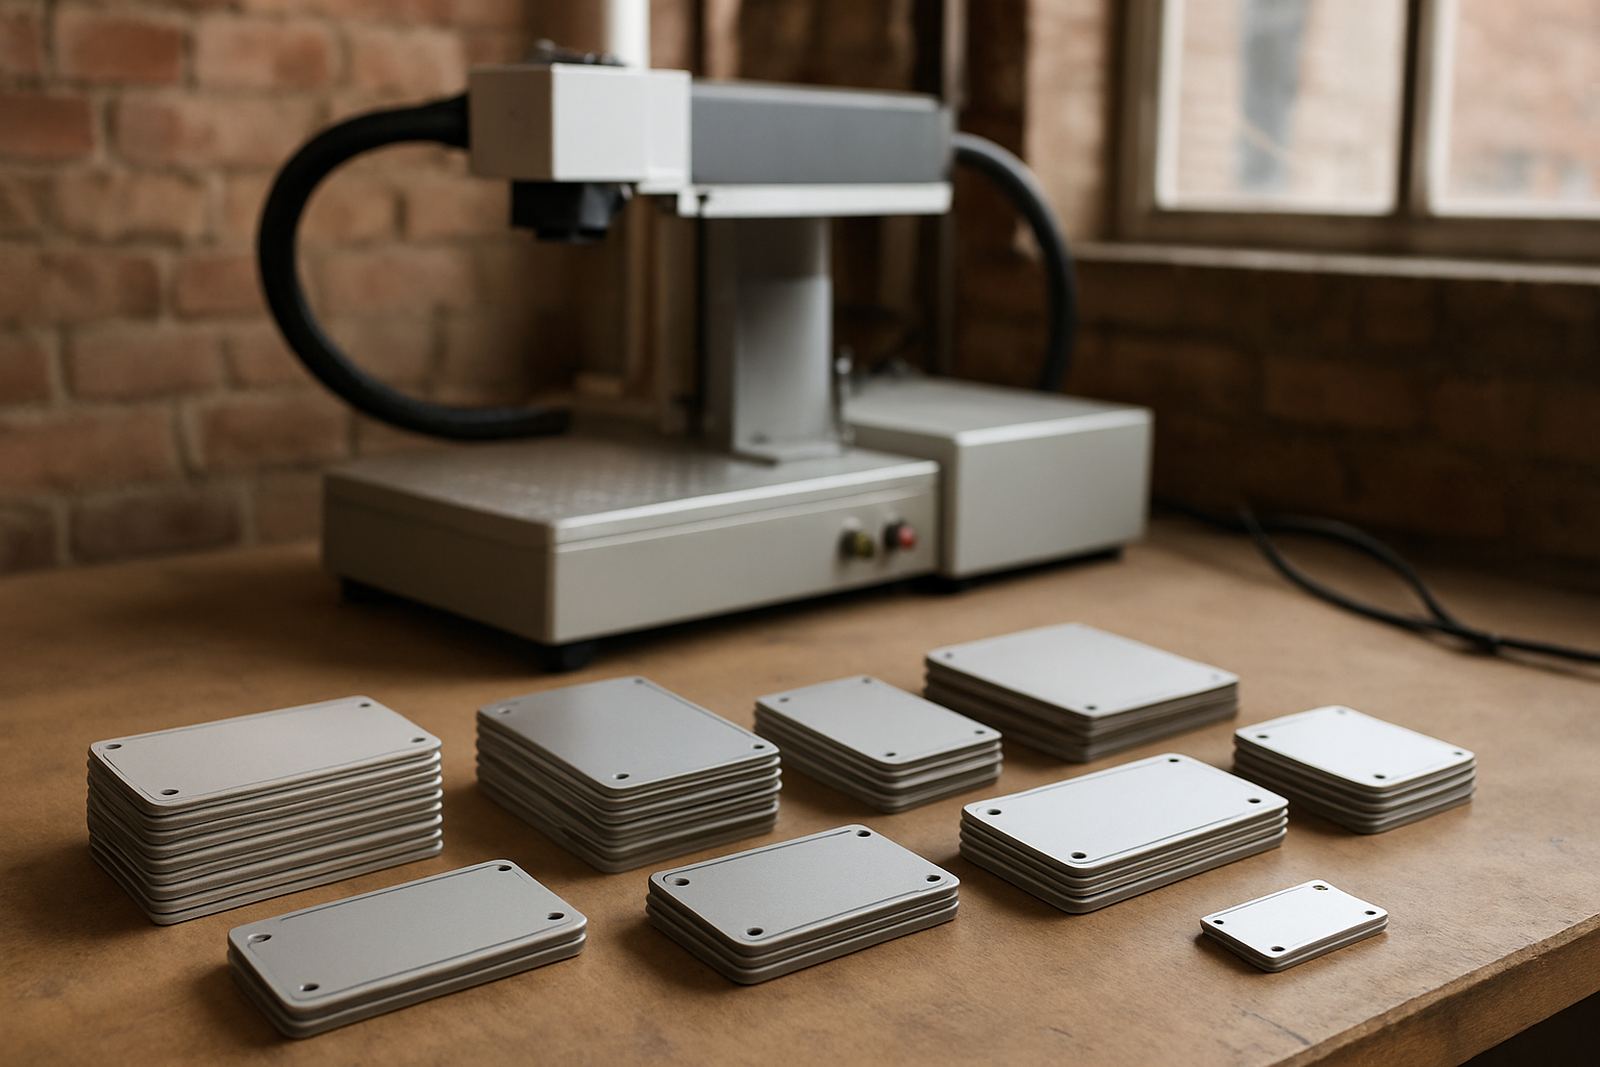
Nameplate Production Notes

Nameplate Production Notes

Planning tips for producing legible and durable industrial nameplates.

Asset Tag Best Practice

Asset Tag Best Practice

Important choices for durable metal tags used in plant and facility management.

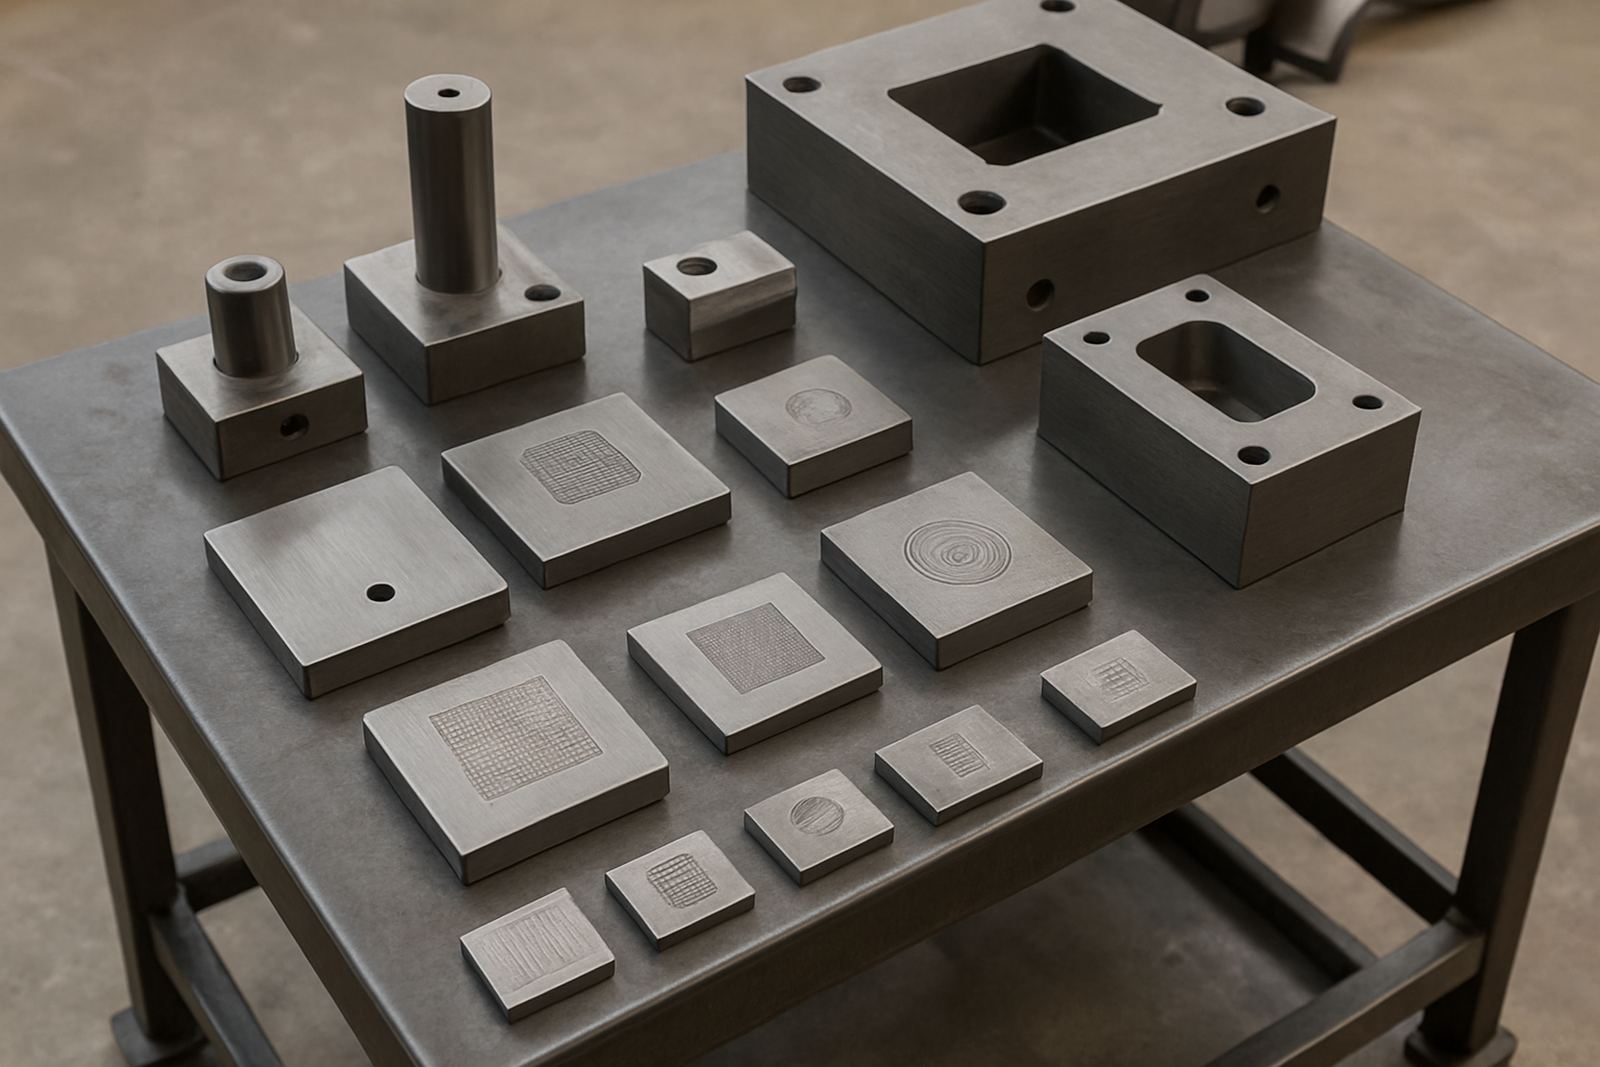
Tooling Identification Ideas

Tooling Identification Ideas

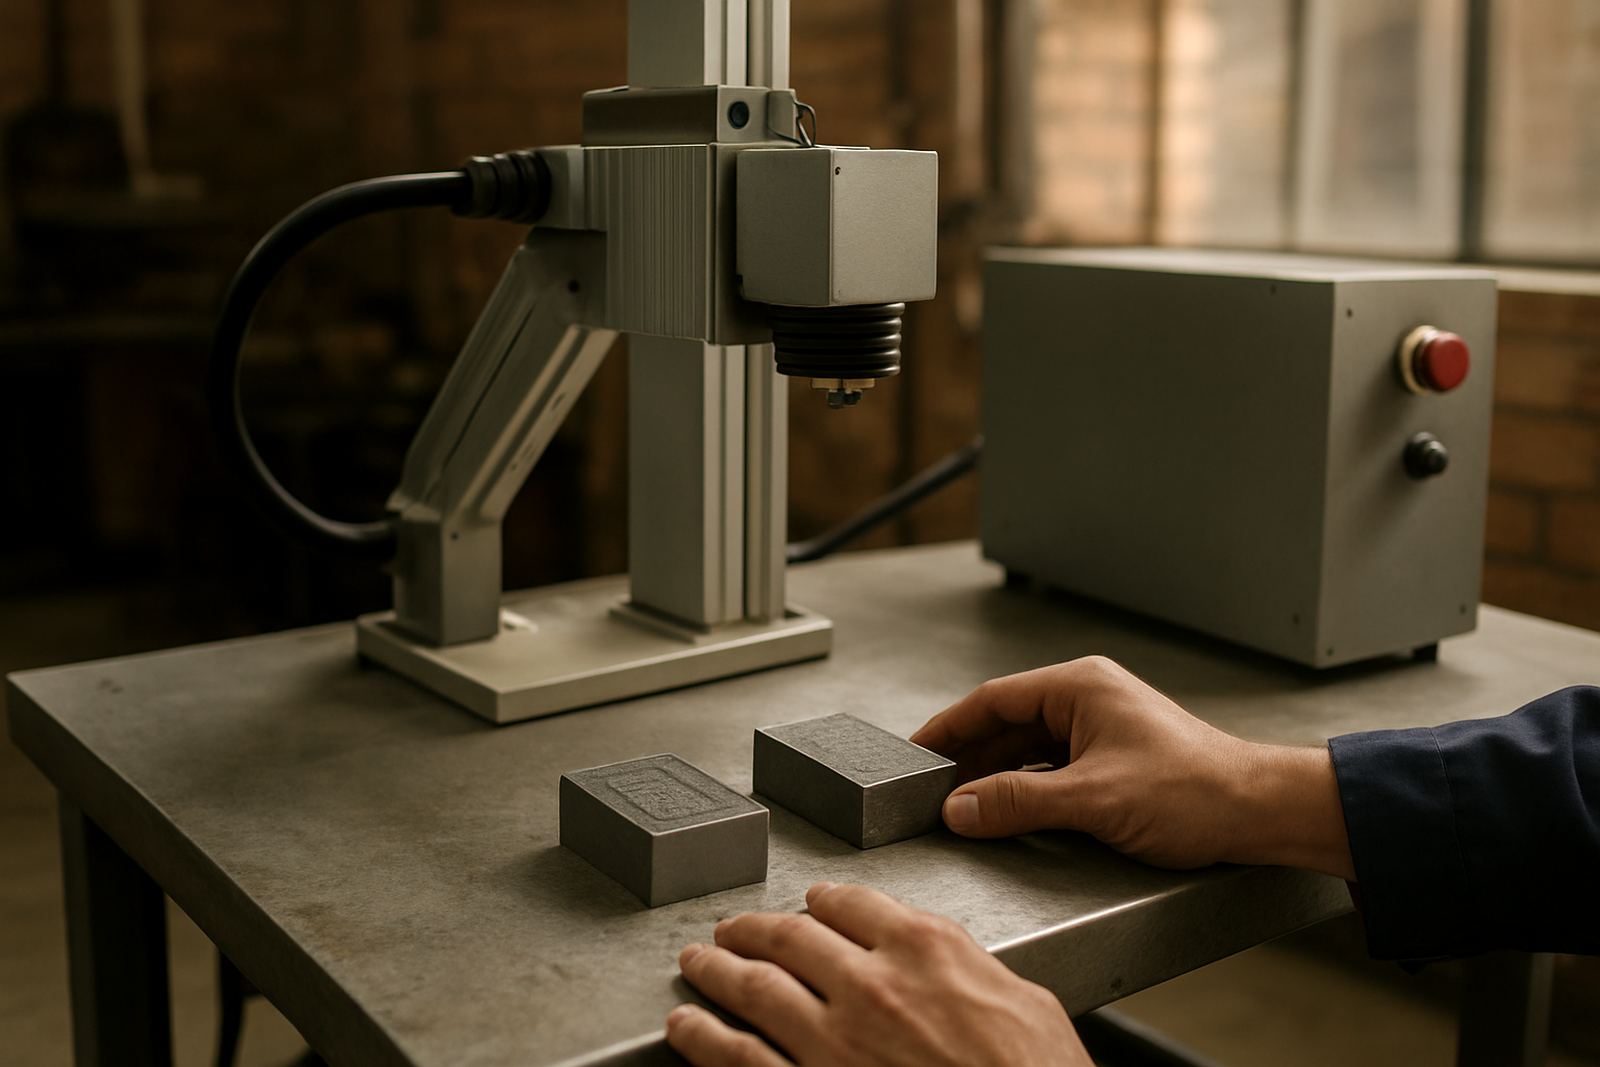
Marking approaches for moulds, dies, holders and maintenance references.

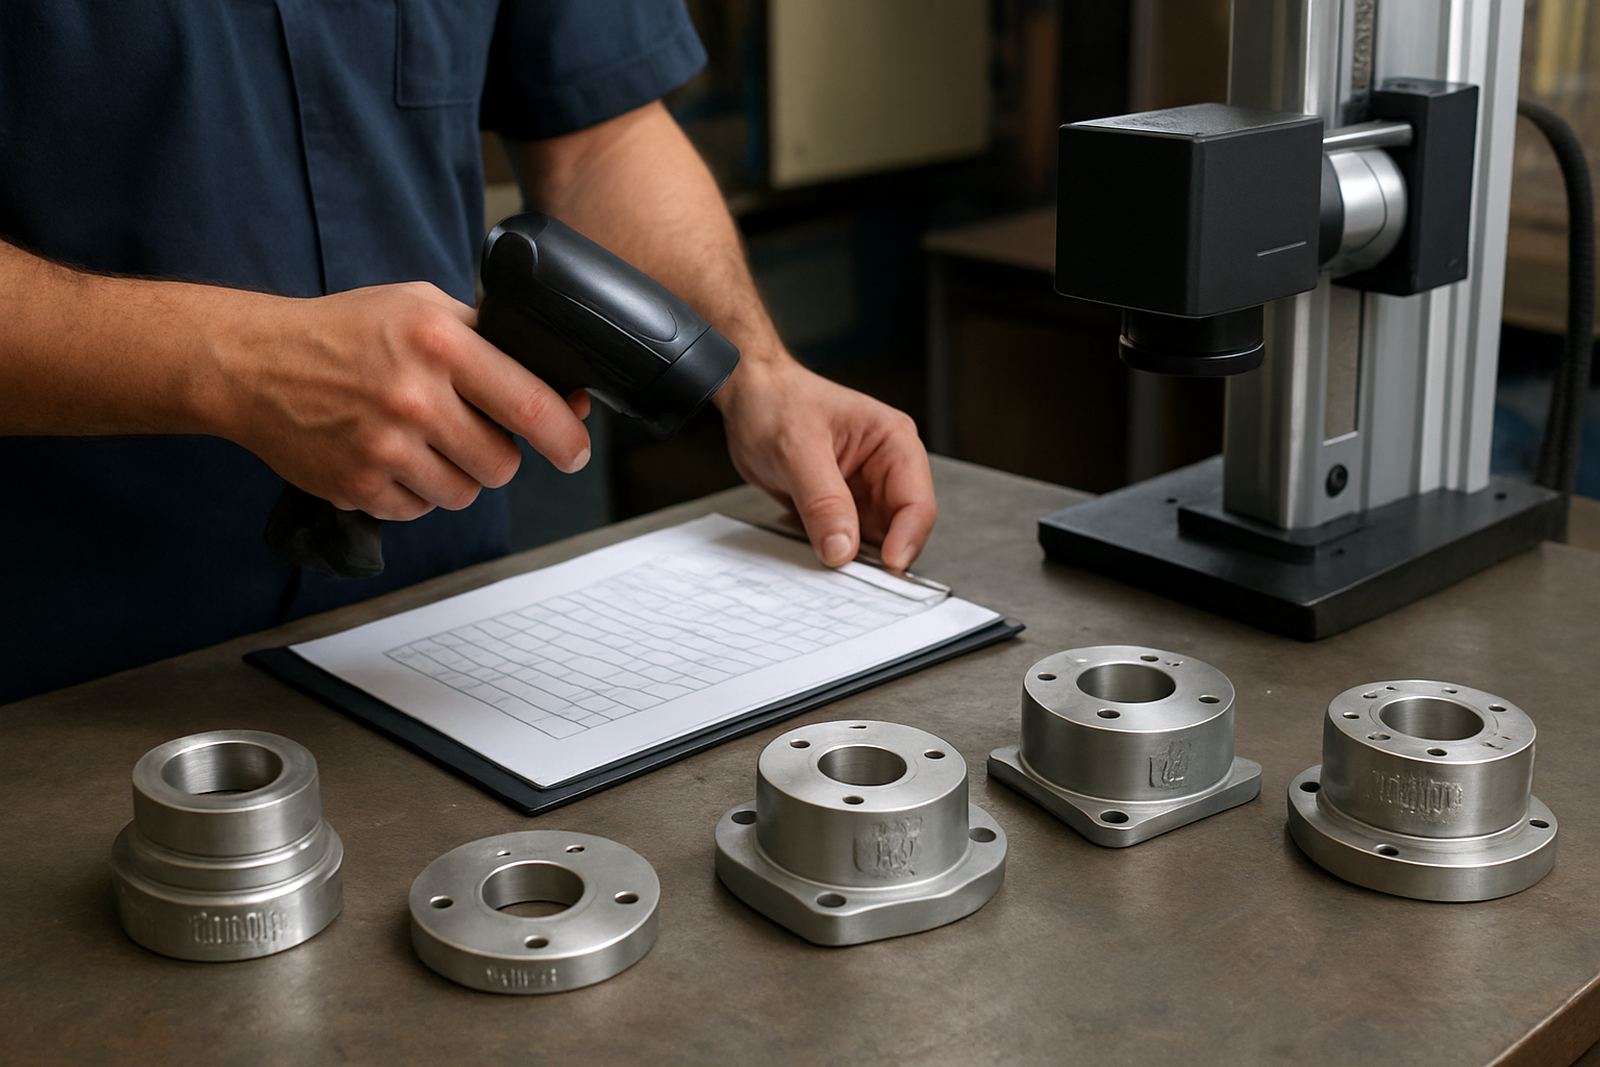
Part Traceability Needs

Part Traceability Needs

Why traceability matters and what information is commonly marked on parts.

Mark Depth Factors

Mark Depth Factors

Power, speed and repeat passes all affect engraving depth and finish.

Contrast Improvement Tips

Contrast Improvement Tips

A few ways to improve visibility when marks appear too light.

Surface Finish Effects

Surface Finish Effects

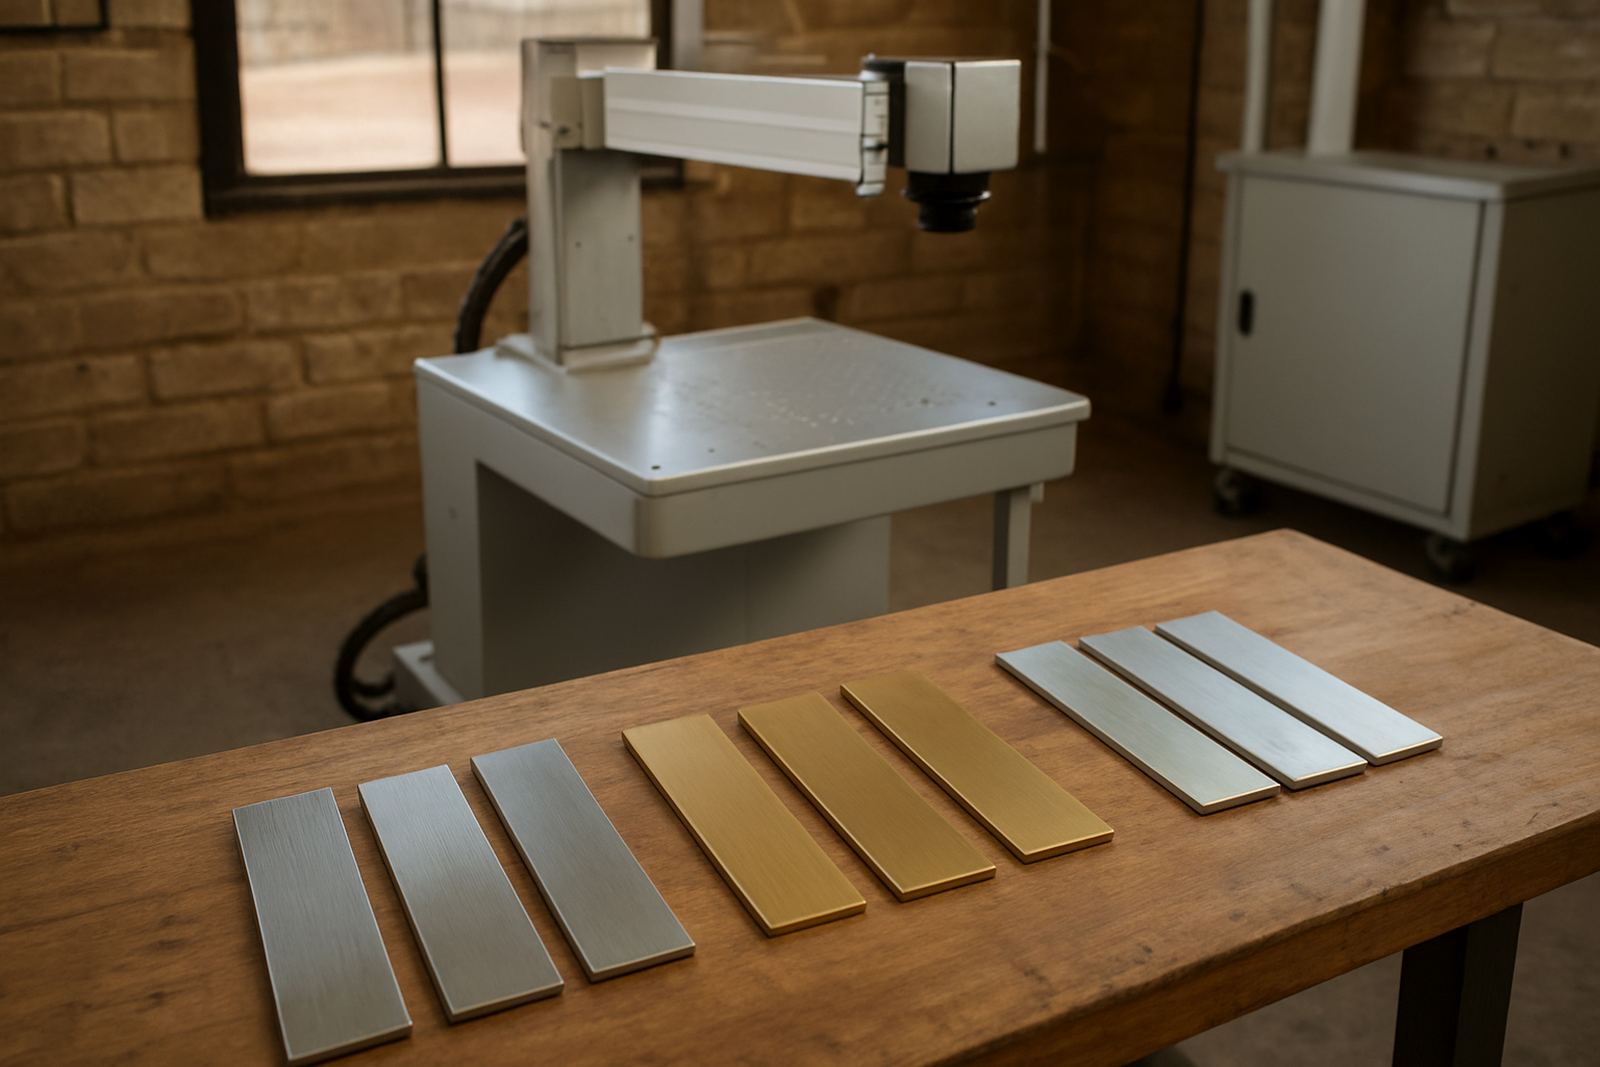
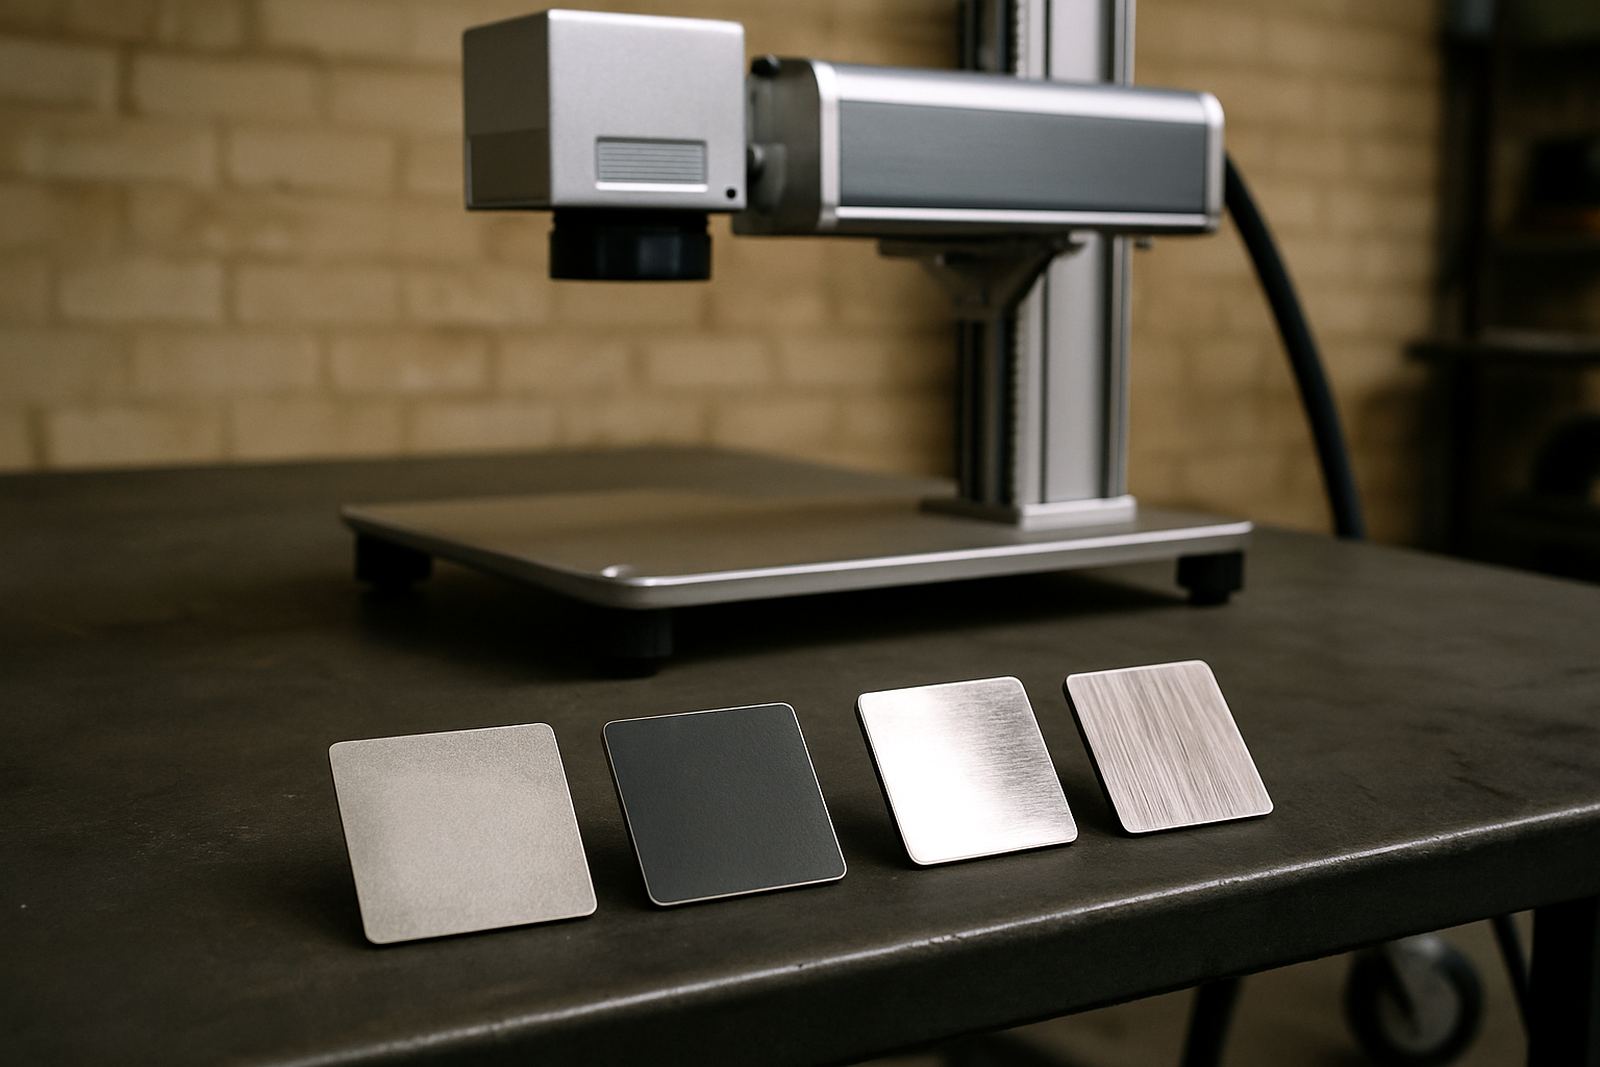
How polished, brushed and rough finishes change marking appearance.

Heat And Discolouration

Heat And Discolouration

What causes unwanted heat effects and how to reduce them.

Lens Care Basics

Lens Care Basics

Clean optics help maintain mark quality and protect machine performance.

Daily Operator Checks

Daily Operator Checks

Routine checks that help prevent avoidable downtime and marking errors.

Safety Around Markers

Safety Around Markers

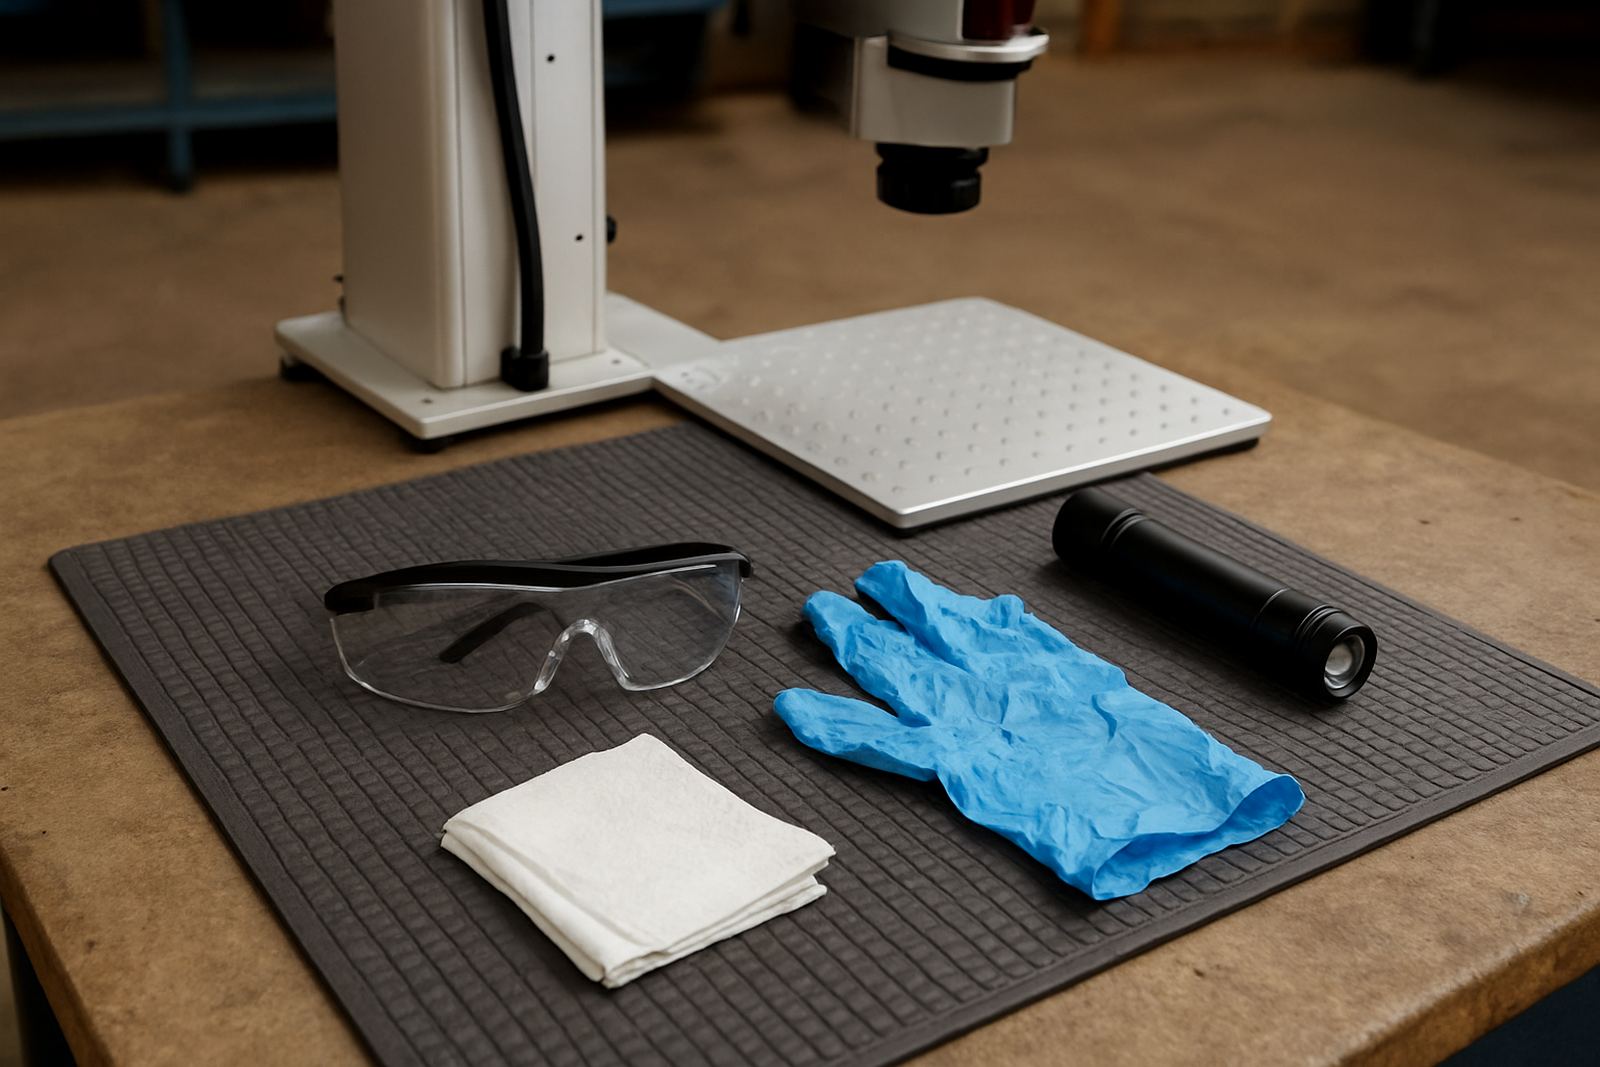
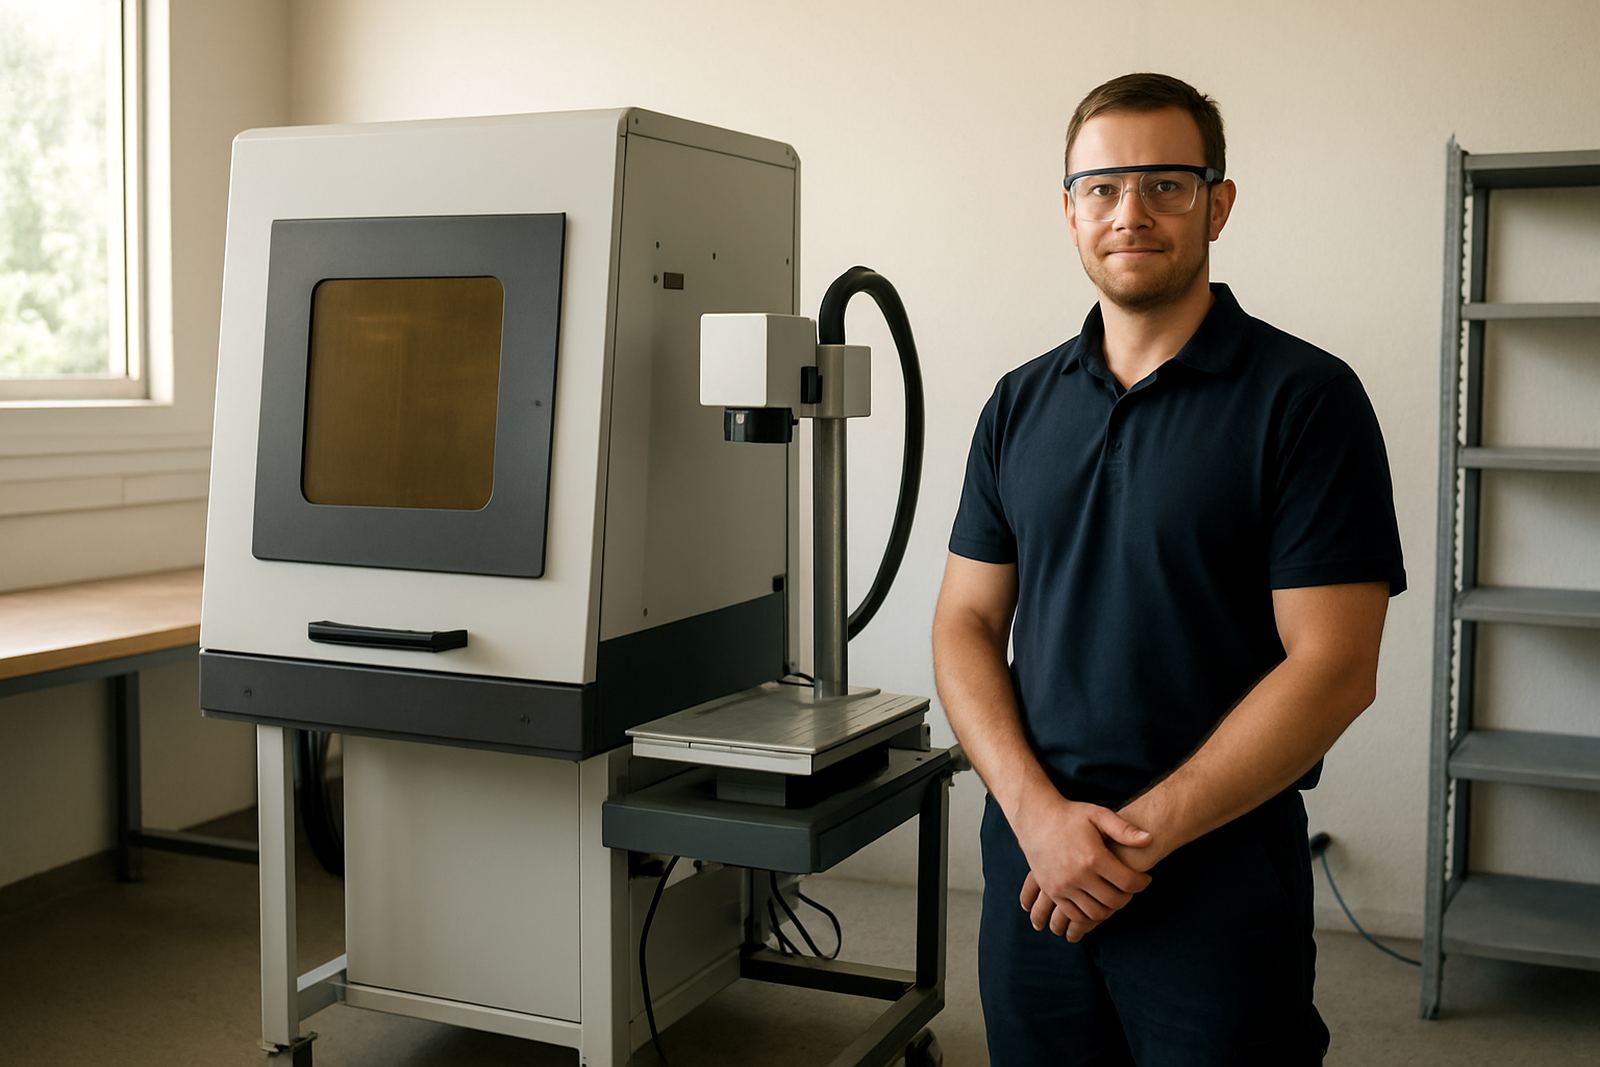
Basic safety principles for operators working with fibre laser marking systems.

Fume Control Needs

Fume Control Needs

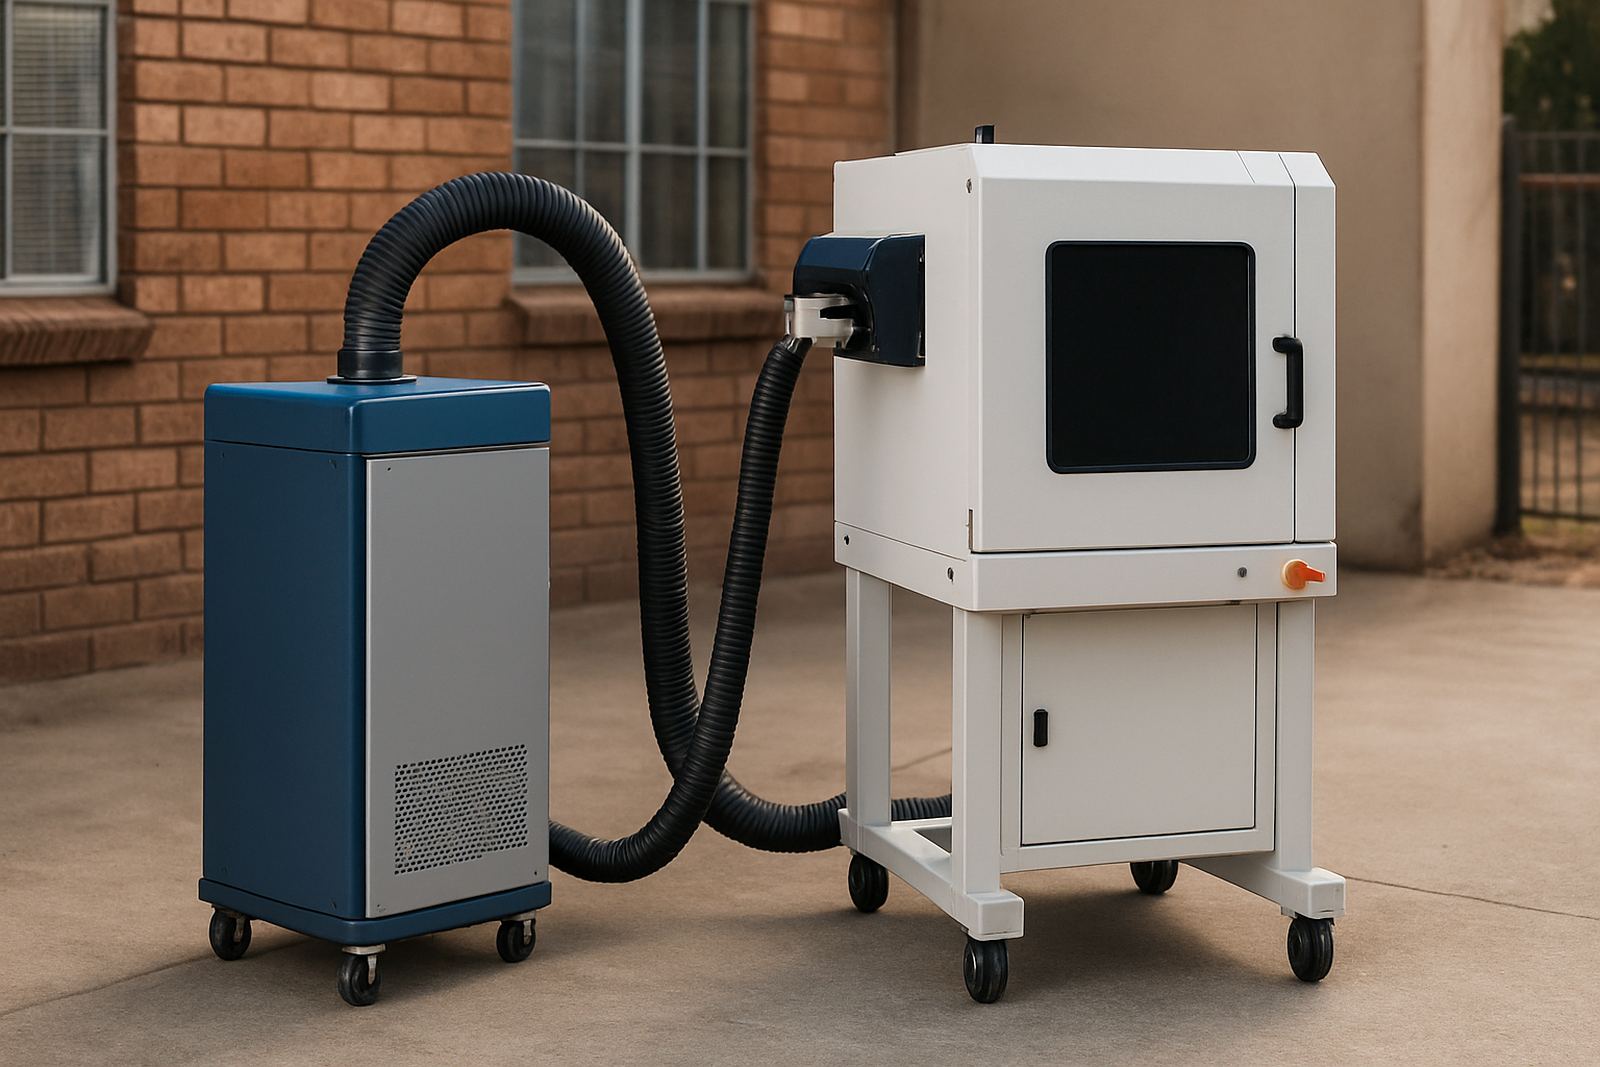
Why extraction matters when marking certain materials and finishes.

Software Template Use

Software Template Use

Templates save time and reduce operator mistakes in repeated jobs.

Job File Organisation

Job File Organisation

Better file structure makes repeated production jobs easier to manage.

Sample Testing Process

Sample Testing Process

What to expect when trialling settings on your own parts before production.

Start With The Material Before You Pick A Marking Method

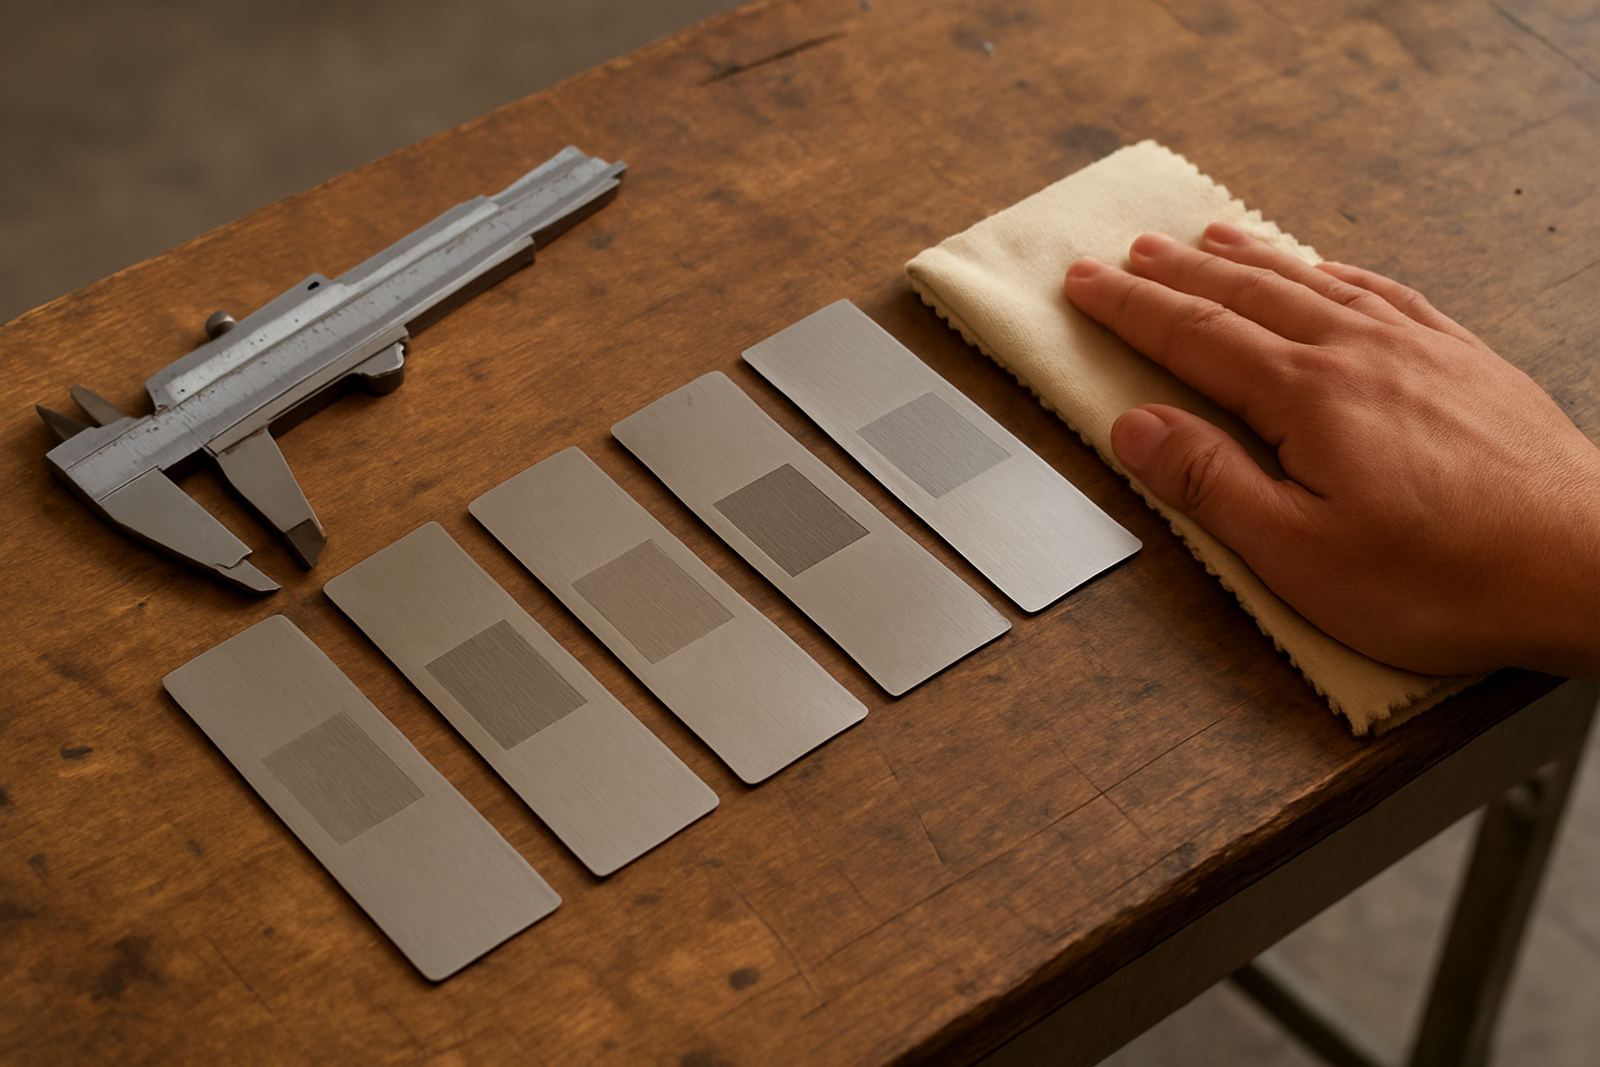
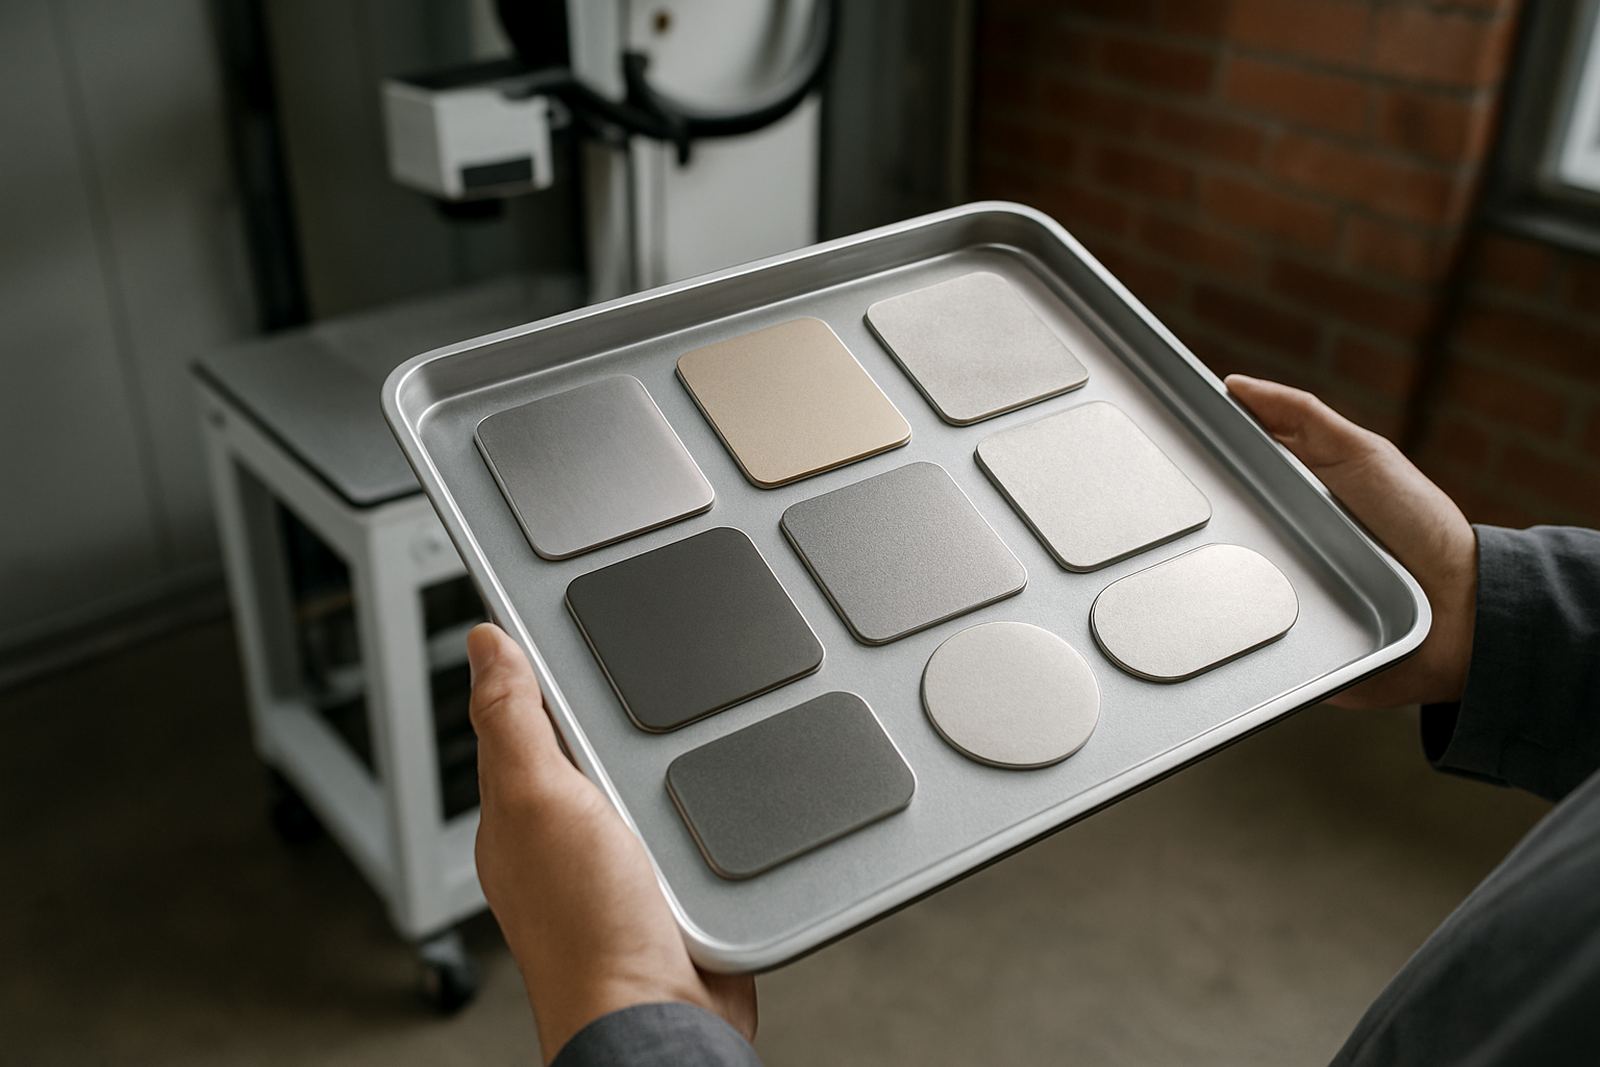
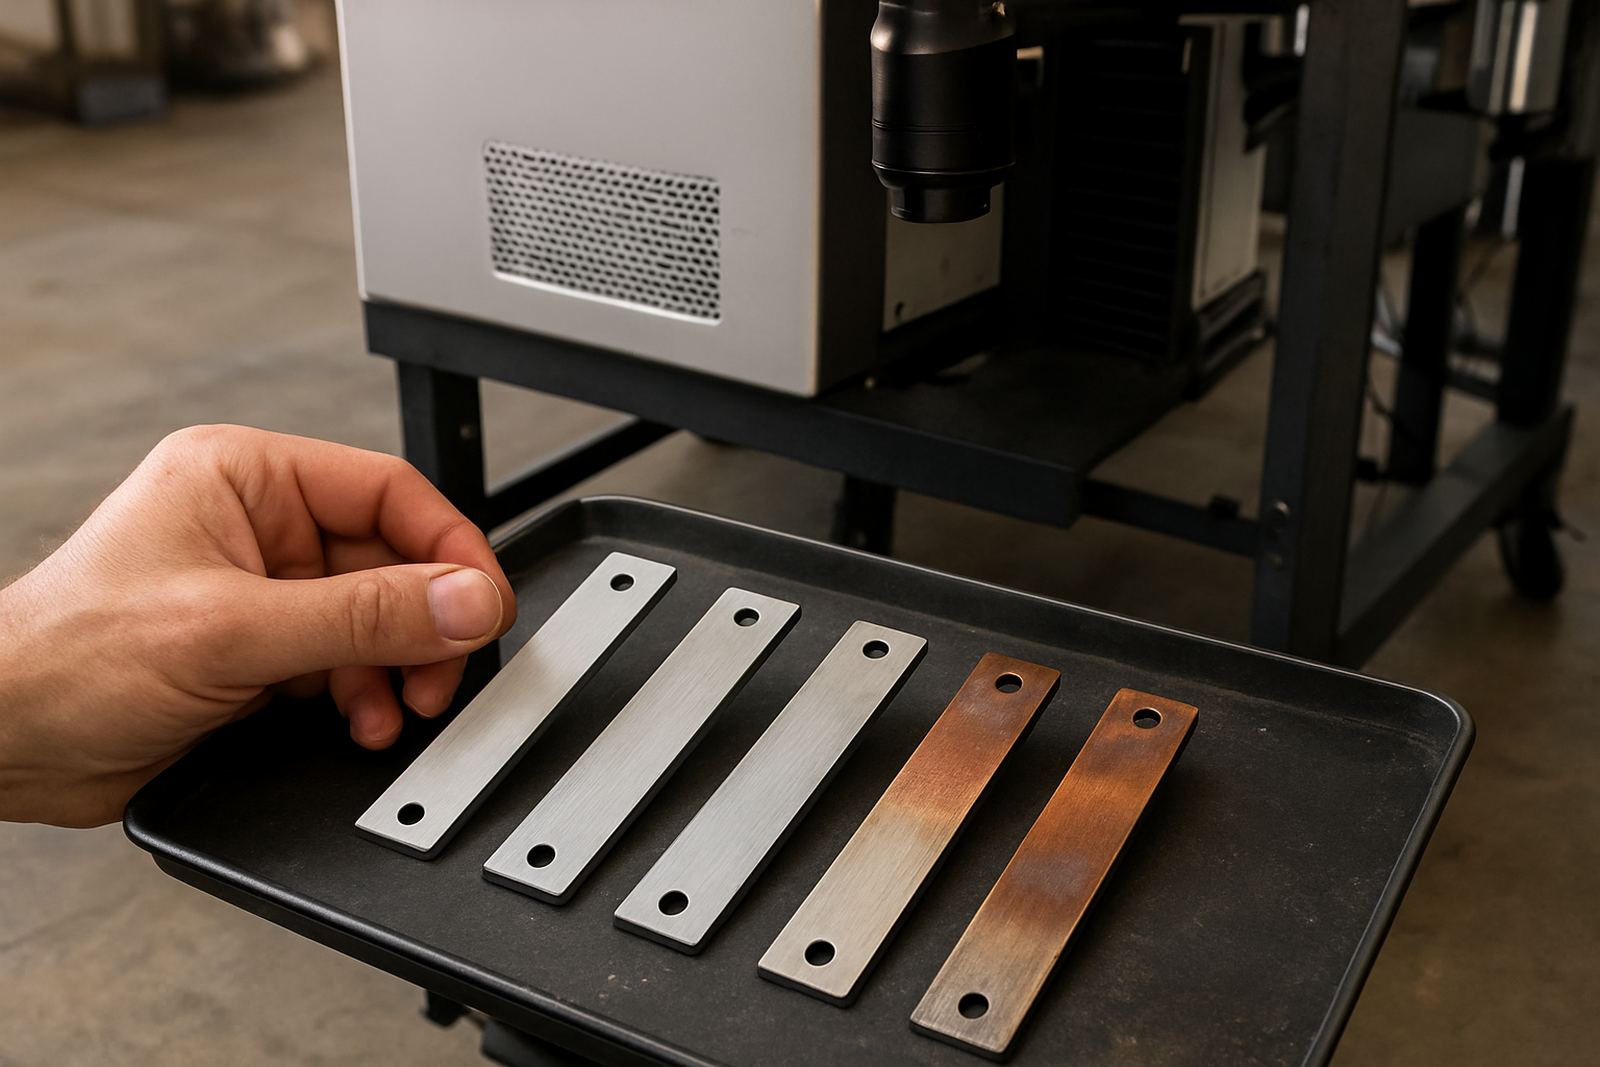
The first question is always what you are marking. Mild steel, stainless steel, aluminium, brass, titanium and plated parts all react differently to fibre laser energy, so the same settings will not give the same result. Jewellery brings another layer of care because rings, tags and small components can reflect heat fast and move if the fixture is poor.

If you are working from Wadeville, Germiston, or sending parts in from places like Boksburg, Jet Park and Kempton Park, it helps to sort samples by material grade before testing. A clean sample sheet with the alloy, finish and target mark size makes comparison much easier.

Contrast Depth And Speed Need To Work Together

Good marking is not only about making a visible mark, it is about making the right mark for the job. Deep engraving suits parts that face abrasion, while light marking is often enough for serial numbers, logos and fine jewellery detail. On coated parts, the goal may be to remove only the top layer without damaging what sits underneath.

  • Higher speed usually gives a lighter mark.
  • More power can improve depth, but may add heat tint.
  • Shorter pulse control is useful for fine detail on small parts.
  • Too much dwell time can distort thin sections.

When a part must stay readable after cleaning, handling or outdoor use, test for contrast first then check depth second. That order saves time and scrap.

Fixtures Matter More Than Most Teams Expect

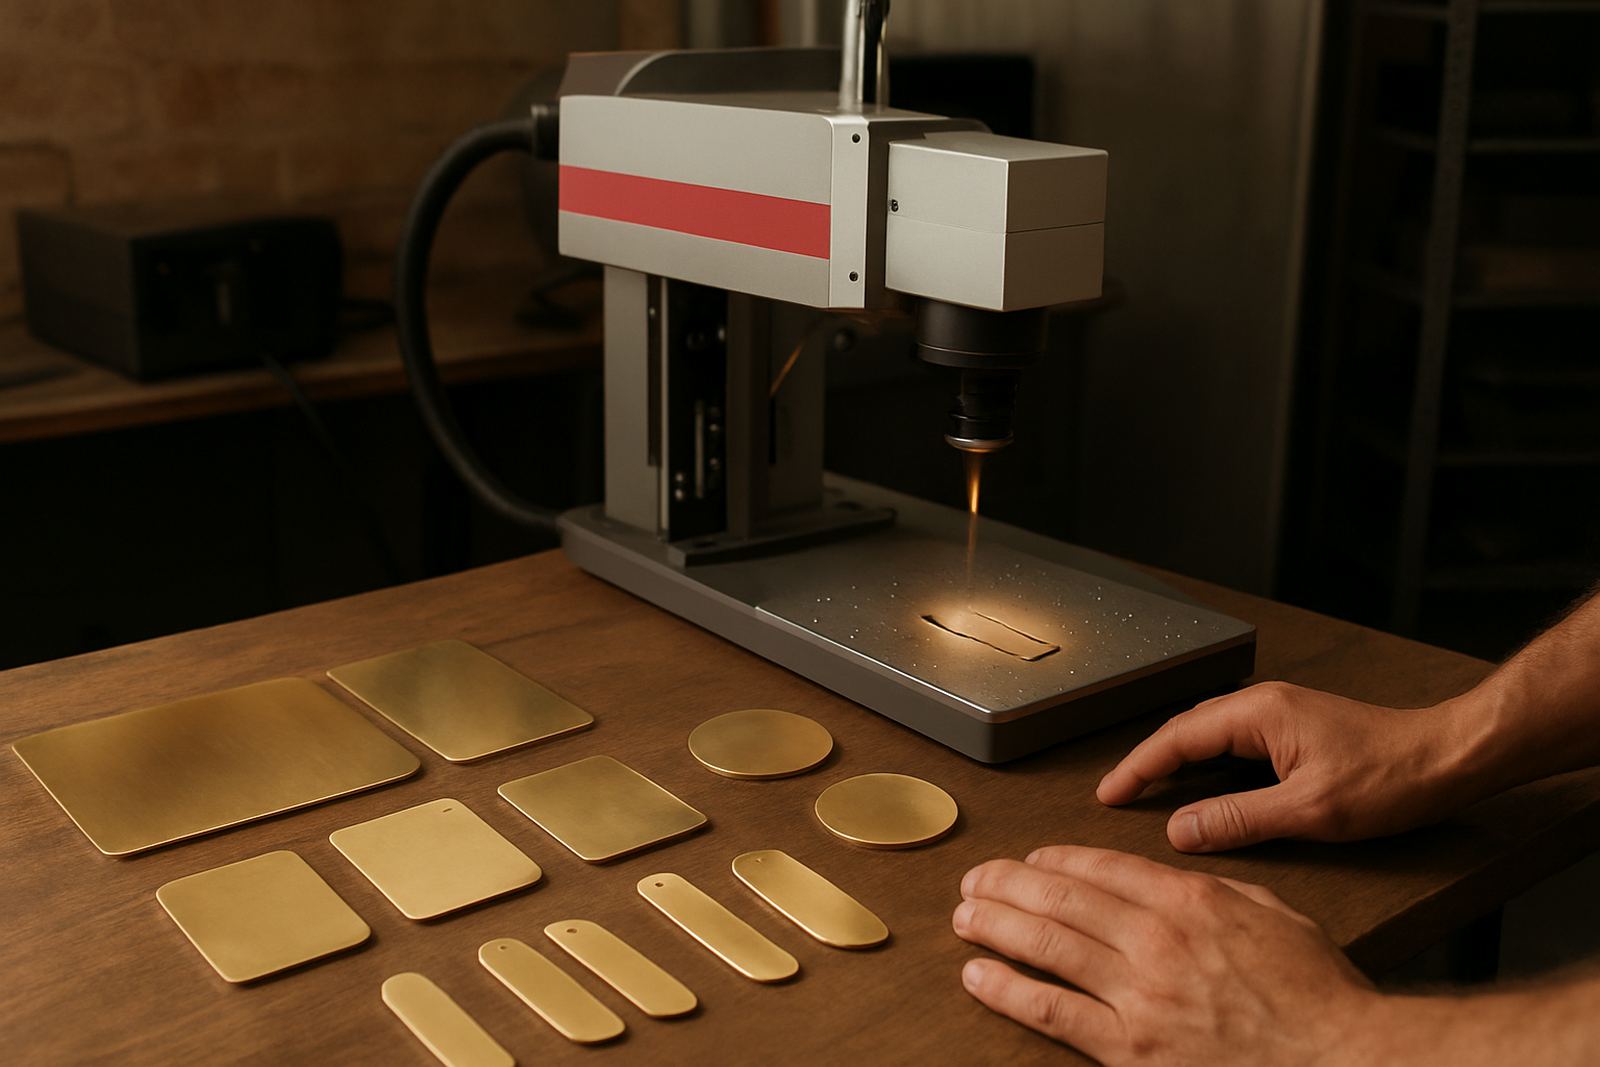
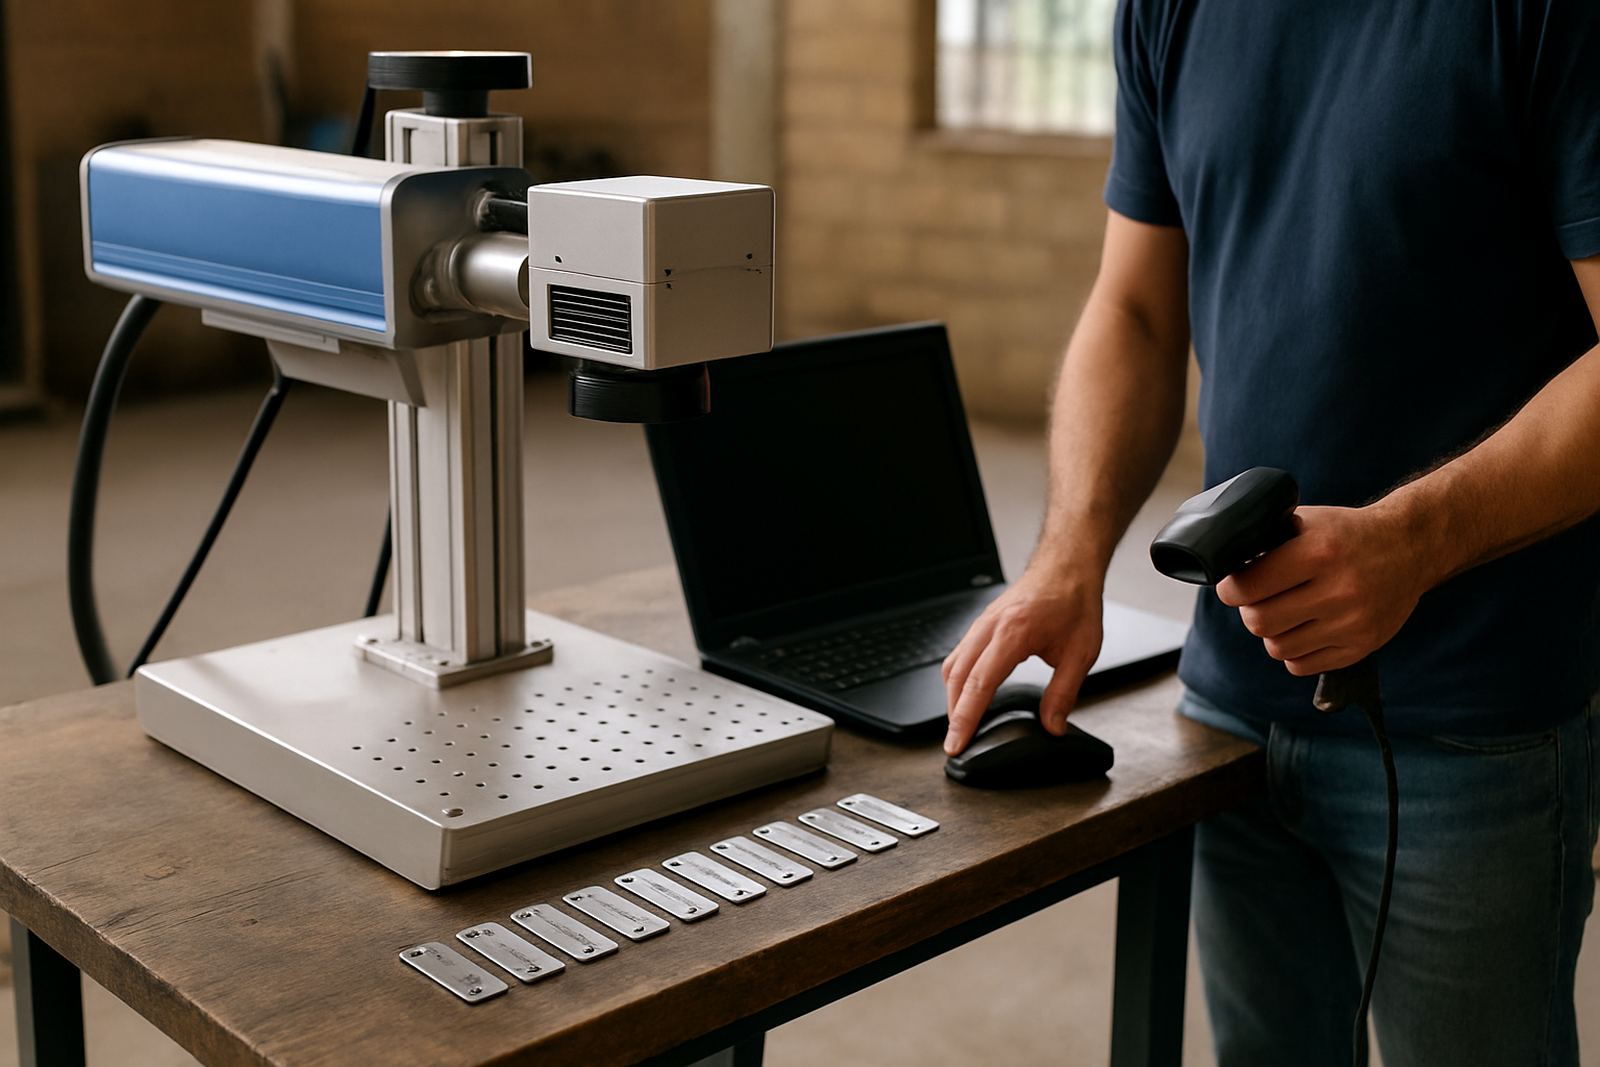
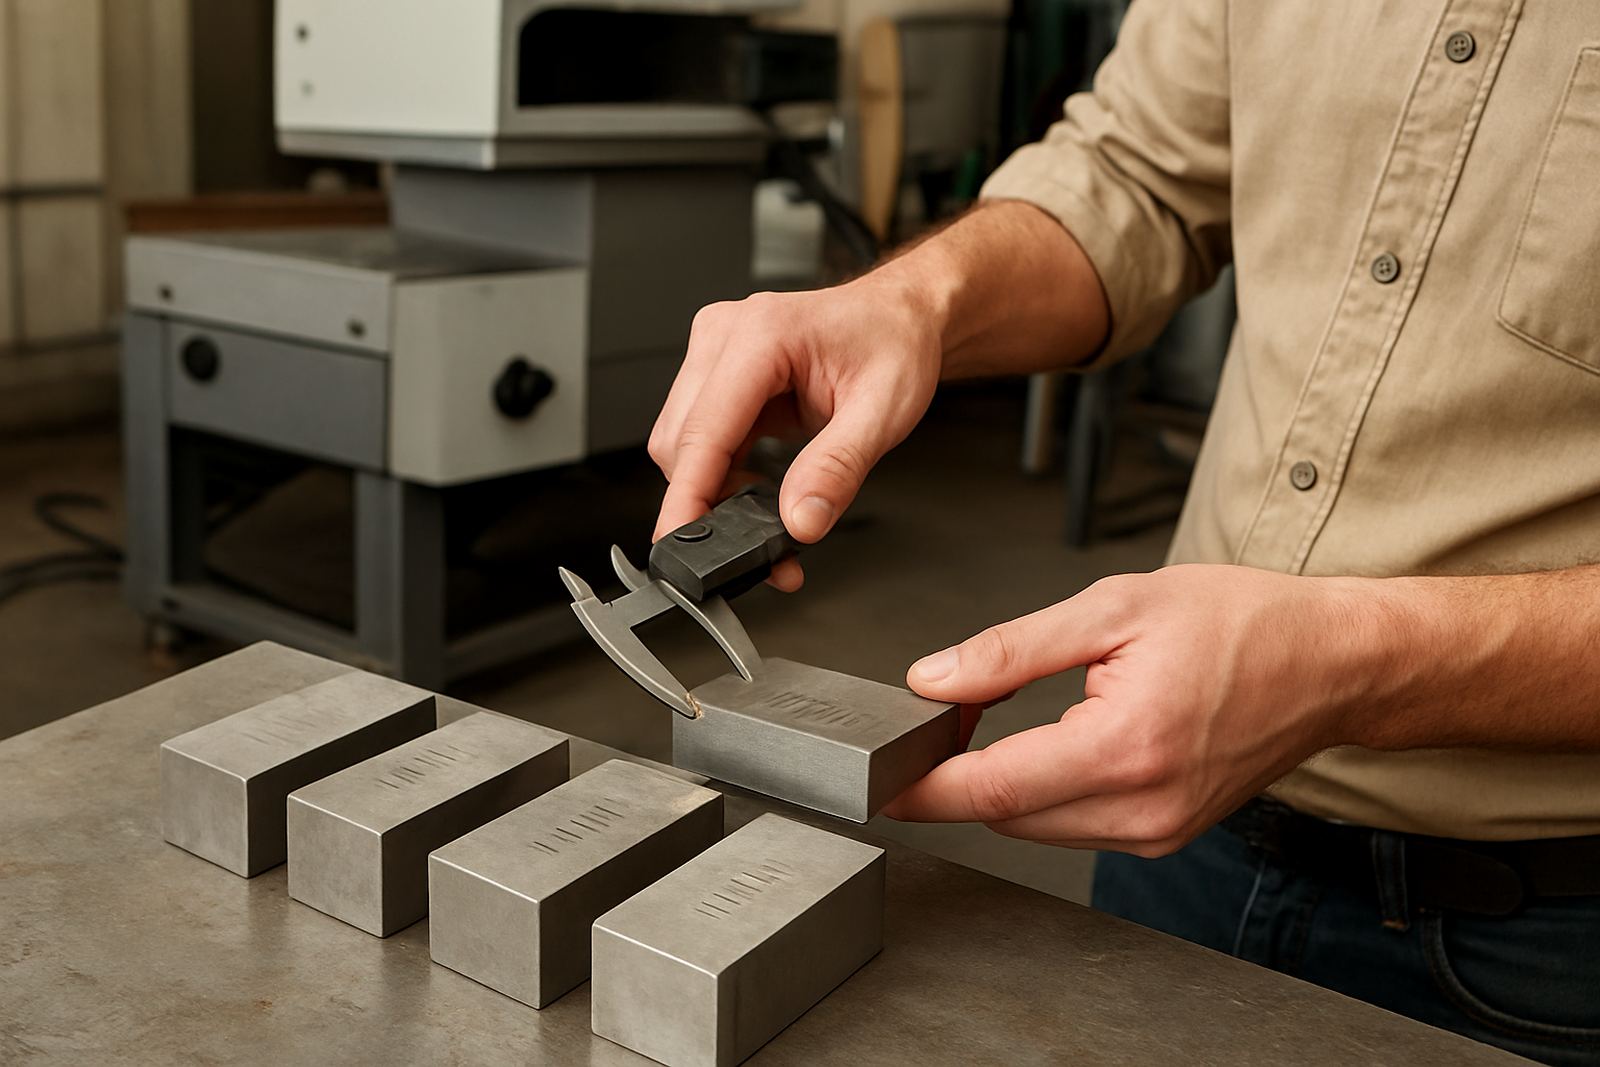
A steady part gives a steady mark. If a job is held by hand or a loose clamp, the beam may hit at a slight angle and the result will look uneven. This matters on small nameplates, tool parts and rings where even a tiny movement changes the final line. A simple fixture can be the difference between a repeatable batch and rework.

Fixture design should match the part shape, the batch size and the operator's routine. In many workshops the best fixture is the one that lets the operator load quickly and repeat the same position every time, not the fanciest one.

Sample Marking Saves Costly Mistakes

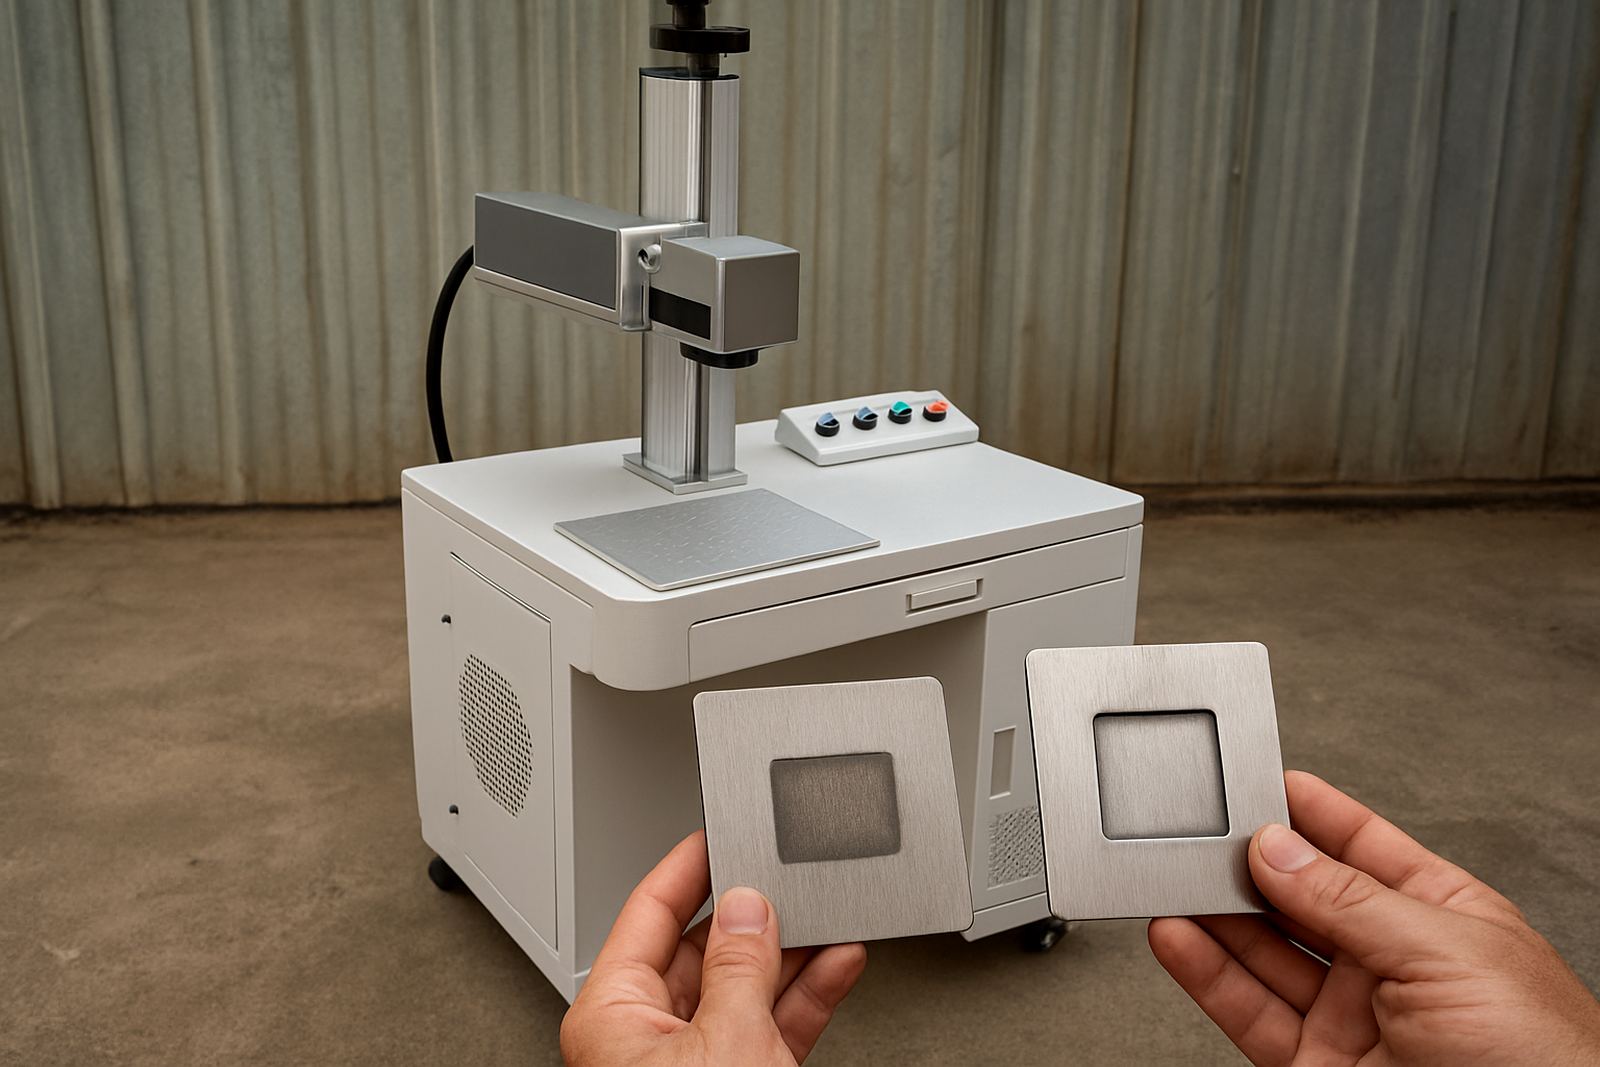
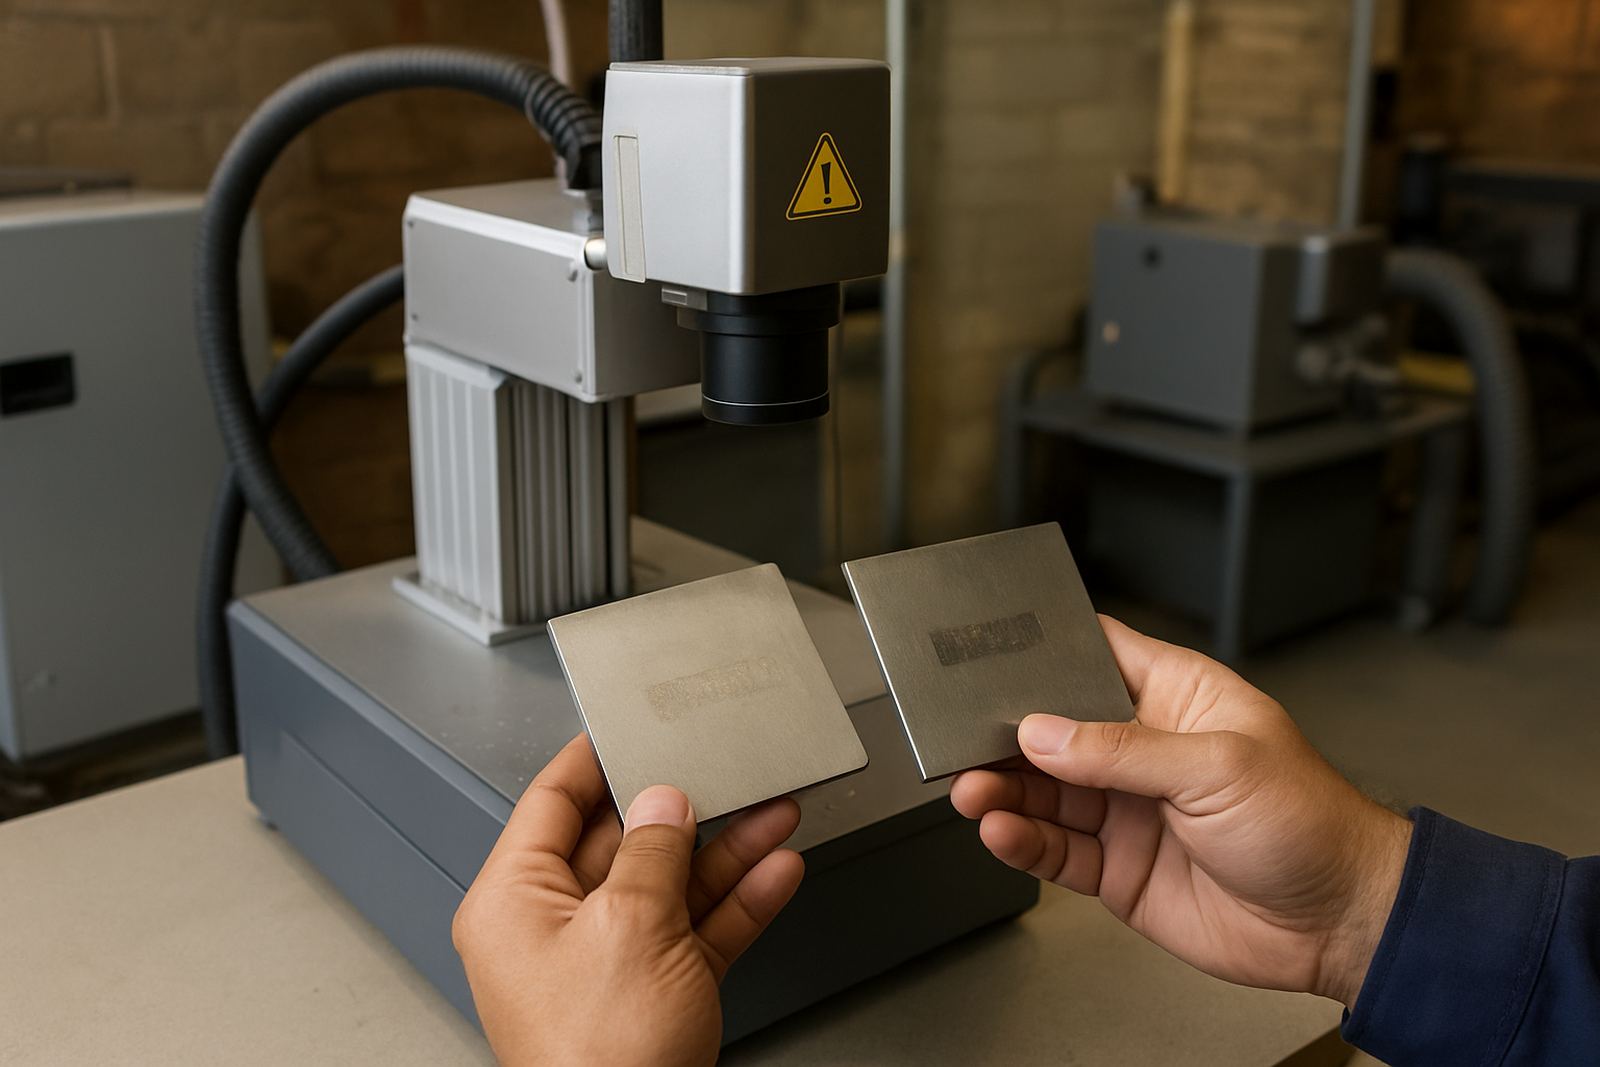
Before starting a production run, mark a sample and inspect it under the same light the client will use. This is especially useful for jewellery, blackened stainless plates and laser marked components that must stay readable in a plant or yard. A sample also shows whether the mark needs more contrast or less heat input.

  • Check readability at arm's length and close up.
  • Wipe the sample with solvent if the final part will be cleaned.
  • Test after a light scratch if the part will be handled often.
  • Keep one signed-off sample for repeat orders.

Sample approval also helps when different operators work different shifts, which is common in busy Gauteng production runs.

Software Setup And Focus Calibration Affect Every Job

Even a capable machine will struggle if the software is not set up properly or the focus is off. Correct focus helps keep the beam tight and gives cleaner edges, while poor focus can make a logo look soft or push too much heat into the material. When a job changes from a flat plate to a curved ring or a machined component, the setup should change too.

Operators should keep a record of the working file, lens choice and focus height for each repeat job. That record becomes useful during shift changes, after load shedding, or when the machine is moved between sites in Germiston, Alberton and Isando.

Maintenance Keeps Marking Quality Consistent

Fibre laser systems are known for low upkeep, but they still need regular checks. Dust, poor grounding, loose fixtures and blocked cooling paths can all affect results. In coastal humidity, or in a workshop near grinding and cutting areas, contamination builds up faster than people expect.

  • Clean the marking area and lens path on a schedule.
  • Check cables, earth points and covers after power interruptions.
  • Back up saved files and settings before site relocation.
  • Inspect fixture wear if the same parts are marked daily.

Good preventive maintenance keeps the mark stable and helps avoid production delays when orders are due.

Questions we get asked

What affects fibre laser marking quality the most?

Material type, focus, fixture stability, speed, power settings and surface finish all affect the final result. A clean sample test is the safest way to confirm the right setup.

Can fibre laser marking work on jewellery and small parts?

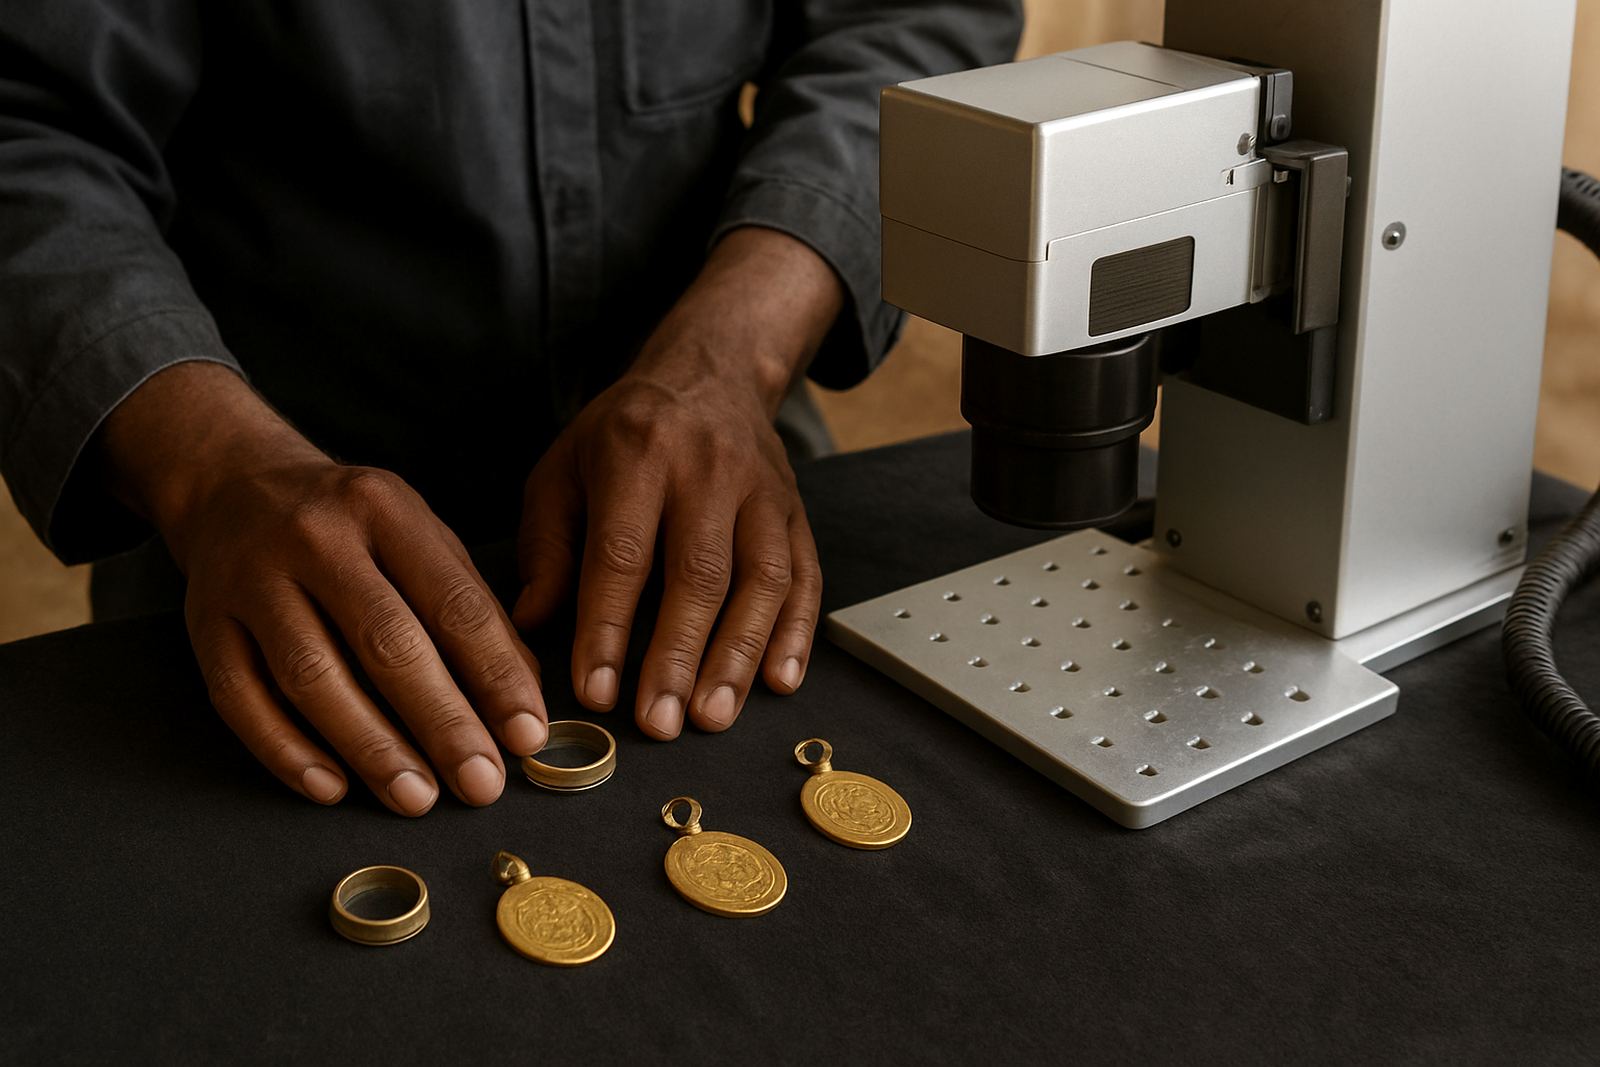
Yes. With the right fixture and careful setup, fibre lasers can mark fine detail on jewellery, tags and small metal components without heavy contact or extra tooling.

Why does the mark change after a power cut or move between sites?

After load shedding or relocation, focus, alignment and saved settings can shift slightly. A quick calibration check and test mark usually restores consistency.

Send serial number marking enquiries.

Contact form