Why the same mark looks different on different metals
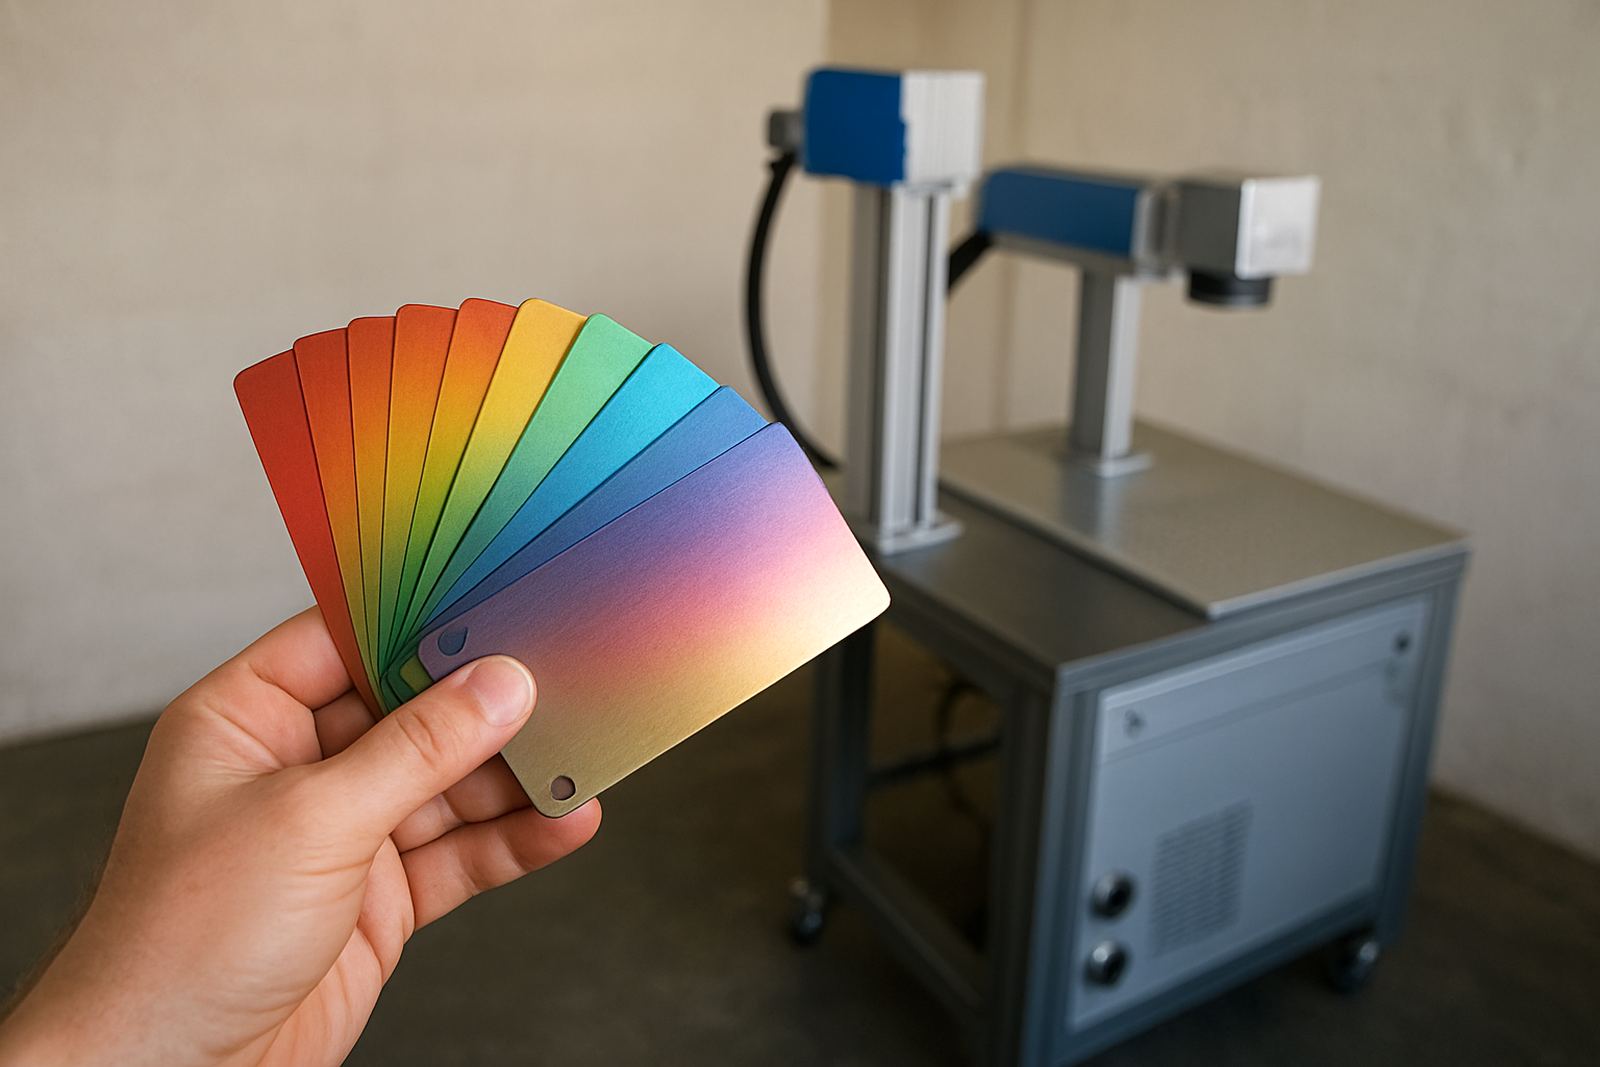
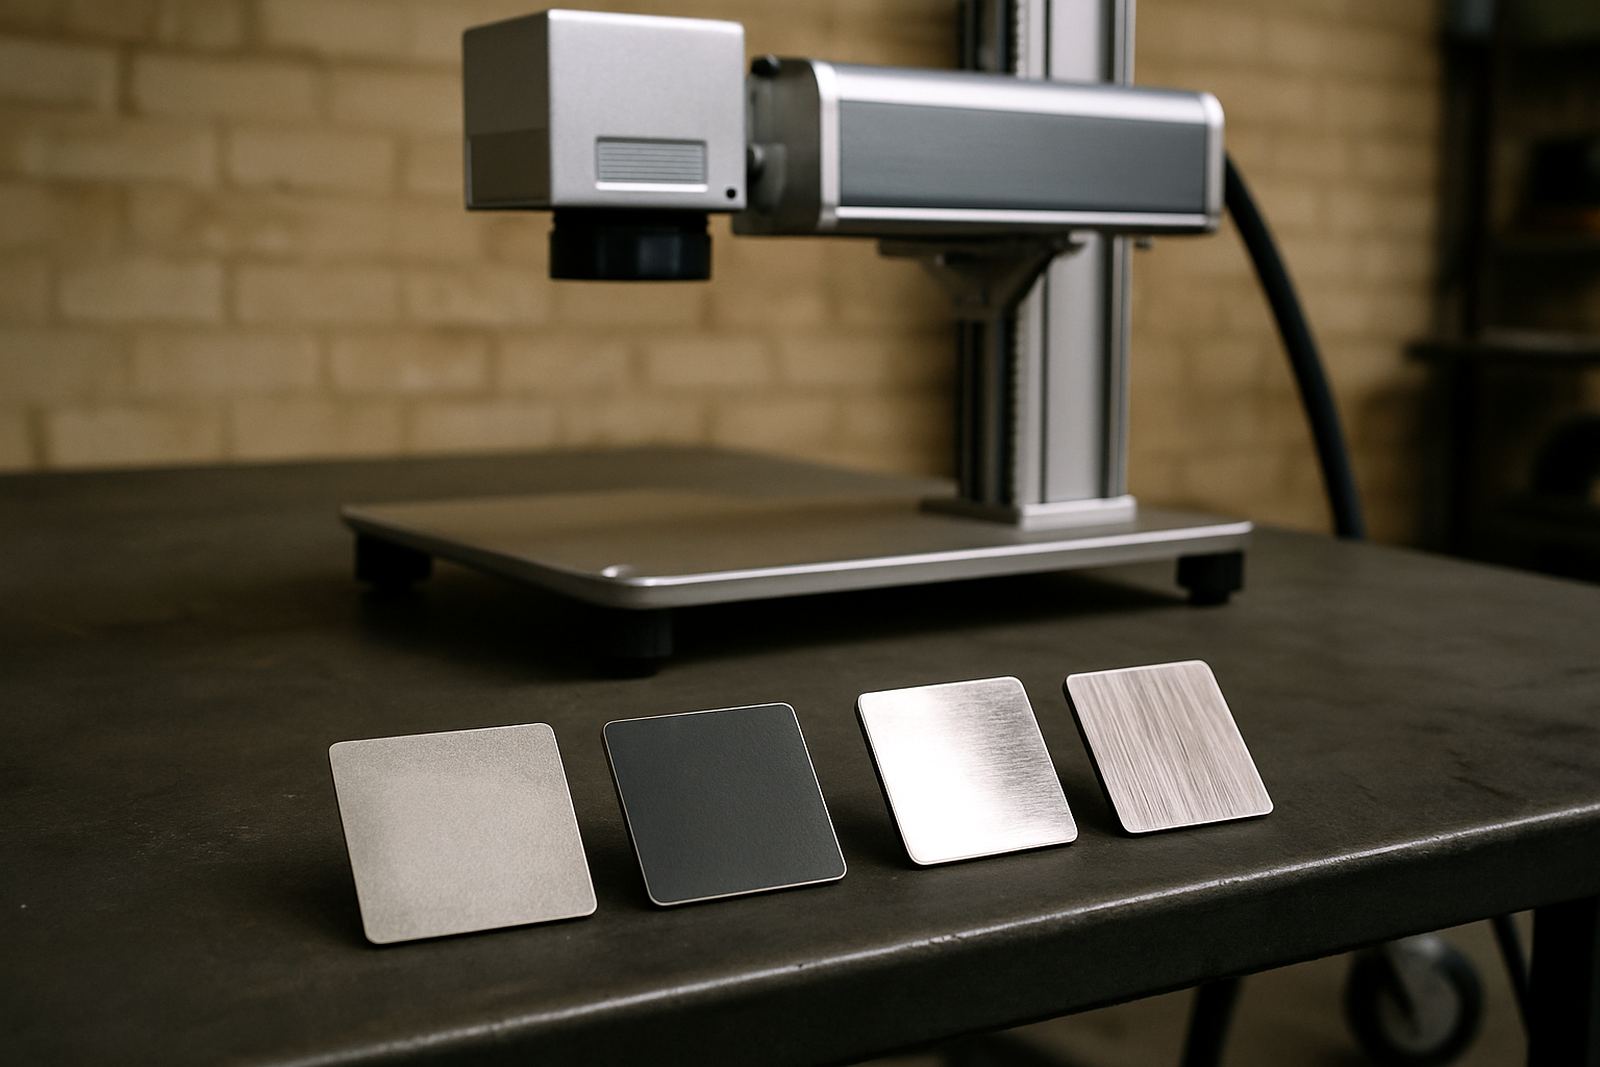
A fibre laser does not make every surface look the same because it reacts to reflection, texture and coating thickness. A polished stainless face plate in Germiston will bounce more light back into the lens path than a bead blasted tool body, so the beam behaves differently and the mark can look lighter or darker than expected.
That is why sample marking matters before full production. A finish with directional grain may hide a fine logo if the line width is too small, while a rough cast part may need a wider mark to stay readable after cleaning or handling. The goal is not only to put a mark on the part, but to make sure it still reads clearly after oil, dust, polishing or normal wear.
For jewellery makers and metal part suppliers, this is even more important when the same item comes in mixed finishes. A batch of tags, rings or small steel parts may look uniform at the start, yet the mark can shift from bright to dull depending on the final surface prep. A few test pieces can save a lot of rework later.
Polished surfaces need tighter control and cleaner contrast
Polished metal reflects more energy back at the machine, so the marking settings need more care. On mirror-like stainless, aluminium or silver coloured parts, the mark can come out too pale if the focus is off by even a small amount. In some cases the mark looks sharp under workshop lights but fades when the part is turned, which is a problem for serial numbers and small logos.
To improve results on polished finishes, operators often need to reduce glare, adjust speed and test different pulse settings. Small changes can make a big difference, especially on parts that will be handled often. A polishing compound left on the surface can also change the reaction, so cleaning before marking is worth the time.
- Use a proper focus check before starting a batch.
- Keep the surface clean from oil, polish and dust.
- Test for contrast under the same light used in the factory.
- Keep text and line art slightly bolder where possible.
In Wadeville and nearby industrial areas, many customers mark stainless name plates and control tags that must stay legible in bright warehouse light. On these jobs, a clean polished finish may need a deeper or darker mark than expected, otherwise the text can disappear when viewed at an angle.
Brushed finishes give useful grain but can hide fine detail
Brushed surfaces are often easier to mark than polished ones because the grain breaks up reflection. That can help the laser create a more even look, especially on plates, panels and enclosures. The drawback is that the grain can work against small detail if the mark runs across the brushing direction, or if the lines are very close together.
If the finish has a strong directional pattern, it helps to match the design to the part. Larger text, thicker borders and simple icons usually hold up better than thin script or tiny serial text. On a brushed finish, a logo may appear more natural, but a very small QR code can lose edge definition if the settings are not right.
- Mark test samples both with and against the grain.
- Avoid very light line work on finely brushed stock.
- Choose fonts with clear spacing and simple shapes.
- Check legibility after any clear coat or sealing step.
For clients in Boksburg, Alberton and Jet Park who supply control panels or decorative metal parts, brushed surfaces often give the best balance between appearance and readability. The finish looks tidy, the mark stays visible, and the surface usually hides handling marks better than polished stock. It is still wise to keep one sample from each batch for reference later on.
Rough and cast surfaces need deeper marks and simpler artwork
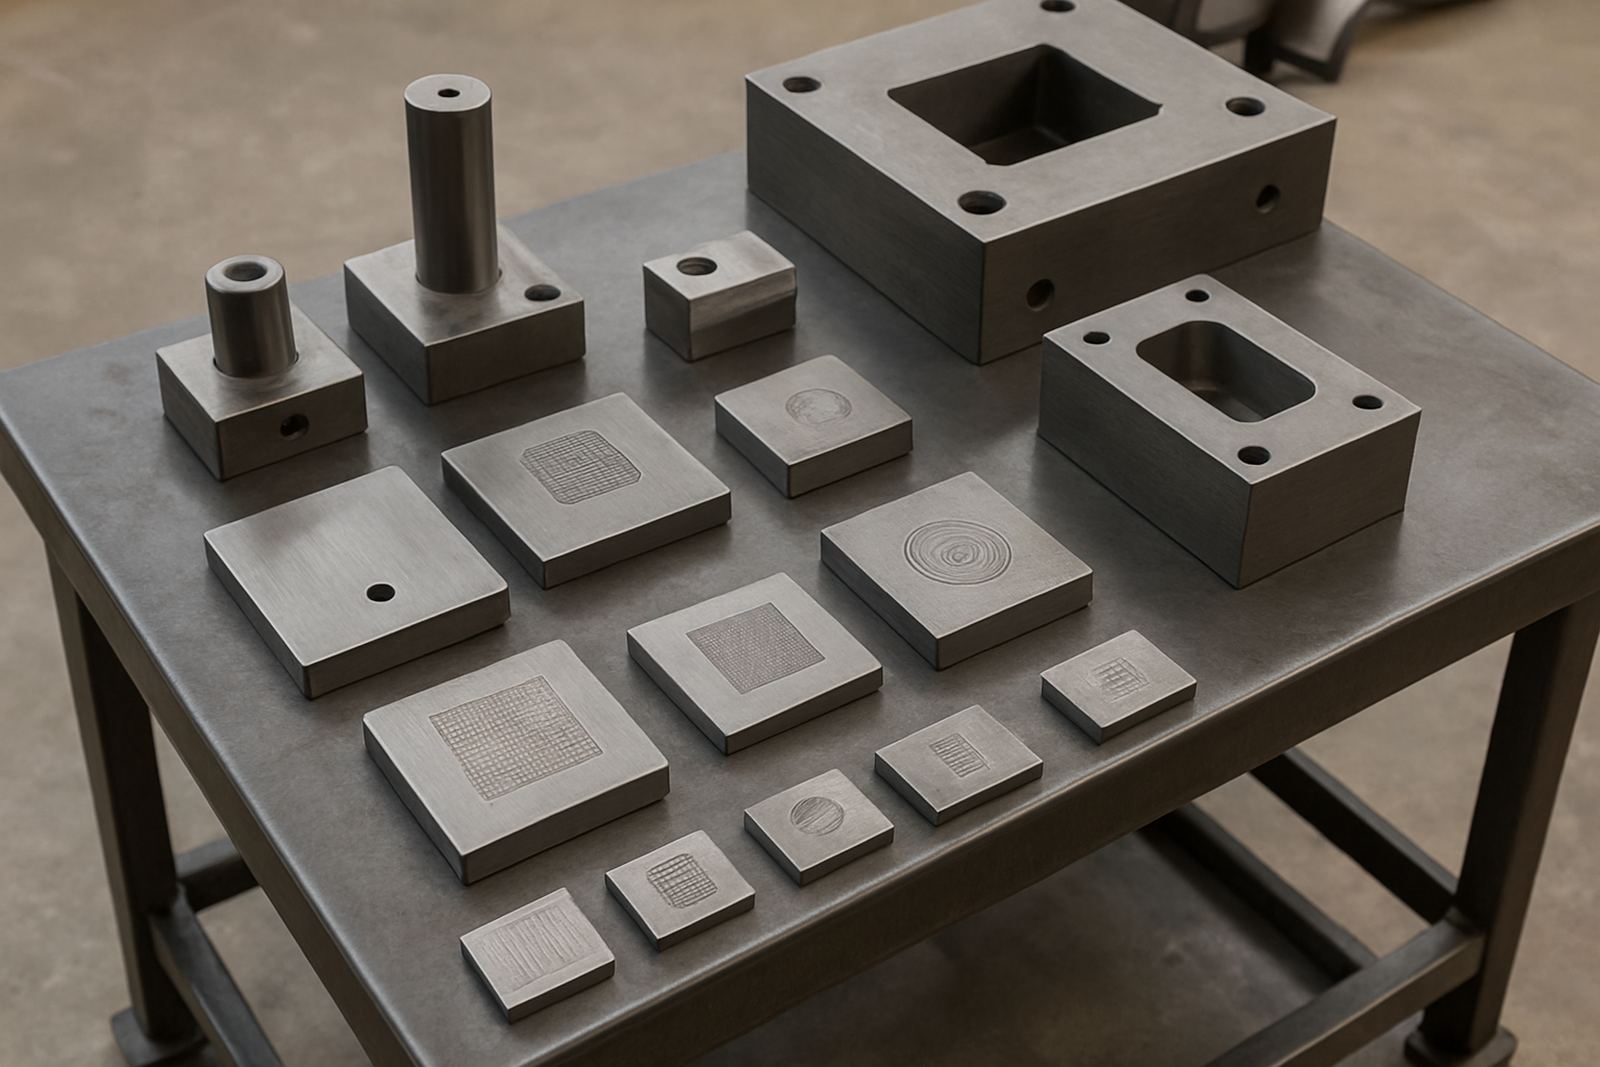
Rough finishes are common on cast parts, welded assemblies and some industrial tools. These surfaces scatter the beam more, so the mark often needs more energy or a different approach to stay visible. If the surface is uneven, a shallow engraving can disappear into the texture and leave the operator thinking the file is wrong when the real issue is the finish.
When a surface has pits, texture or a heavy grain, keep the design simple. Straight text, bold part numbers and clear symbols work better than fine shading. The more uneven the face, the more likely a detailed logo will break up or lose edges. That does not mean the marking will be poor, only that the artwork needs to suit the material.
For maintenance teams and machine builders, rough parts also bring a practical question: will the mark survive paint, sandblasting or heat? If the part is likely to be recoated, the mark may need extra depth or a different location. On some jobs, a mark placed on a smoother machined area gives much better results than one placed on the raw casting.
How finish choice affects speed, cost and repeatability
Different finishes change more than appearance. They affect cycle time, setup time and the number of test runs needed before production starts. A polished surface may need extra adjustment to get the right contrast, while a rough surface may need slower passes to bring out the detail. Over a full shift, those small differences add up.
That is why a marking process should match the part, not just the design file. If one supplier sends polished tags and another sends brushed ones, the same settings may give different results and create avoidable waste. On a busy line, repeatability matters as much as visual quality, because operators need a process they can trust when load-shedding or schedule pressure cuts into the day.
It also helps to record the finish type with the approved settings. A simple note on material, surface prep and focus position can save time on the next batch. Many shops in Gauteng keep a small library of approved sample parts for this reason, so the team can compare new stock against a known result before starting a run.
A local sample from Wadeville to a Pretoria production line
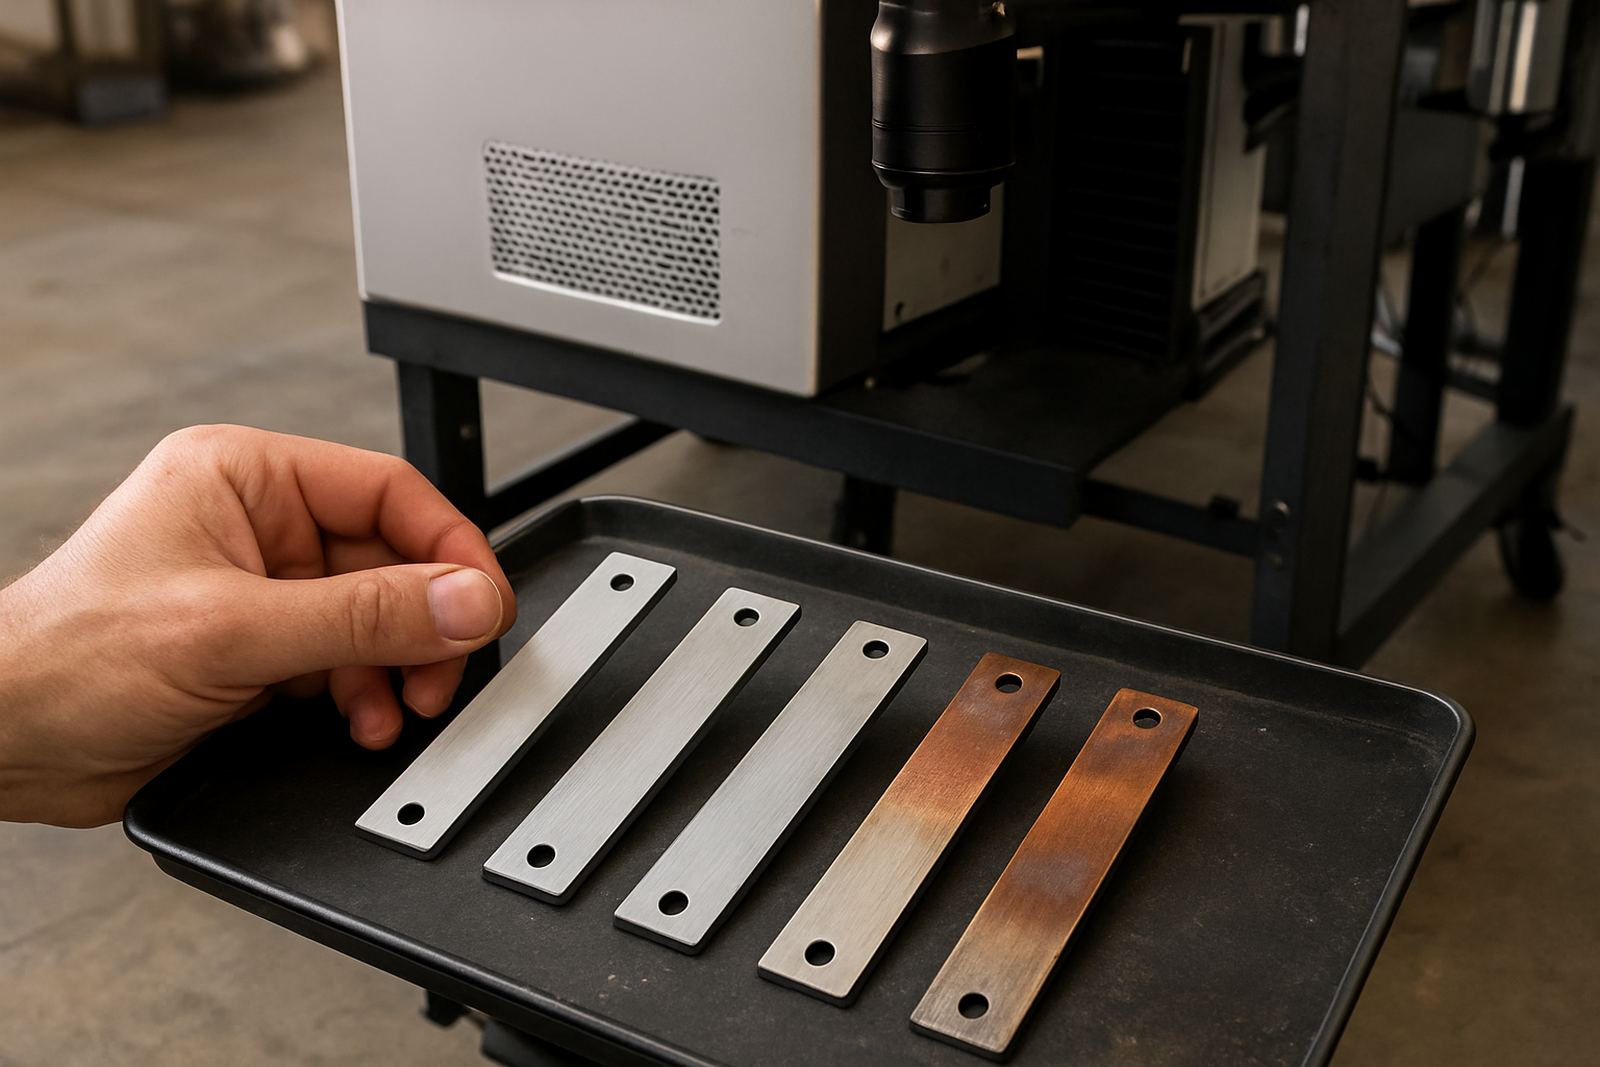
A Wadeville workshop recently needed marking on stainless instrument plates for a client in Pretoria. The first batch came in polished, the second in a light brushed finish and the third had a rougher top face after fabrication. The artwork stayed the same, but the visible result changed on each finish. The polished plates needed cleaner cleaning first, the brushed plates took the best contrast, and the rough plates needed bolder text to keep the serial numbers readable.
That mix is common in South African production because material often comes from different cutting, polishing or fabrication steps. A part may leave the laser room and go straight to packing, or it may still need paint, coating or assembly. Knowing how the surface will look at the end of the job helps prevent problems later, especially when the customer expects neat, durable identification.
For businesses that serve mining, engineering, jewellery or general manufacturing, the lesson is simple: finish first, settings second. The better you understand the surface, the easier it is to choose the right marking style and avoid rework. A short sample run is usually cheaper than correcting a whole batch.
What to ask before approving a marking job
Before any run is approved, check the surface finish, the part size and the final use of the item. A mark that looks fine on a sample coupon may not hold up on a curved or highly reflective part. If the item is going into a humid coastal area, getting handled with oily gloves or cleaned with strong chemicals, the finish becomes even more important.
- Is the part polished, brushed, blasted or cast?
- Will the mark need to stay readable after coating or cleaning?
- Does the design need bold text, a deeper mark or a smaller logo?
- Should the sample be checked under factory lighting and daylight?
- Will the part be used indoors, outdoors or near moisture?
A careful approval step keeps the process practical and saves material. It also gives the operator clear direction instead of guessing how the surface will react. When the finish is matched properly to the marking settings, the result is cleaner, more legible and easier to repeat across future batches.