What colour marking actually is on metal
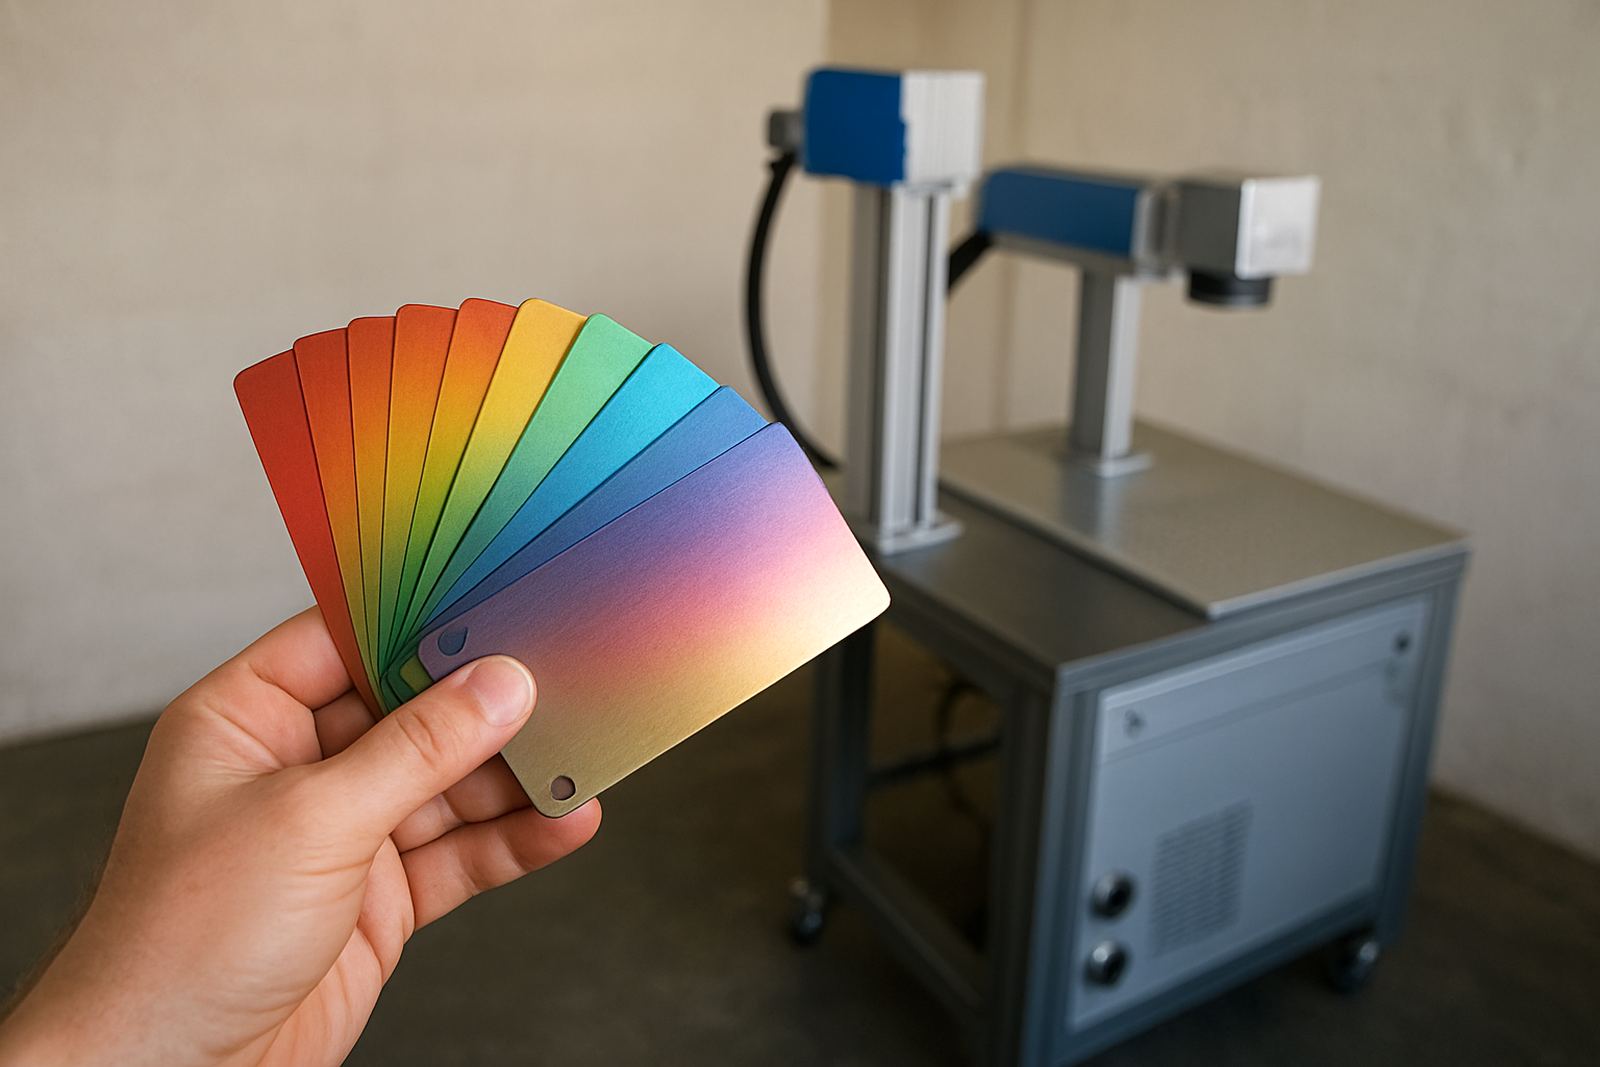
Colour marking is a laser process that changes how light reflects from the surface of a metal part. On selected metals, the fibre laser creates an oxide layer or a fine surface change, and that change can show as black, grey, gold, blue or other tones depending on the setting and the material. It is useful where a permanent, readable mark is needed without cutting into the part too deeply.
For local workshops in Wadeville, Jet Park or Boksburg, this matters because parts often need traceability, serial numbers, logos or batch codes that stay readable after handling, cleaning and general wear. It is not the same as engraving that removes material. Colour marking is usually shallower, which can help when the part must keep its finish and dimensions.
Which metals can show colour changes
Not every metal will colour mark in the same way. The best results usually come from stainless steel, titanium and some coated or treated metals. Mild steel can be marked clearly, but the colour effect may be less consistent. Aluminium can work in certain cases, although it often depends on the surface treatment and the settings used on the machine.
- Stainless steel: often the most predictable for dark or light contrast
- Titanium: can produce stronger colour ranges with careful pulse control
- Coated metals: results depend on the coating thickness and type
- Aluminium: may need test marking to see whether the colour is stable
In practice, a sample test is always worth doing before a full run. A good applications check can save time later, especially when a client wants the same look across hundreds of parts. If the metal supplier has changed, even slightly, the finish can behave differently, so a quick test is smart.
How pulse control changes the final colour
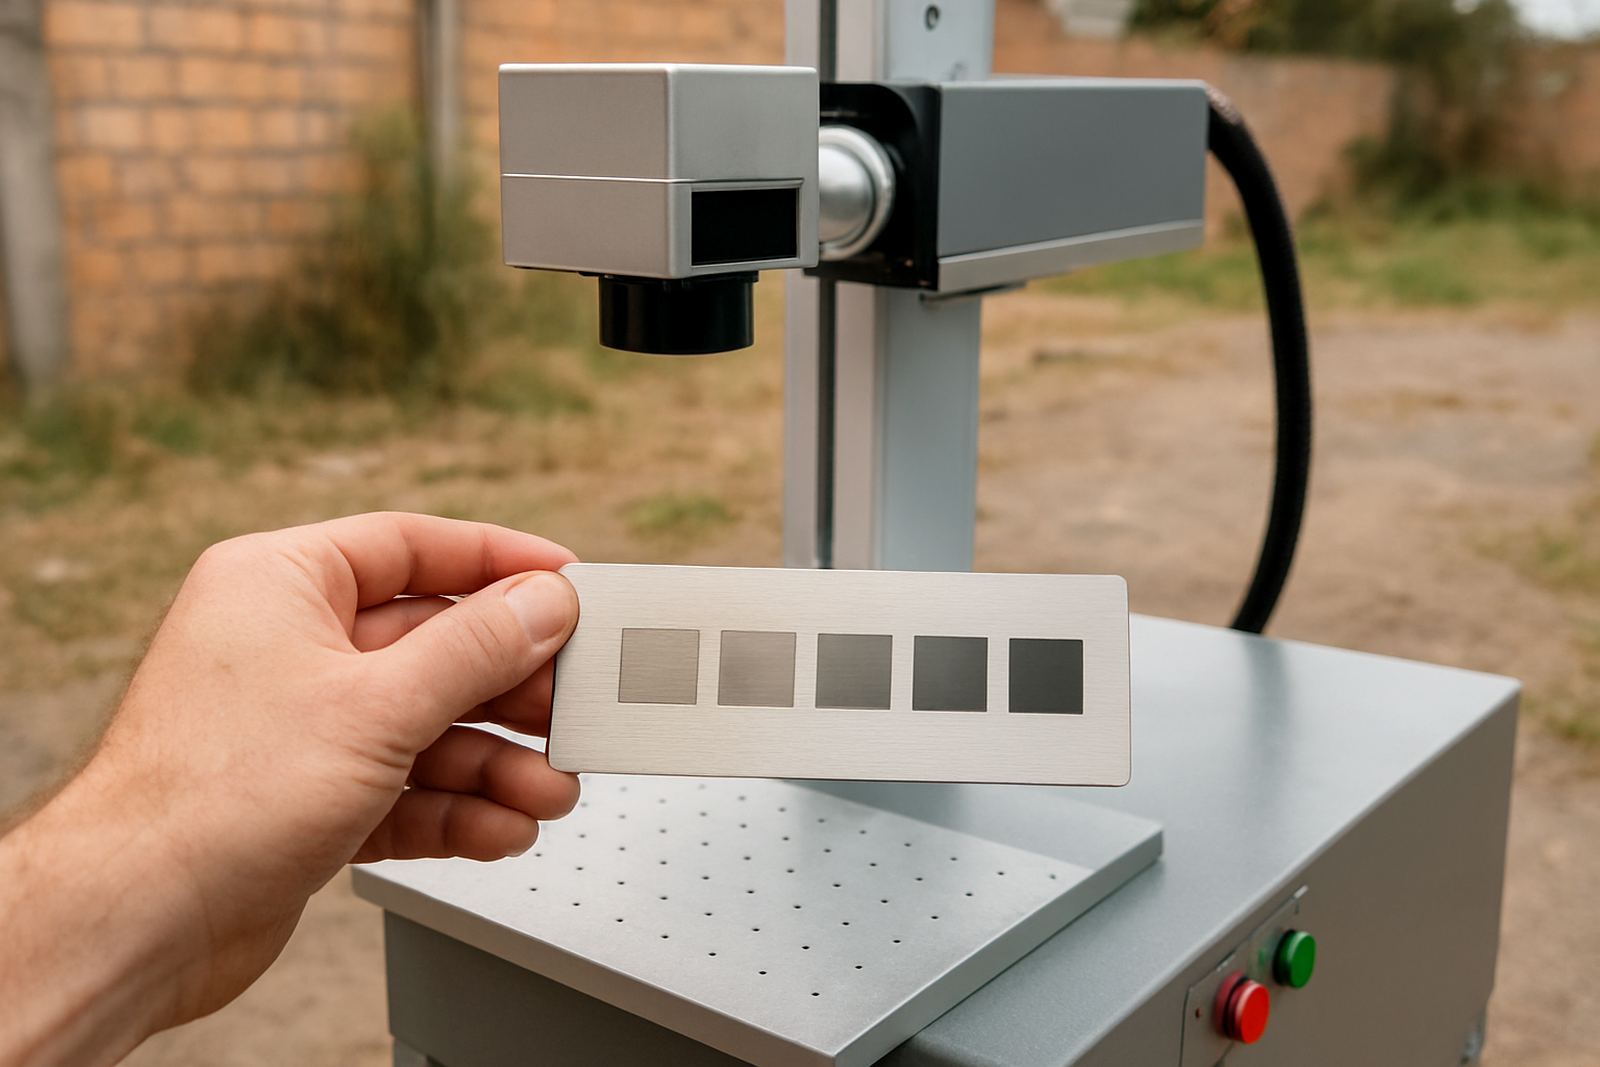
The main control is not just power. Pulse duration, frequency, speed and focus all work together. Shorter, well controlled pulses can change the surface without burning it too much, while a poor setting can leave a dull mark or an uneven shade. The machine does the work, but the settings decide whether the finish looks clean or patchy.
Pulse control matters because colour comes from heat balance. Too little energy and nothing changes much. Too much and the surface can turn rough or even start to discolour in the wrong way. This is why a trained operator matters on production jobs. A few small adjustments can change the result from plain grey to a neat dark finish, and on some parts that difference is important.
- Use the right focus height for the part shape
- Adjust speed before chasing more power
- Test pulse settings on scrap or sample pieces first
- Keep the lens and marking area clean for consistent results
Why colour marking is useful for South African production
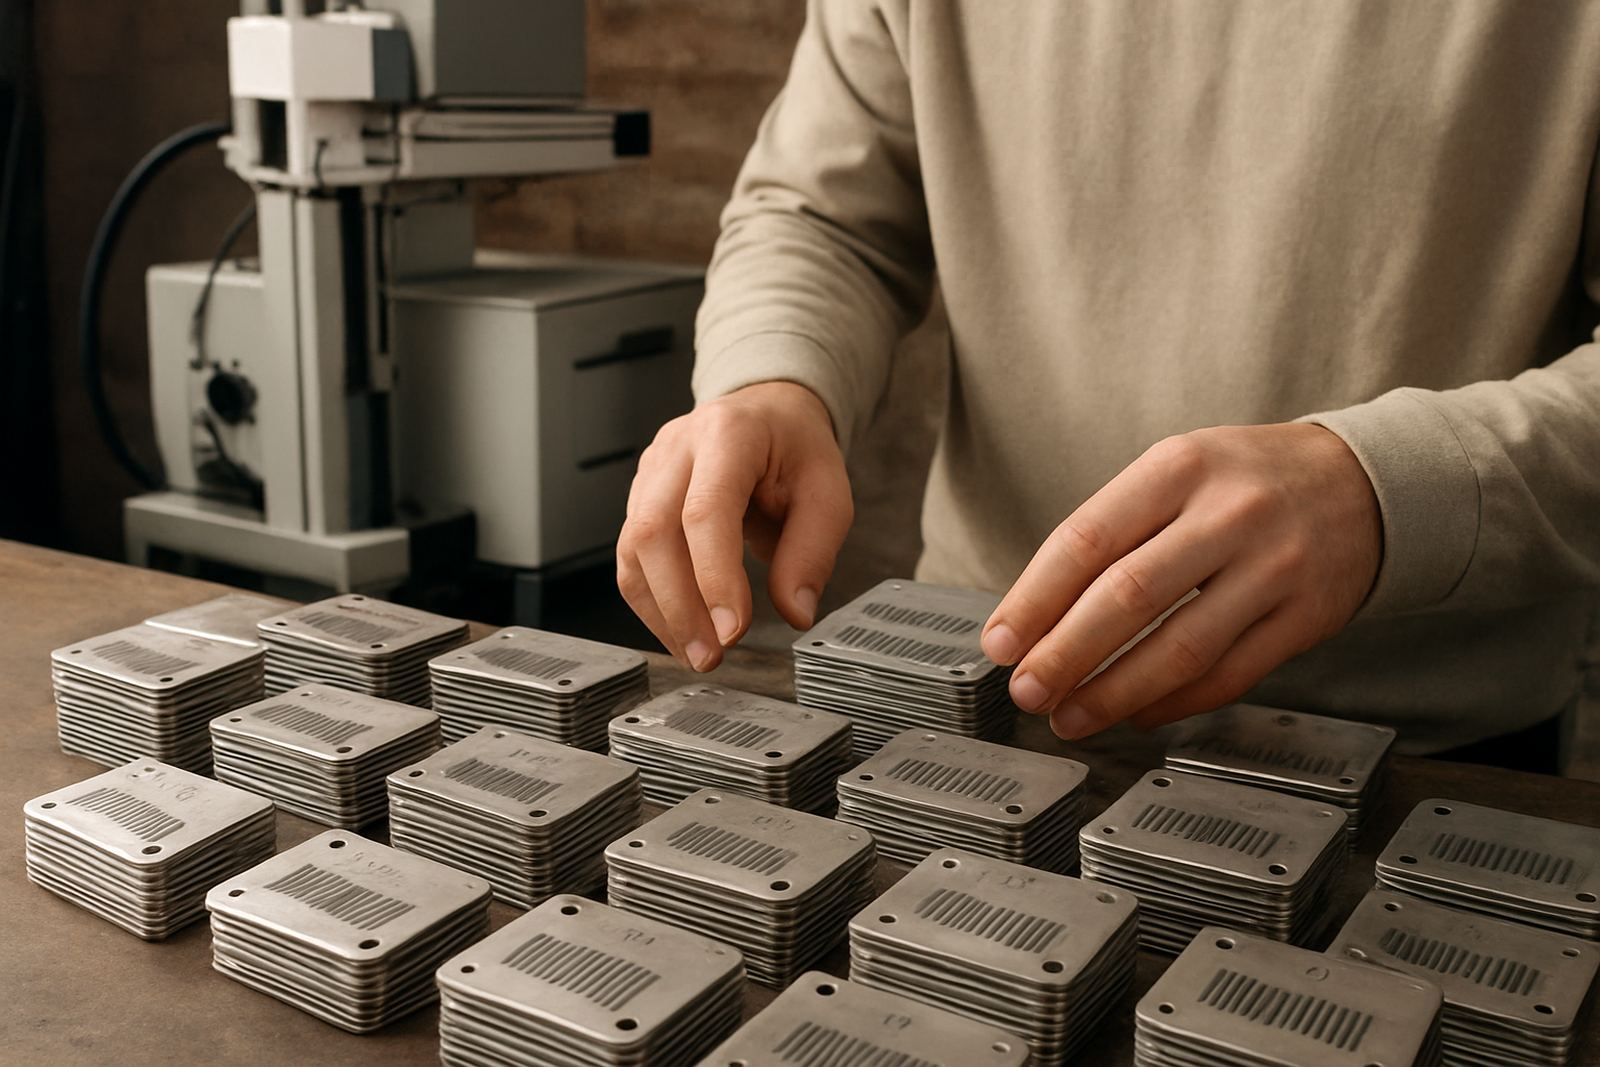
Colour marking is practical for South African businesses that need permanent identification on metal parts. It can be used for product codes, safety markings, small logos, QR codes and decorative details on jewellery. Because the mark is made by the laser, there is no consumable ink to run out and no label to peel off in humid conditions near the coast.
For factories working through load-shedding, this can also help when marking is done in planned batches. Once the machine is set up, the operator can produce repeatable marks quickly and with less manual handling. That saves time in small workshops and larger plants alike. It also helps when parts have to meet internal traceability rules or customer checks before dispatch.
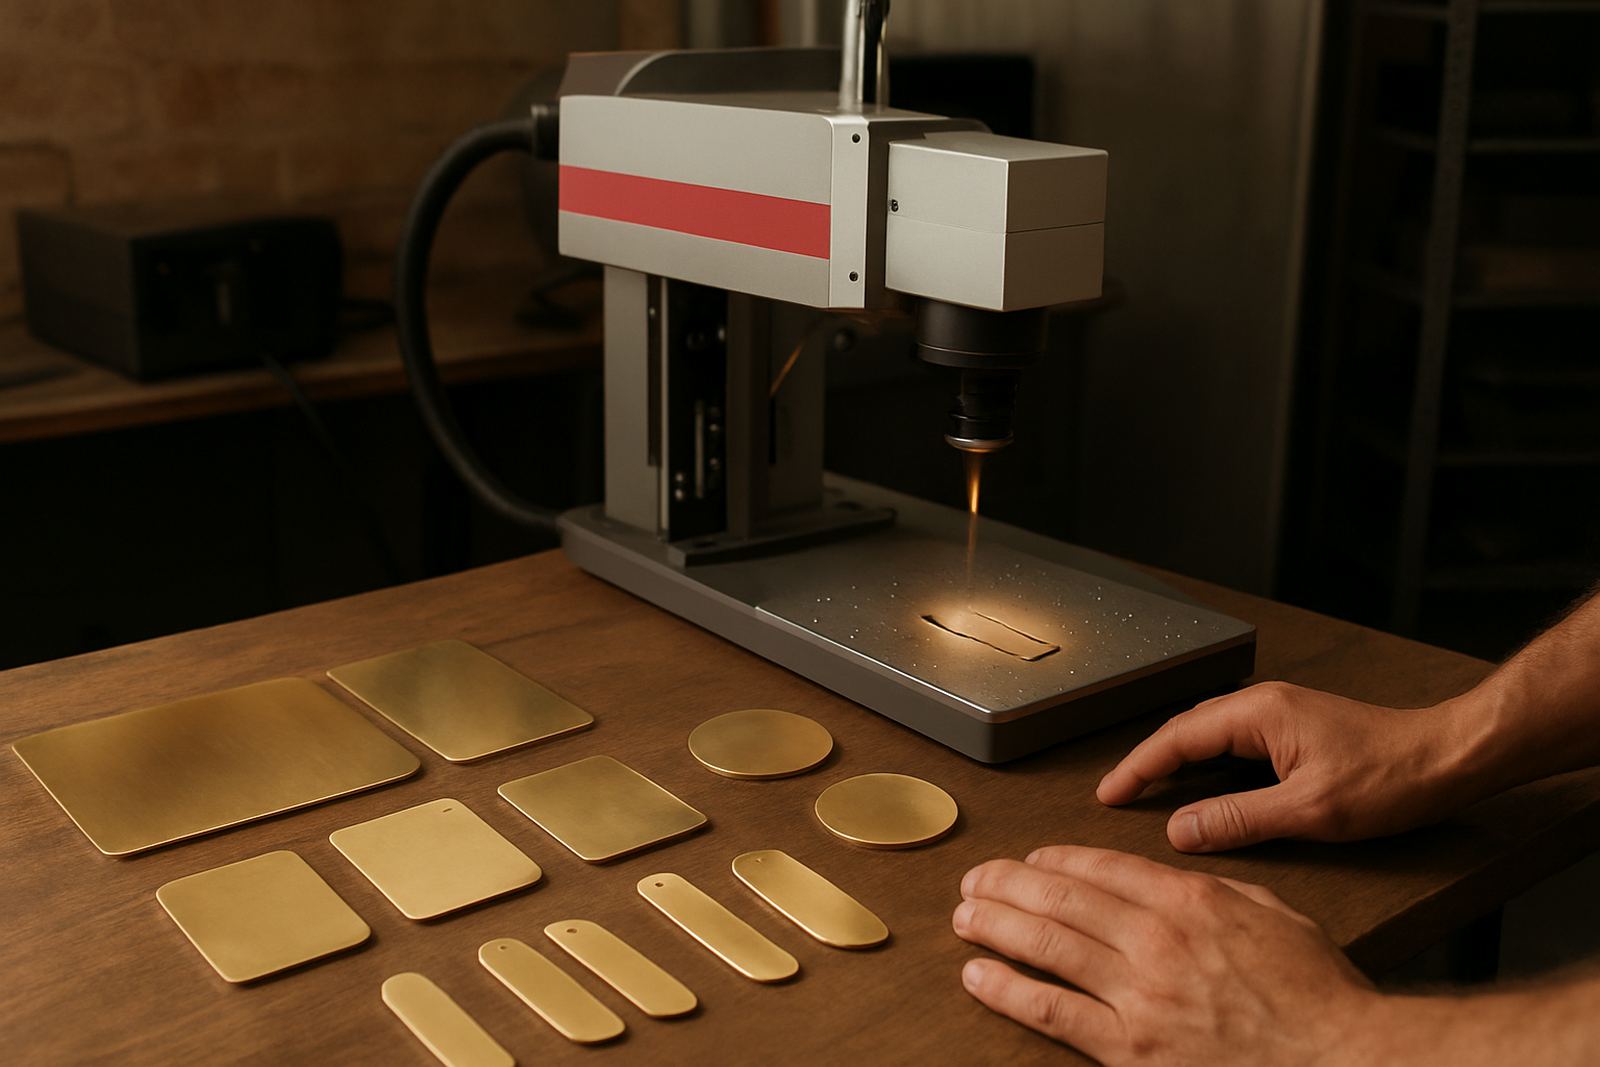
A client in Germiston may need a simple dark serial number on stainless hardware, while a jewellery workshop in Johannesburg might want a softer decorative finish on a ring or pendant. The same general method is used, but the settings and fixture choice will differ. That is where sample marking and process tuning matter most.
What to check before you mark a full batch
Before starting a production run, it helps to confirm the material, the surface finish and the final use of the part. Some items can be marked directly, while others need a fixture to hold them flat and repeat the position every time. If a part is curved or small, a simple fixture can make the difference between a tidy result and wasted pieces.
- Confirm the metal type and any coating or polish
- Check whether the mark must be decorative, technical or both
- Decide if the mark must stay visible after heat, oil or cleaning
- Verify the part size so the field and lens choice suit the job
- Allow time for a sample and a final check before production
It is also wise to think about workshop conditions. Dust, vibration and unstable power can affect consistency if the machine is not installed correctly. Preventive maintenance and routine focus calibration help keep the mark sharp. A small issue on Monday can become a bigger problem by Friday if it is ignored.
A simple Wadeville example from sample to production
Take a Wadeville job shop that makes stainless brackets for a local manufacturer. The customer wants part numbers that remain clear after handling and storage. The workshop sends one sample piece for testing. After the first pass, the operator sees the mark is visible but a bit light. A slight adjustment to pulse timing and speed gives a darker, cleaner result, and the code stays readable without damaging the part.
That same setup can then be saved and reused for the batch, with only minor checks needed from time to time. If the operator is trained properly, the team can repeat the job with less scrap and less downtime. When a machine is installed on site and the software is set up correctly, this sort of work becomes part of the normal flow rather than a trial and error exercise.
For businesses around Wadeville, Alberton, Kempton Park or Isando, this is often the simplest way to turn a marking request into a repeatable process. The key is not just the machine, but the method behind it. Good fixtures, proper training and clear settings all add up.
When colour marking is the right choice
Colour marking is a good option when the part must keep its surface finish, when the mark must last, and when the customer wants a neat appearance. It is especially useful on stainless steel nameplates, tools, jewellery items and metal components that need clear identification without heavy engraving. It is not the answer for every job, but on the right material it gives a very clean result.
If you are unsure whether your part will colour mark well, the sensible step is to test first. That can be done with sample marking, focus checks and a short review of the finish. A practical setup, a trained operator and the right machine settings will usually tell you very quickly whether the job will work. And if it does not, the process can be adjusted before any stock is wasted.
In the end, colour marking is about control. When the pulse is right and the material suits the process, the result is clear, durable and useful for day to day production.