Start With the Brass Grade and Finish
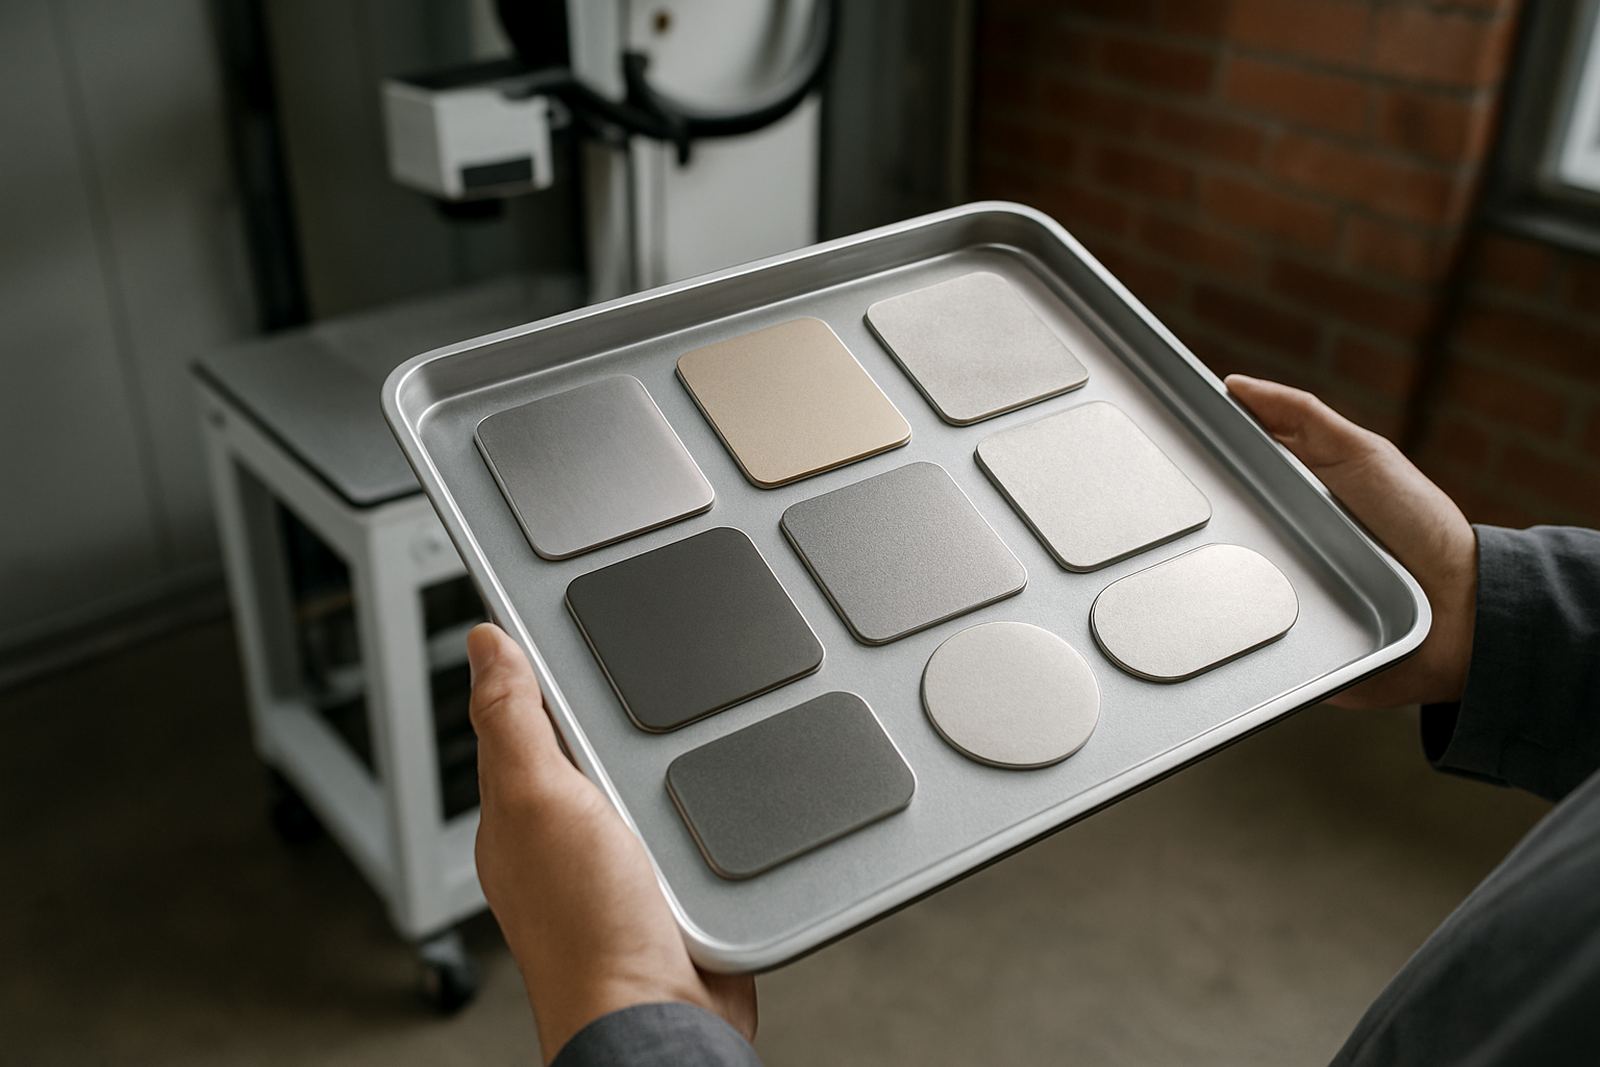
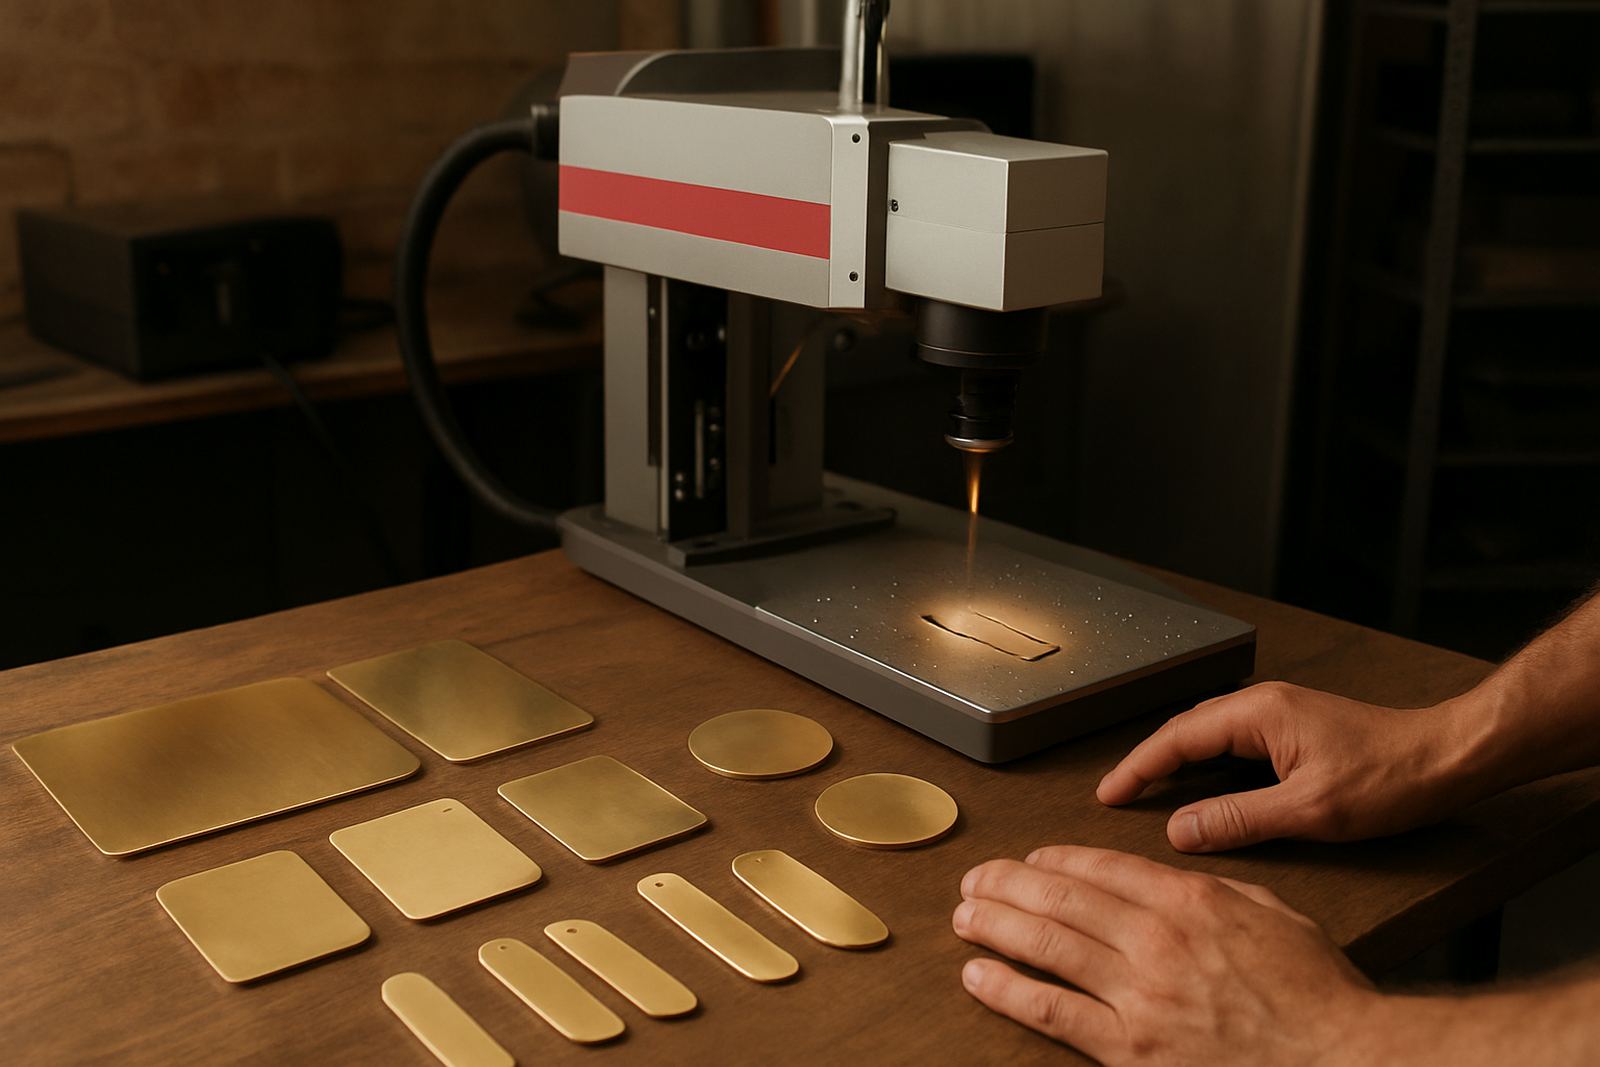
Not all brass behaves the same under a fibre laser. Some sheets are free-cutting and machine easily, while others have a tighter grain or a coated surface that changes how the mark looks. Before you set up a full run, check whether the item is polished, brushed, plated or lacquered, because each finish can react differently to heat and contrast.
For decorative work on nameplates, plaques and jewellery components, a lighter mark usually gives a cleaner look. For industrial labels, you may need a deeper, more durable mark that can still be read after handling, cleaning or exposure to oil. On brass there is often a sweet spot where the mark is visible without roughing up the surrounding surface too much.
- Test on the same brass grade you will use for production
- Check for clear coat, wax or polishing residue before marking
- Keep sample pieces from each batch for future set-up reference
Keep the Surface Clean and Even
Dust, cutting fluid and fingerprints can interfere with fine detail on brass. Wipe the surface with a clean, lint-free cloth before marking, and if the part has machining oil or polishing paste, use a suitable cleaner first. A small amount of residue can cause uneven shading or patchy contrast, especially on engraved logos and tiny serial numbers.
Flatness matters too. Thin brass tags and plates can lift at the corners during marking, which changes focus and leaves the edges soft. If the part is slightly bowed, use a proper fixture or a simple hold-down method that keeps the face level. In Wadeville we often see this on small brass plates from sign shops and electrical contractors, where even 0.5 mm of movement can spoil a fine line.
- Degrease the face before every production batch
- Check for burrs on cut edges that can catch the beam path
- Use a level surface and a stable clamp or jig
Choose Mark Depth for Appearance and Durability
The right marking style depends on how the brass item will be used. For gift items, award plates and decorative inserts, a shallow surface mark with good contrast may be enough. For serial plates, valve tags and equipment labels, you need a mark that stands up to abrasion and cleaning. A deeper mark can help, but too much power can darken the brass or leave a rough finish that looks untidy.
It helps to think about the end user. A brass plate inside a cabinet in Alberton needs a different finish from a brass tag fitted outdoors near the coast, where humidity and airborne salt can affect the surrounding metal over time. If the part will be handled often, avoid sharp edges and keep the marking legible from a normal viewing angle.
- Use shallow marks for decorative work
- Use deeper marks for serials, asset tags and compliance plates
- Balance contrast with a smooth surface finish
Set Up Fixtures for Small Parts and Jewellery
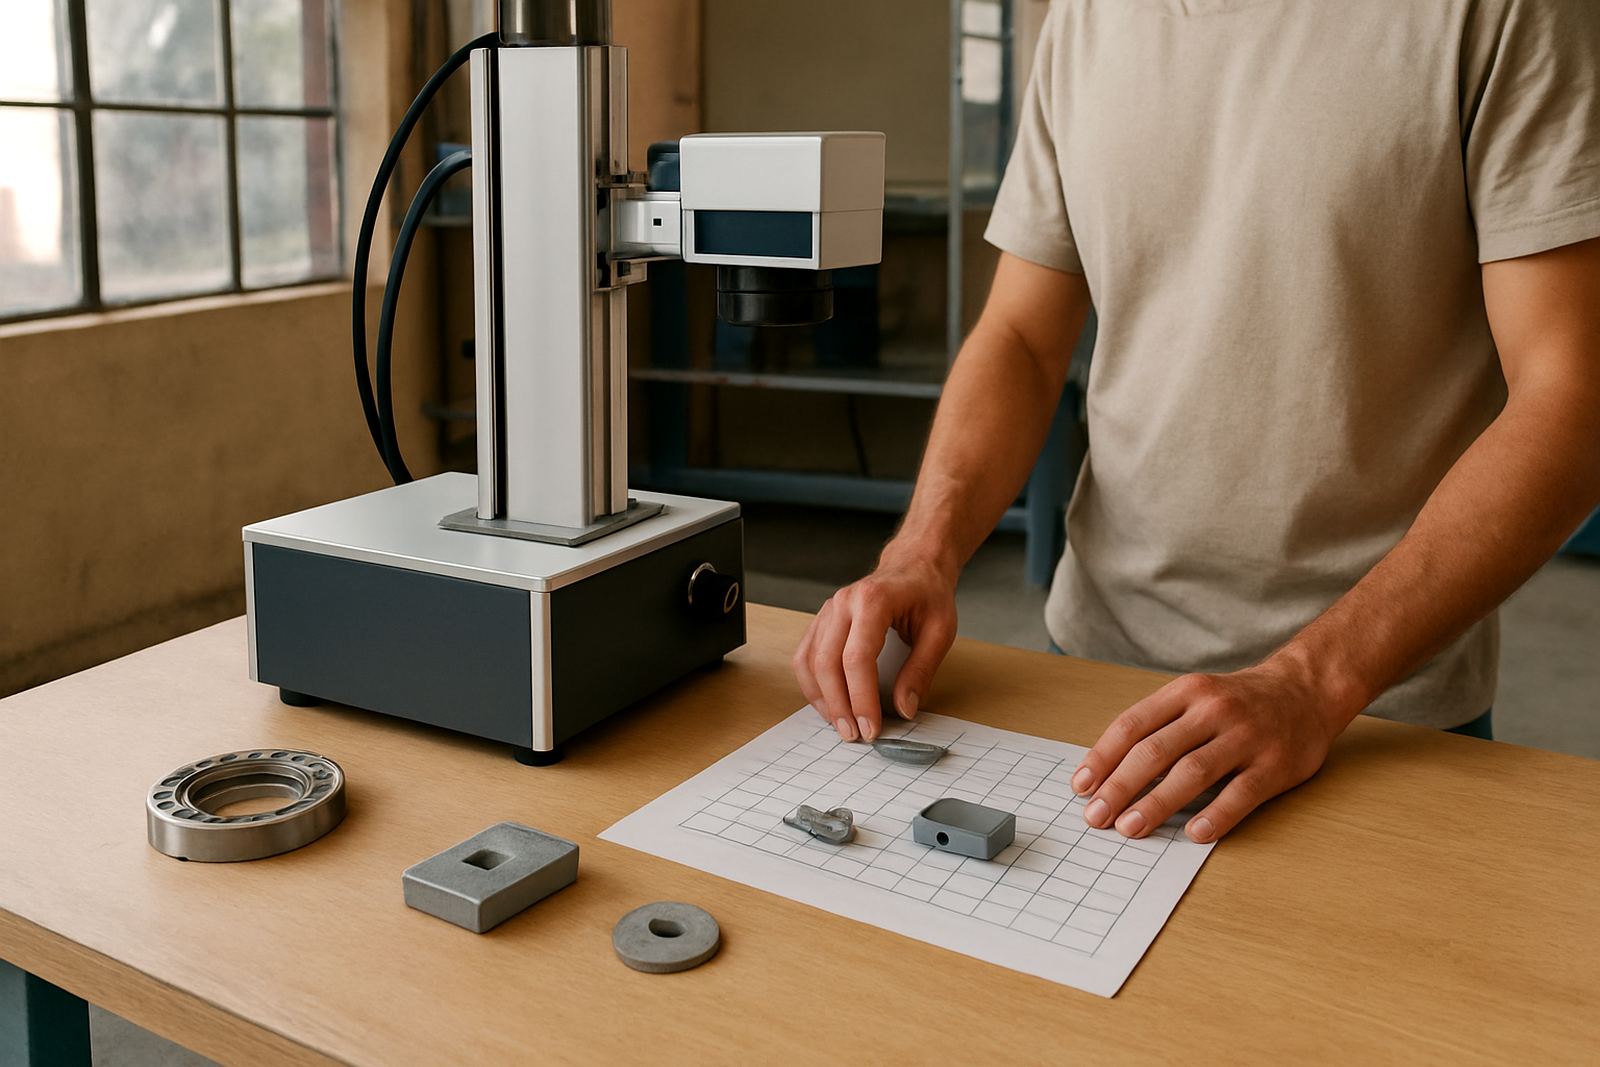
Brass jewellery components, tags and small branded parts are easy to misalign if they are marked loose on the bed. A simple fixture can improve repeatability and save time during setup. For batches of rings, pendants, clasps or miniature plates, the fixture should stop the item from twisting and keep the focal point at the same height across the whole run.
Good fixtures also reduce operator fatigue. When a workshop in Boksburg is processing many small brass pieces in one shift, a well-designed holder can cut down on rework and make the next batch quicker to load. It is a small step, but it pays off when you are working to a deadline and power interruptions have already stolen some production time.
- Match the fixture to the exact size of the part
- Allow quick loading without sacrificing accuracy
- Keep the part face parallel to the marking bed
Use Sample Marking to Lock In Settings
Sample marking is one of the best ways to avoid waste on brass. Run short tests on the same thickness, finish and shape you plan to use. Record the power, speed, frequency and focus position so you can return to the same result later. If you are marking a product range, keep a simple job card for each item with the settings and fixture notes.
In practical terms, this saves money. A workshop in Germiston might be producing brass rating plates in the morning and decorative badges in the afternoon, and the settings will not be identical. Keeping samples also helps with repeat orders because you can compare the new batch against the earlier one before you commit to full production. That little bit of discipline can save a lot of scrap.
- Keep a marked sample for each product type
- Record settings with the batch and date
- Check the first and last part of every run
Plan for Local Workshop Conditions
South African workshops have practical realities that affect brass marking. Load-shedding can interrupt a job halfway through, so it helps to save settings often and have a clear restart routine. Where the supply is unstable, an orderly shutdown and proper restart reduce the risk of losing a batch or shifting the focus setting by mistake.
Dust, heat and humidity also matter. In winter a closed workshop can get dry and dusty, while in summer coastal air can leave a thin film on stored brass. Keep parts covered until needed, and inspect any plated or polished brass before marking. If your team works across Germiston, Jet Park and Kempton Park, it is worth standardising the prep steps so every site gets the same result. That makes handover easier and the marking quality more consistant, even when different operators are involved.
- Save job files before a power cut interrupts production
- Store clean brass parts in covered trays or sealed packs
- Use the same prep steps across all shifts and sites