Why sample testing matters before you commit
Sample testing is the point where theory meets your actual part. A stainless steel tag, a mild steel plate, anodised aluminium, or a jewellery item all respond differently to power, speed and focus settings. What works on one component can be too shallow on another, or leave a mark that looks fine in the machine and fades after polishing, cleaning or handling.
In South Africa, many workshops run mixed batches and tight schedules, so it is worth testing before you buy or before you release a new job to production. A short sample session can save hours later by showing whether the mark stays readable after passivation, powder coating, bead blasting or daily wear. It also helps when you need to meet a client spec, municipal asset marking rule, or internal traceability standard.
- Check if the mark is dark enough, clean enough, or deep enough for the part
- Confirm whether the surface finish changes after marking
- See how long one part takes so you can plan throughput
- Identify any fixturing problem before you start a full run
What to bring when you come for a trial
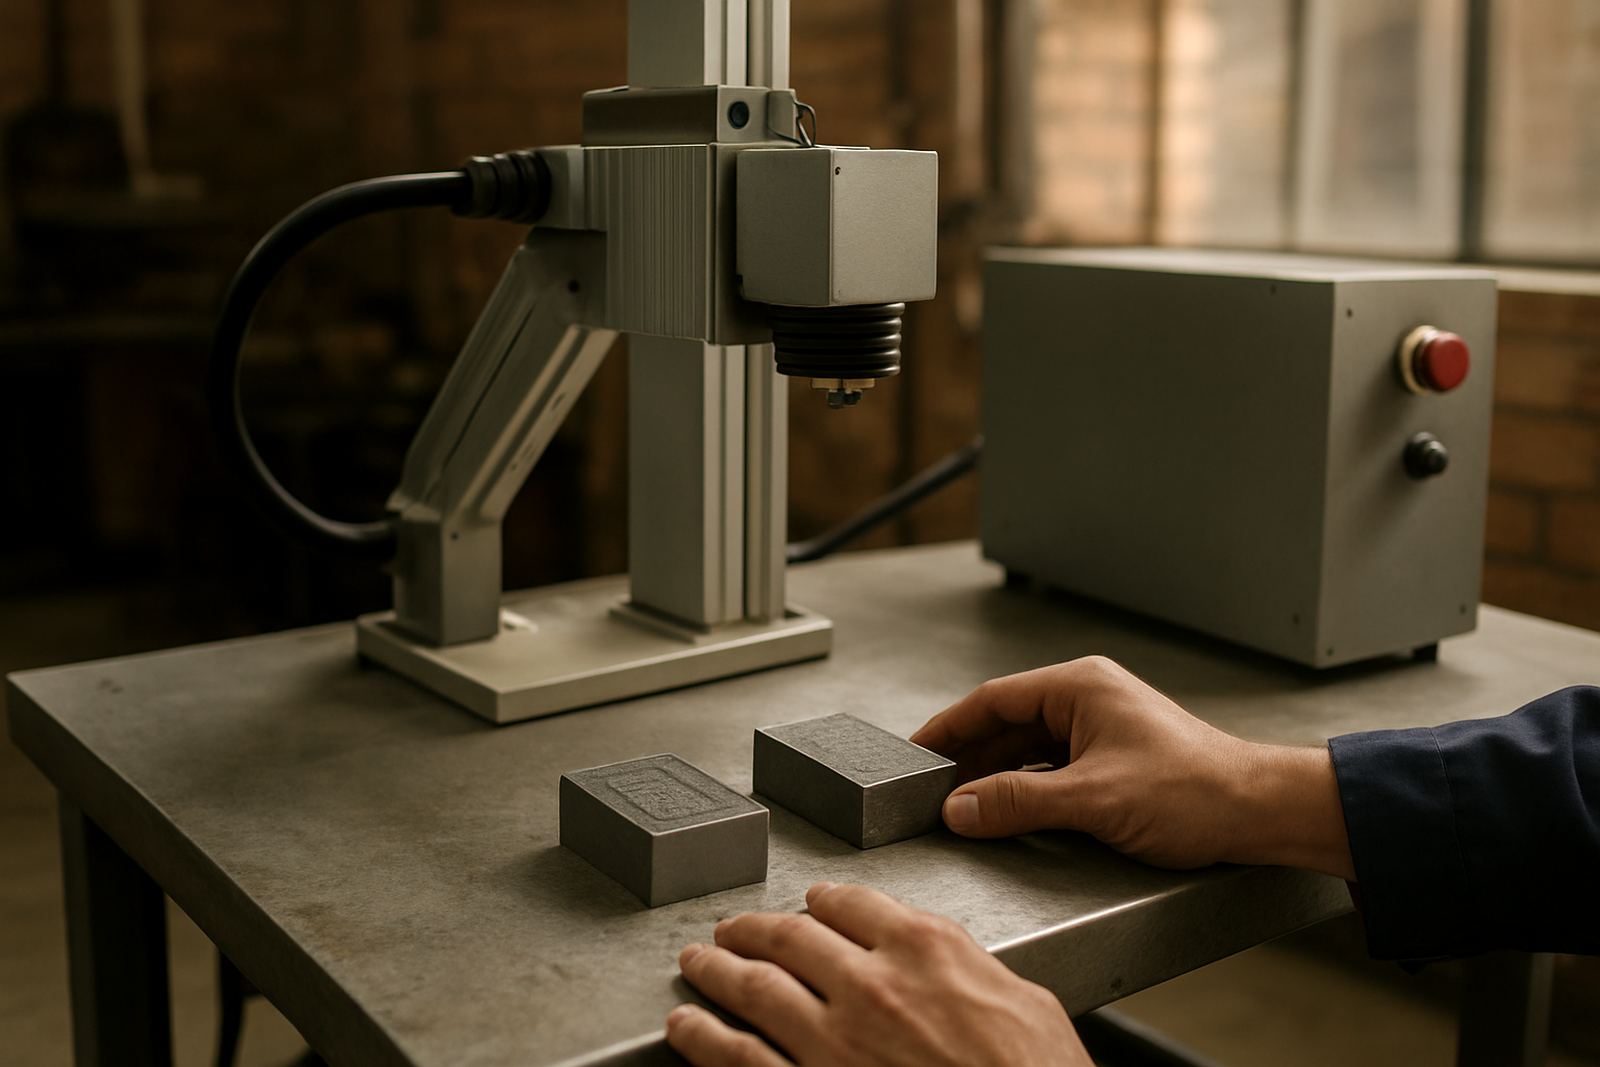
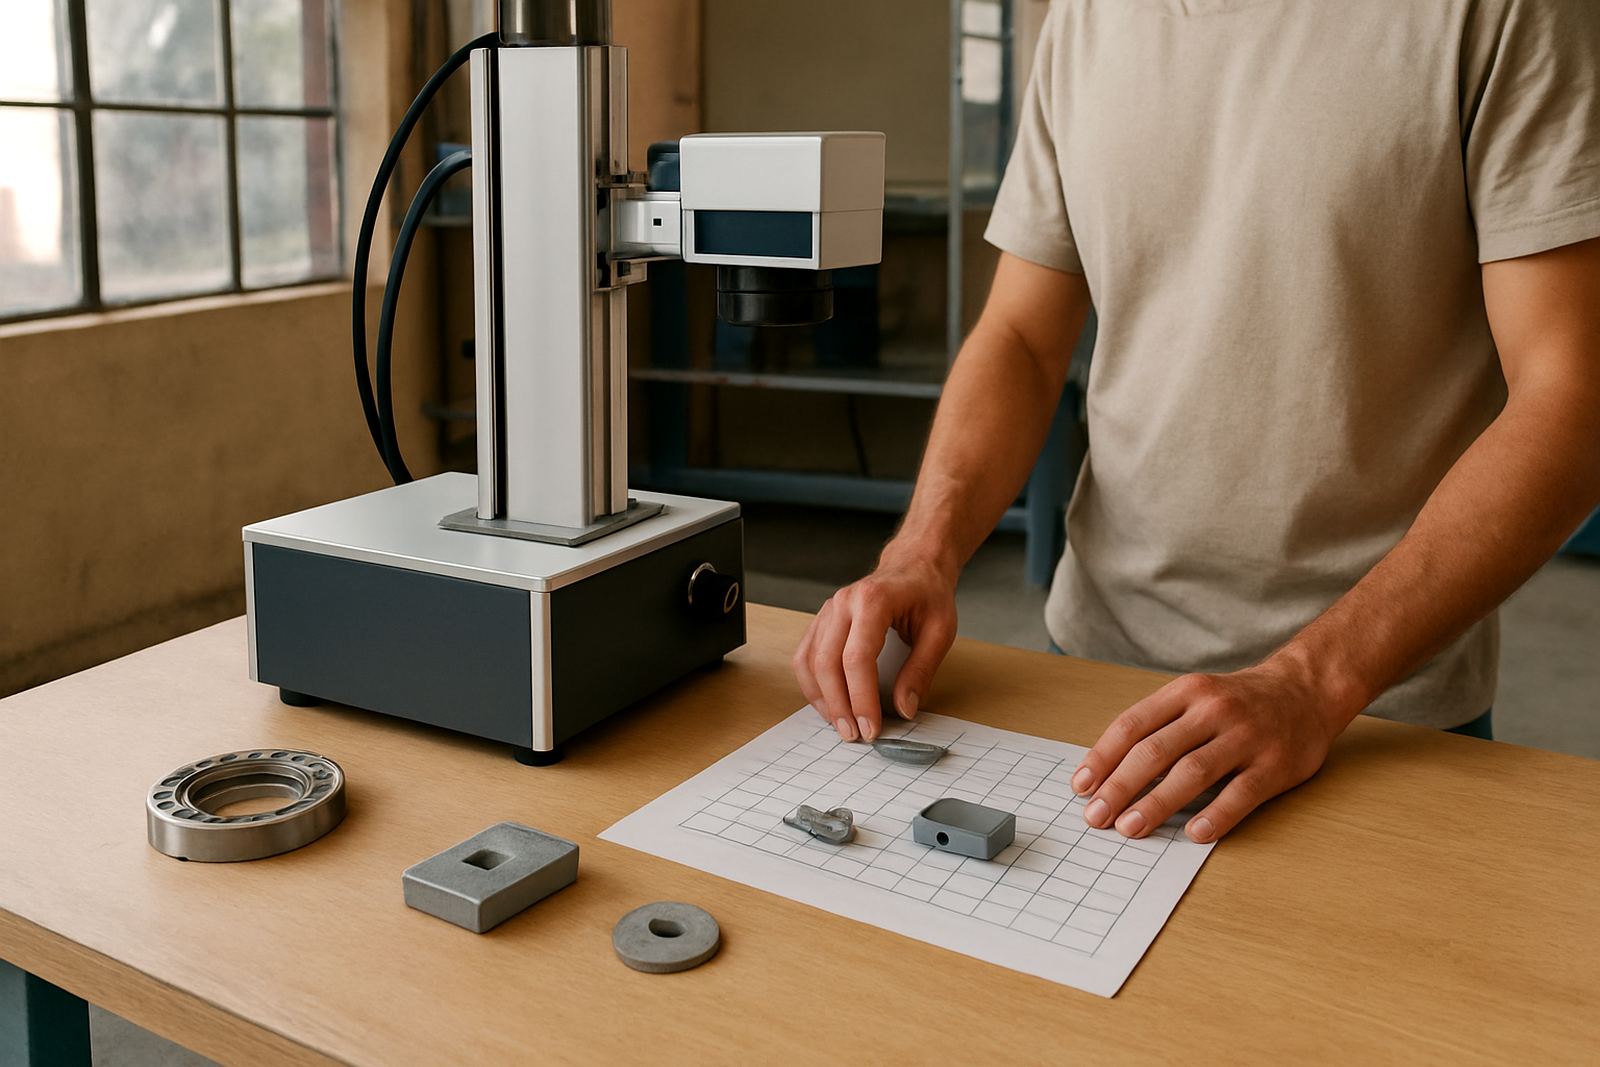
The best sample test uses the exact part you plan to mark. Bring the real material, the same finish, and if possible the same batch you will use in production. If your parts vary in thickness or coating, send a few examples so settings can be checked across the range. For jewellery work, it helps to include a finished item, not only a flat offcut, because curved surfaces and fine details need different handling.
When clients from Germiston, Wadeville, Alberton, Boksburg or Jet Park visit us, we usually ask for a clear sample pack and a short note on the result they want. That may be a serial number, logo, barcode, ring engraving, data matrix, or a high-contrast batch code. If the part has a critical area, mark that out with tape or a sketch so nobody guesses wrong.
- Actual part or offcut from the same material
- Preferred marking text, artwork, serial numbers, or codes
- Any height limits, curved areas, or no-mark zones
- Target finish such as light grey, black, deep engraved, or polished after marking
How the trial is run on the day
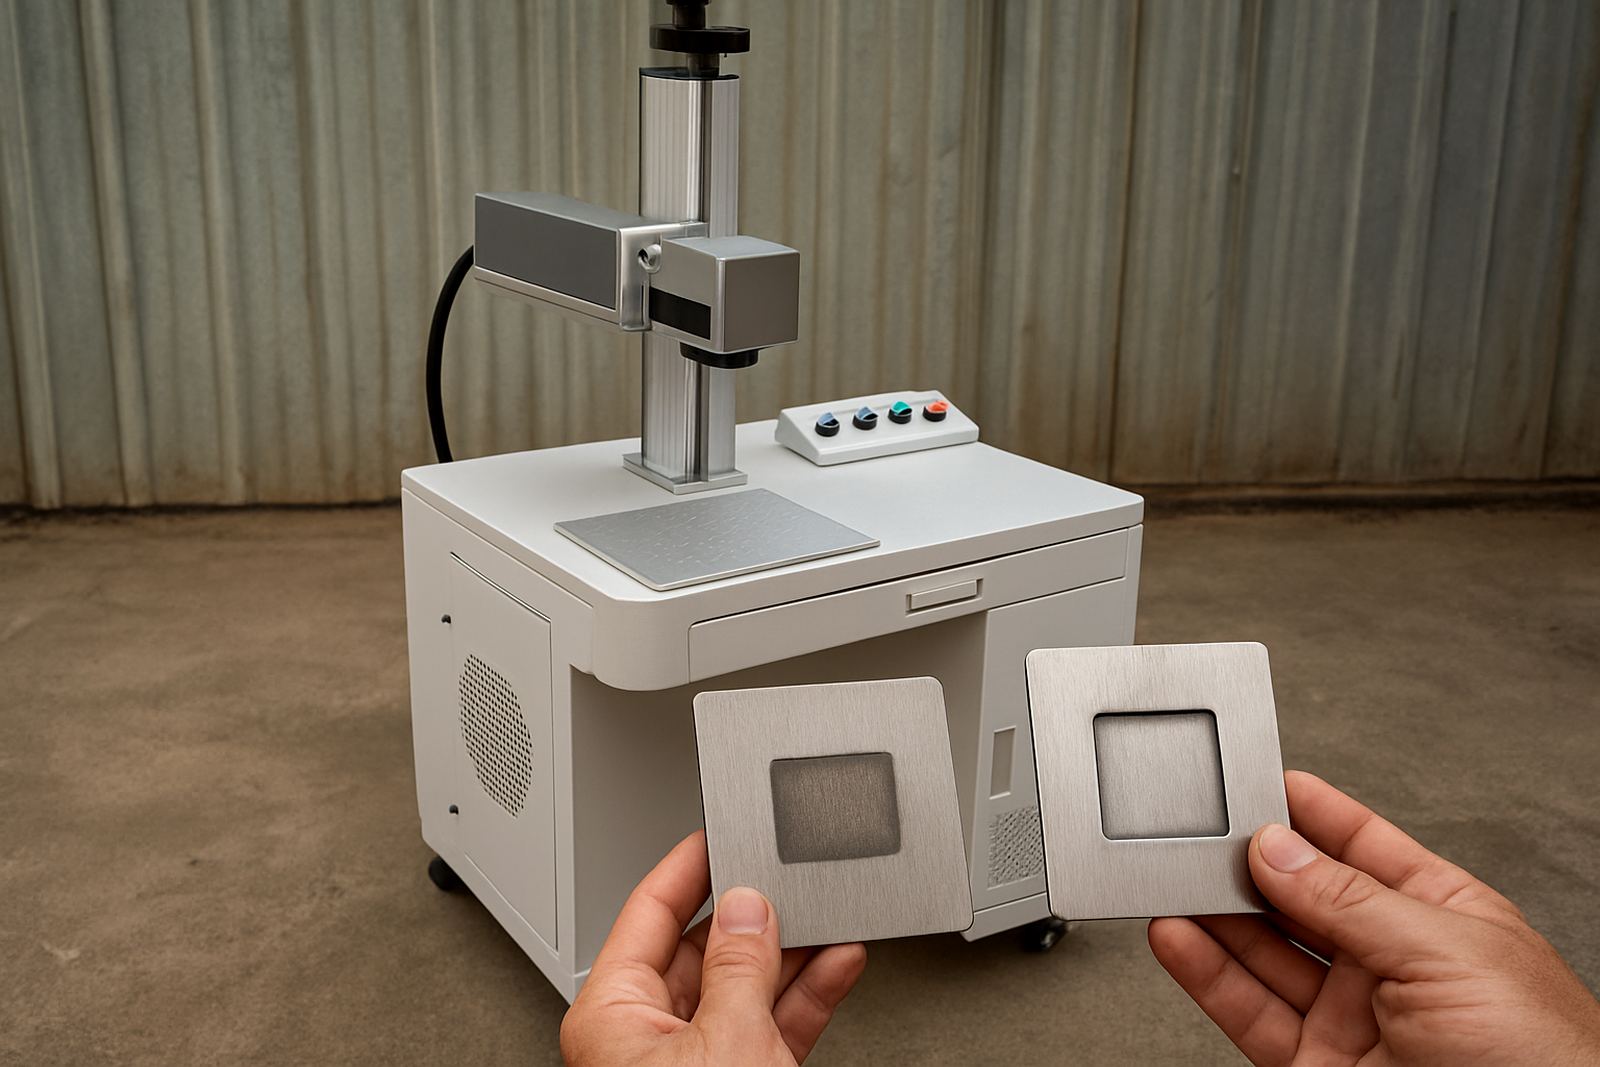
First, the part is inspected for material type, coating and any surface contamination. Oil, scale, oxide and polishing residue can all affect the result, so the part must be clean before testing. Then the focus is set and a small group of test marks is made using different combinations of power, speed, frequency and hatch spacing. The goal is not to rush to the nearest good mark, but to compare a few options side by side.
A proper sample run should also check handling. If the piece is small, curved or awkward to hold, the fixture matters as much as the laser settings. A part that sits loose may move during the mark and give a blurred line or uneven depth. On a busy production floor in Wadeville or Isando, that small issue can turn into scrap if it is not caught early.
- Surface inspection and cleaning before marking
- Focus setting and alignment on the actual part
- Test grid of marks with varied settings
- Review of readability, depth, contrast and edge quality
What you should check on the sample parts
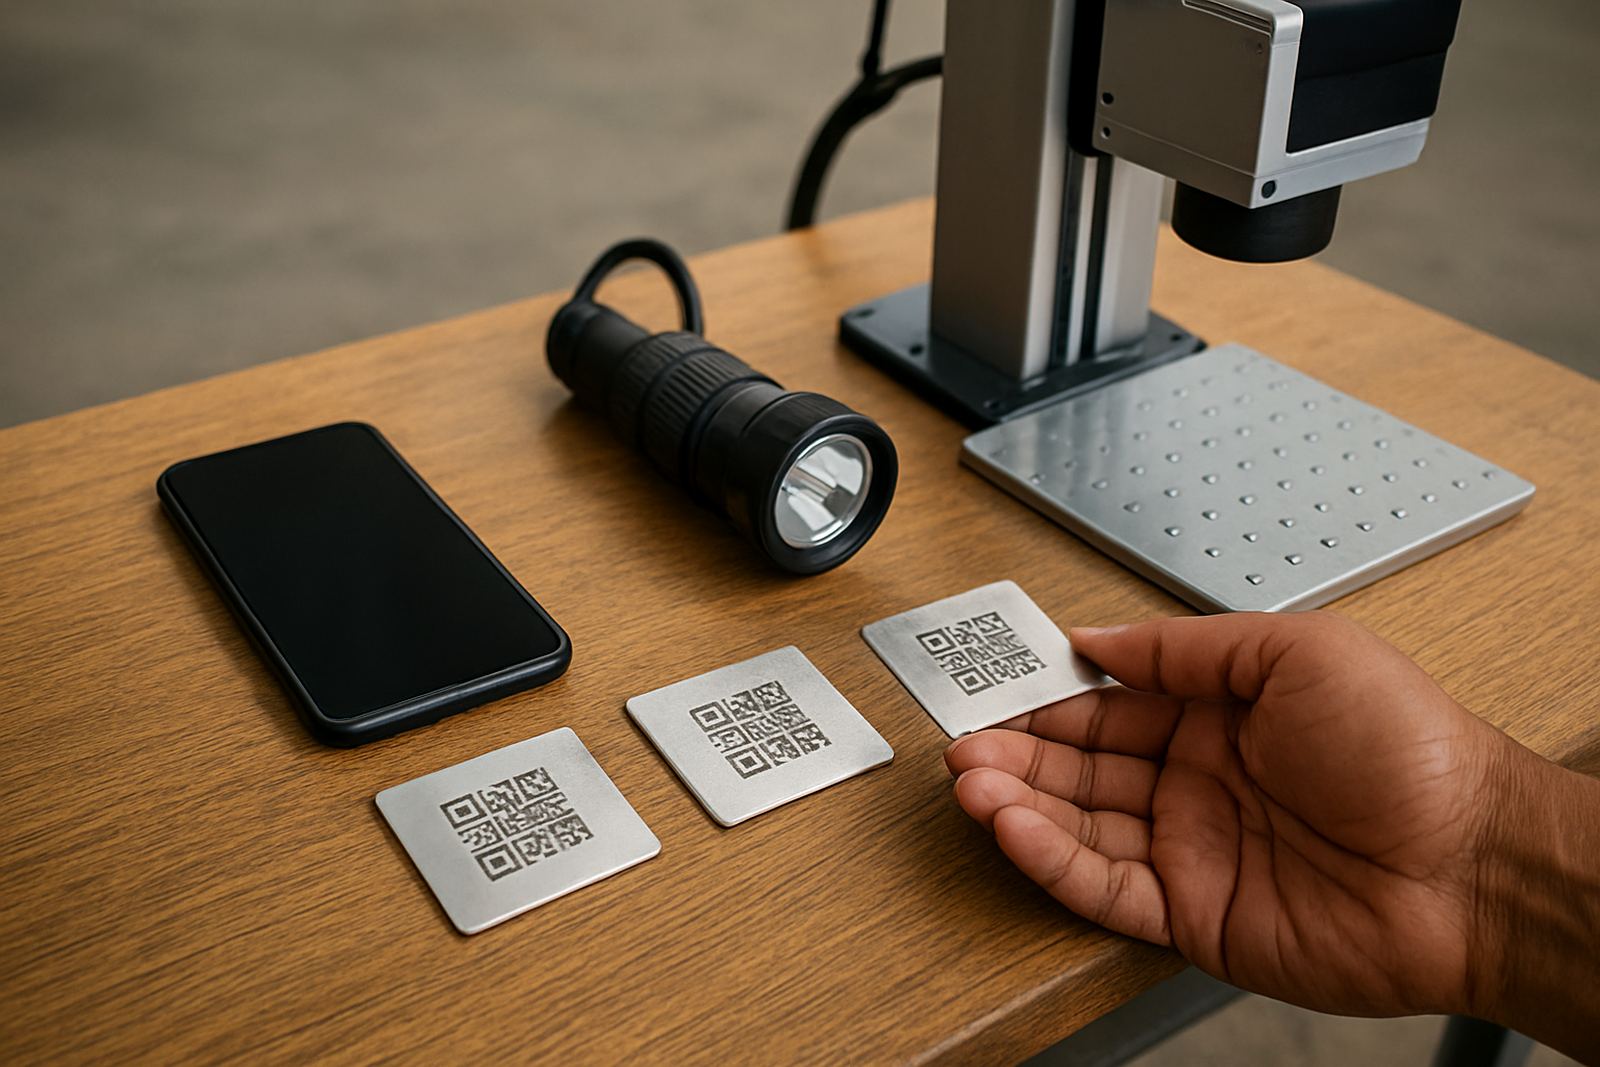
Once the first marks are complete, inspect them the same way the final job will be inspected. If the part will be scanned, scan it. If it will be read by a person on a warehouse floor, check the visibility from that angle and in that light. If it will go through a finishing process afterwards, make sure the mark still stands out after coating, washing or handling.
For jewellery, the main concern is usually neatness and legibility without distortion. For industrial parts, the important points are often depth, permanency and repeatability. If a code must survive heat, abrasion or chemical exposure, that has to be tested at the sample stage, not after the first production batch. It is easier to change settings now than to rework a pallet later.
- Readability under normal workshop lighting
- Consistency across every sample mark
- Resistance to wiping, handling or light abrasion
- Suitability for scanning, traceability or identification
When fixture design and focus need attention
Many sample tests show that the marking settings are fine, but the handling method is the weak point. That is common with small round parts, thin plates and items with irregular edges. A fixture may need a locating pin, clamp, nest or stop so the part sits in the same position every time. Without that repeatability, one batch may look acceptable and the next one slightly off-centre.
Focus is just as important. If the mark is crisp on one part and soft on another, the height may be changing more than expected. That happens often with pressed parts, bent components and jewellery pieces that are not perfectly flat. In a workshop with load-shedding interruptions, it is also worth checking how settings are stored and recovered after a power cut so the next sample starts from the same point.
Our team in Wadeville can assist with fixture design, sample marking and process optimisation when the part needs a bit more thought. Sometimes a small change in jig height or rotation point makes the job repeatable, which is what you want before production starts.
What happens after the sample is approved
Once the sample is approved, the settings should be recorded clearly so the same result can be repeated later. That includes power, speed, frequency, focus position, pass count, fixture notes and the exact sample reference. If the job will be run at a different site, or by a different operator, those notes become part of the handover and prevent guesswork.
For businesses in Germiston, Kempton Park, Alberton and across South Africa, this is where training and support help. Operators need to know not only how to start the job, but how to recognise when a mark is drifting, when a lens needs cleaning, and when a part variation means the setup must be checked again. A good sample is not just a yes or no answer, it is the baseline for production.
- Save the approved settings and sample reference
- Note the fixture position and any special handling steps
- Train the operator on inspection points
- Plan a recheck if the material batch or finish changes
A local example from Wadeville to production floor
A Wadeville manufacturer brought in a batch of stainless steel nameplates that had to stay legible after handling and cleaning. The first sample was visible, but the edge contrast was weaker than expected after a wipe with solvent. By adjusting focus and changing the marking strategy on the test pieces, the final sample gave a clearer result without slowing the cycle too much.
That kind of trial is common. The part looked simple at first, yet the sample showed that a small change would save time later. The same approach works for jewellery tags, tooling labels, serial plates and small machine components. If the sample is done properly, the production run starts with fewer surprises and less scrap, which matters when orders are tight and the power is not always stable.
Whether the job is one tray of parts or a repeat order for multiple sites, sample testing gives you a practical answer before you commit. That is usually the difference between a setup that looks good in theory and one that works day after day.