Start With the Aluminium Grade and Finish
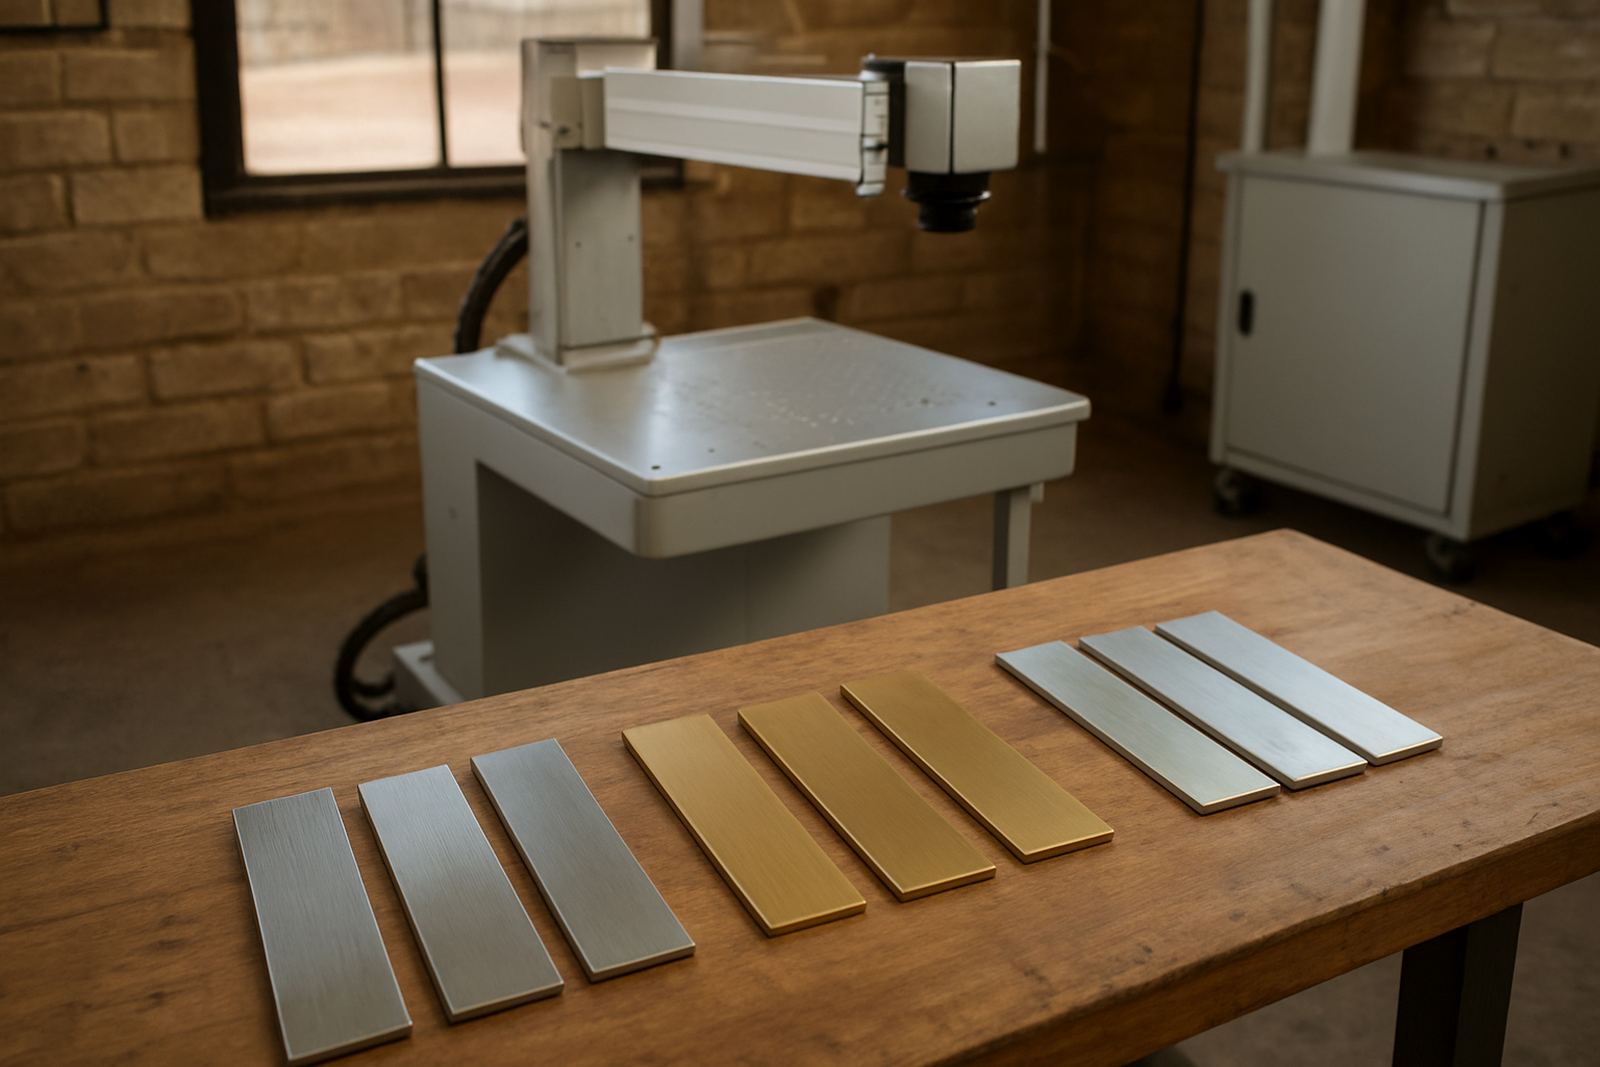
Not all aluminium behaves the same under a fibre laser. A milled plate, brushed cover and anodised panel will each react differently, so the first step is to identify the material and finish before you run a batch. Cast aluminium often gives a different mark to extruded profiles, and coated parts can vary a lot depending on the thickness of the surface layer.
If you want consistent contrast, keep a simple job record for each material type. Note the alloy if it is known, the surface finish, the thickness and whether the part has been cleaned. In many workshops that one habit saves hours of trial and error later. It also helps when a customer in Germiston sends a repeat order months later and expects the same result.
Clean the Surface Properly Before Marking
Finger oil, cutting fluid and fine dust can all soften the mark or leave patchy results. Aluminium may look clean enough at first glance, but the surface often carries residue from machining, handling or packaging. Wipe parts with a suitable cleaner and a lint free cloth before marking, then let them dry fully.
- Remove coolant, polish residue and oxide build-up before the job starts
- Avoid cloths that leave fibres behind on small parts or jewellery pieces
- Handle cleaned parts with gloves to prevent new marks from fingerprints
- For high-volume work, add a cleaning step into the job card so it is not skipped
On coastal contracts the humidity can also affect surface condition during storage, so keep parts sealed until they are ready for the machine. That helps if you are shipping finished components to Durban or Richards Bay.
Set the Laser to Suit Contrast, Not Just Speed
When people rush aluminium jobs they often chase speed first and forget contrast. A fast mark that is faint is not useful if the part still needs to be read after anodising, handling or assembly. The better approach is to balance power, pulse settings, scan speed and hatch spacing until the mark is clear and stable.
For bare aluminium, a light oxidised mark or frosted finish may be more practical than trying to burn too deep. On anodised surfaces, the aim is usually to remove or modify the top layer cleanly without damaging the base metal. That means testing on offcuts, then saving the settings once you get the result you need. Wynand Vosloo often advises customers to keep one approved setting per product line, rather than changing values from operator to operator.
Use Fixturing That Holds Thin Parts Flat
Thin aluminium can lift, vibrate or shift under the beam if the fixture is poor. Even a small movement can blur serial numbers, batch codes or tiny logos on jewellery components. Good fixturing is not complicated, but it must suit the part shape and allow fast loading without forcing the operator to fight the setup.
- Use flat supports for sheet parts so the focus height stays consistent
- Add location pins or stops for repeat jobs with multiple pieces
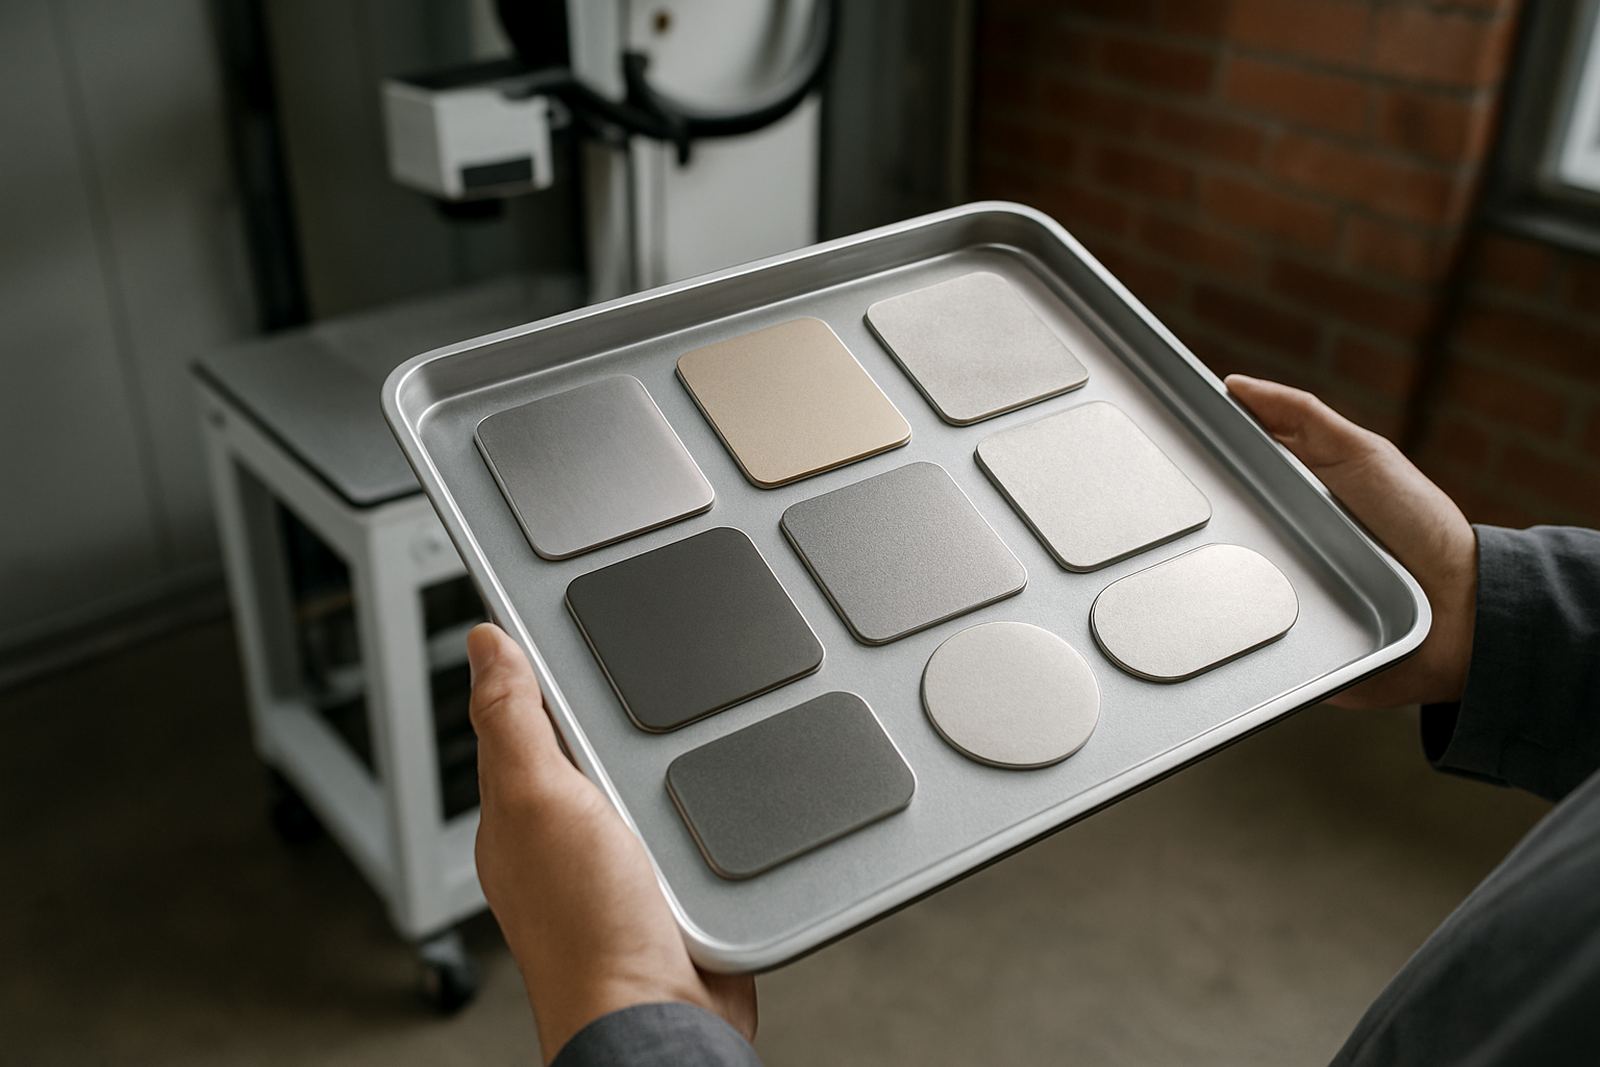
- For small items, use a tray or custom nest to stop movement
- Check fixture materials for heat reflection and wear over time
If the workpiece is curved or irregular, spend a little time on fixture design before the production run starts. That usually pays for itself quickly, especially when the same product is marked every week.
Control Focus and Mark Depth Carefully
Aluminium marking depends heavily on focus. If the beam is even slightly out, the mark can lose definition or show an uneven edge. This is why focus calibration matters so much on machines used across different sites and operators. A machine that is spot on in Wadeville can still drift during transport, relocation or after a tooling change.
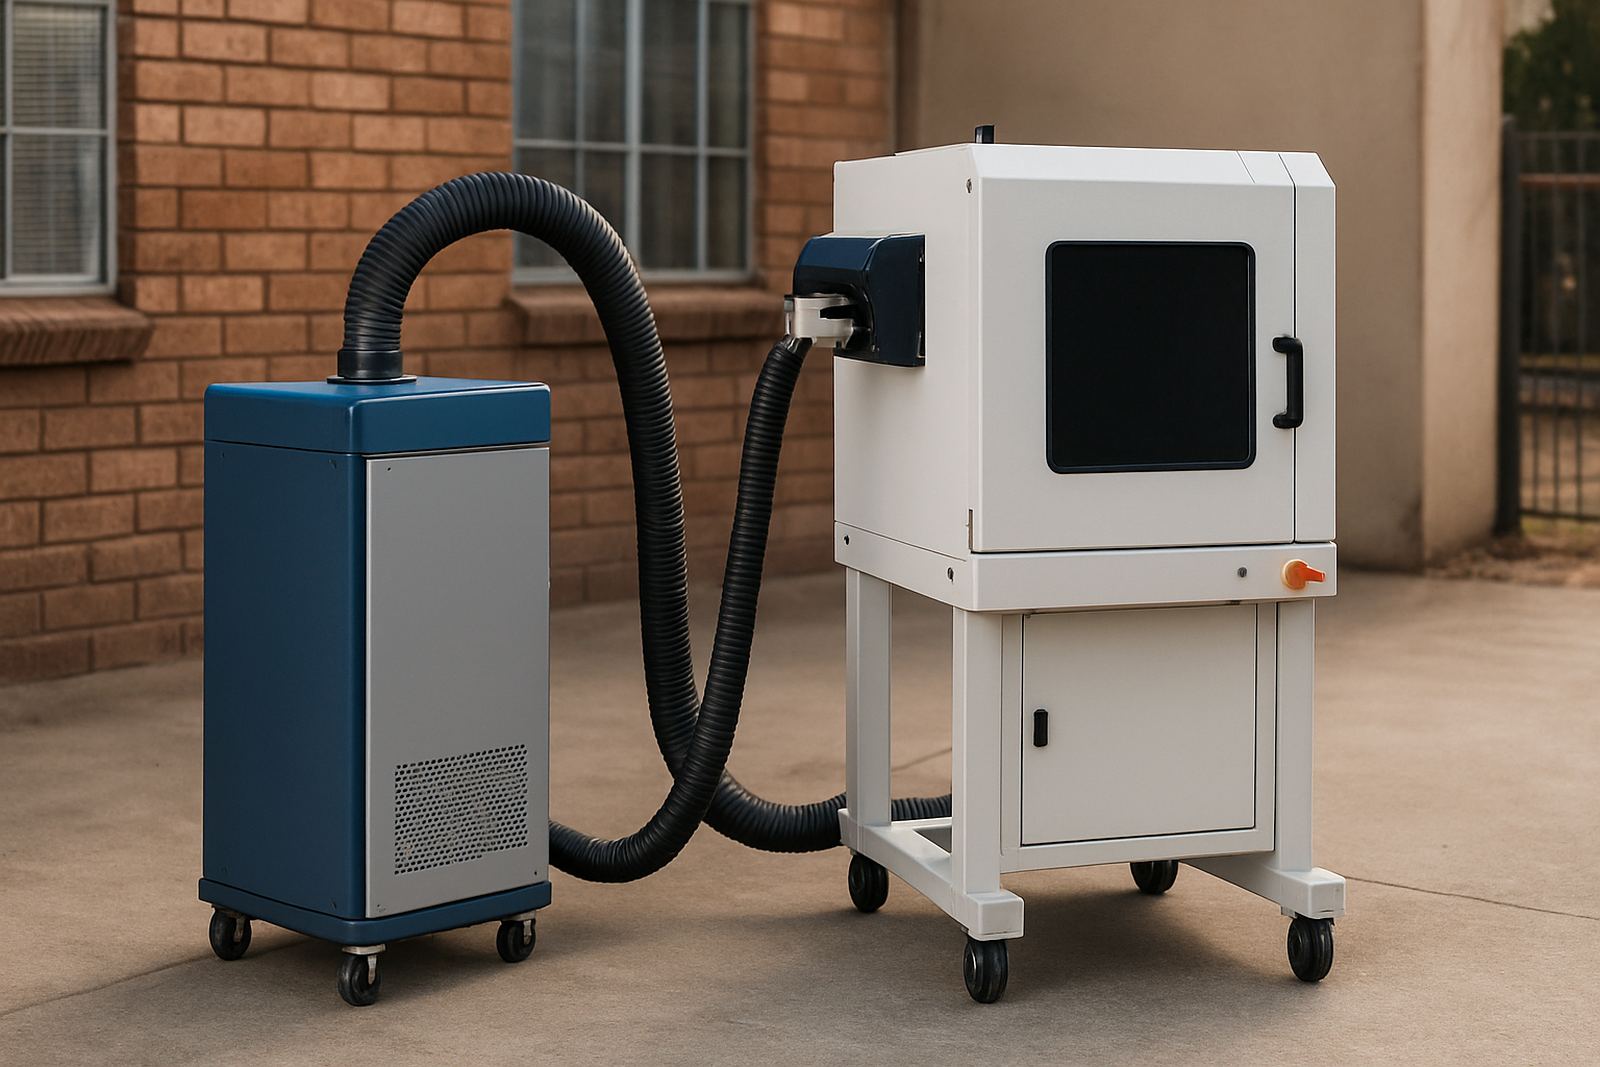
For best results, check focus at the start of each shift and again after any heavy movement of the machine. Keep an eye on lens cleanliness as well, because a dirty lens can make a clean setting look wrong. In our experience a quick focus check prevents more trouble than most repairs do. It is a small task, but it protects output and keeps repeat orders looking the same.
Build a Repeatable Process for Workshops and Factories
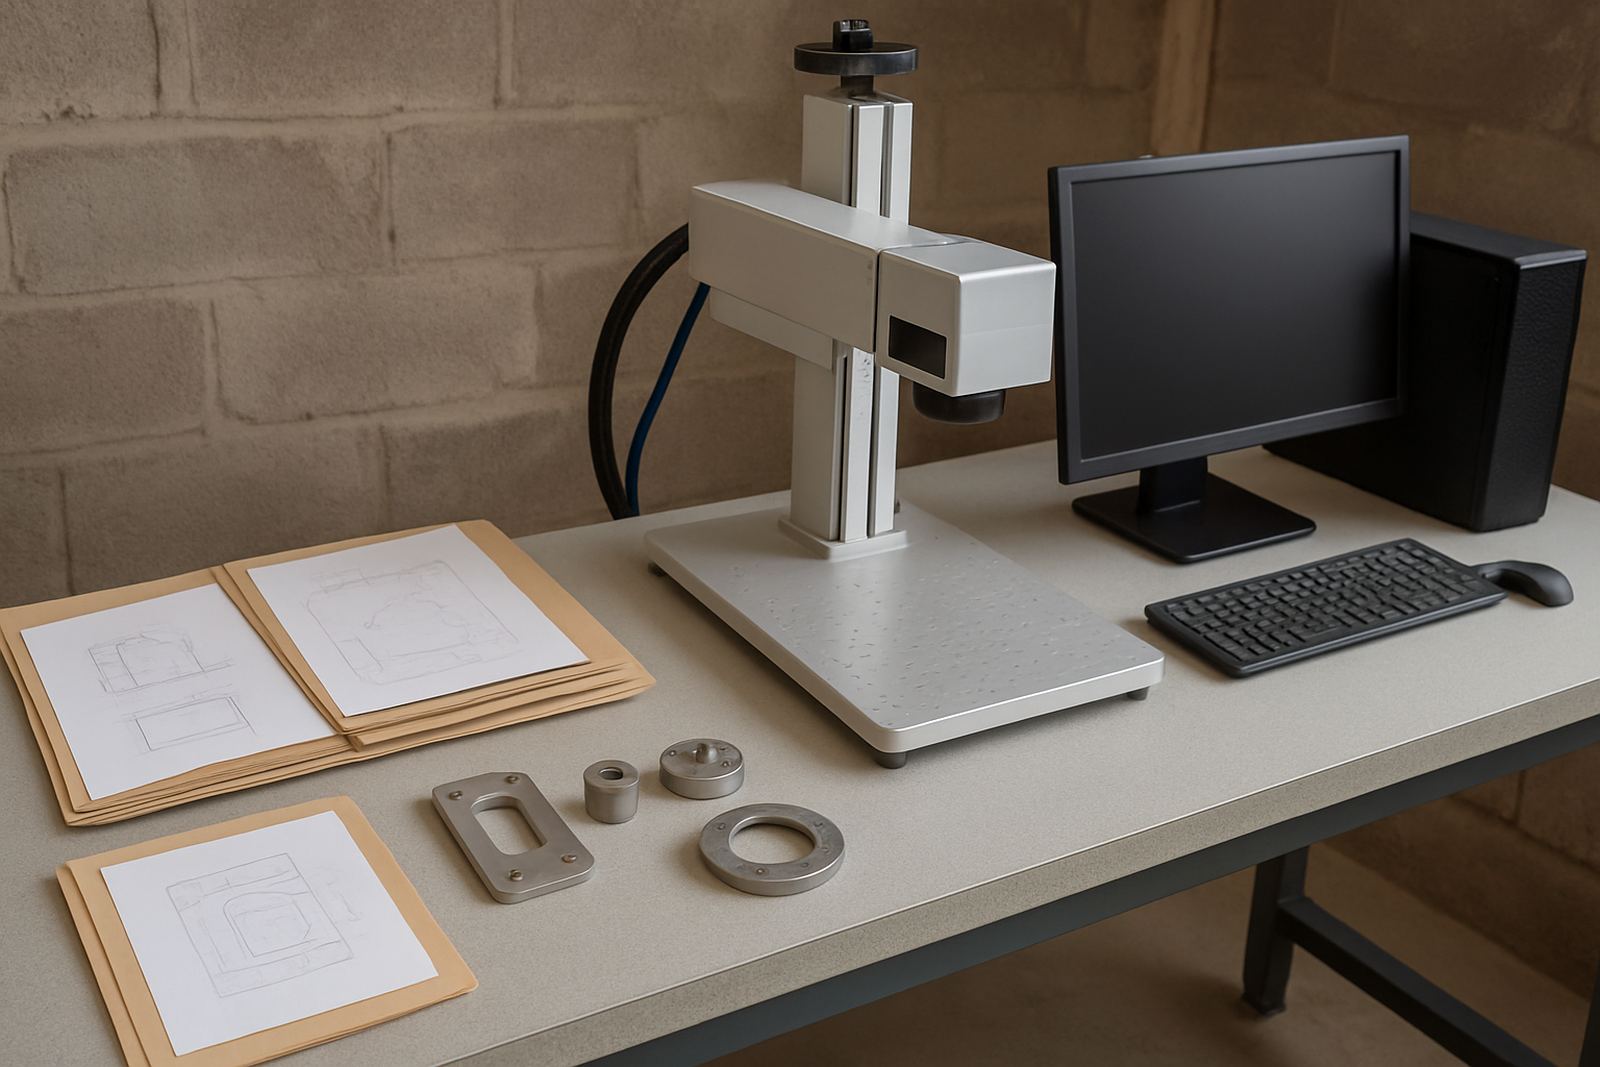
Whether you are running a small workshop in Alberton or a larger production floor in Jet Park, the process should be easy to repeat. The goal is not only to get one good sample, but to make sure the tenth part looks like the first. That means clear operator steps, saved parameter files and proper training for anyone who uses the machine.
A practical aluminium marking routine usually includes the following:
- Confirm the material type and finish before marking
- Clean the part and load it into the correct fixture
- Run a sample mark on offcut or a non-critical area
- Check legibility under normal factory lighting
- Save the approved settings for future use
- Record any changes after maintenance or software setup
When teams follow the same steps, breakdowns in quality become easier to spot. That is useful during load-shedding too, because when power returns the operator can restart with a known setting instead of guessing.
Test in Real Conditions Before Full Production
A mark that looks fine on the machine can still fail once the part goes through packing, assembly or outdoor use. Aluminium exposed to handling, abrasion or cleaning chemicals may need a different mark style from one that sits inside a cabinet. Test the final result in the same conditions the product will face after delivery.
For a local example, a Wadeville manufacturer supplying aluminium nameplates to a contractor in Kempton Park may need a mark that stays readable after dust, grease and repeated cleaning. A short sample-marking session can show whether the contrast is strong enough before the full batch starts. If the mark is too light, adjust the settings early rather than discovering the problem after 500 pieces have already gone out.