Why tooling identification matters in a busy workshop
In a South African workshop, tooling often moves between production, repair, stores and inspection. When a mould half, die set or holder has no clear mark, the team wastes time checking drawings, asking around and trying to match parts by memory. That slows turnaround and raises the risk of using the wrong tool on the wrong machine.
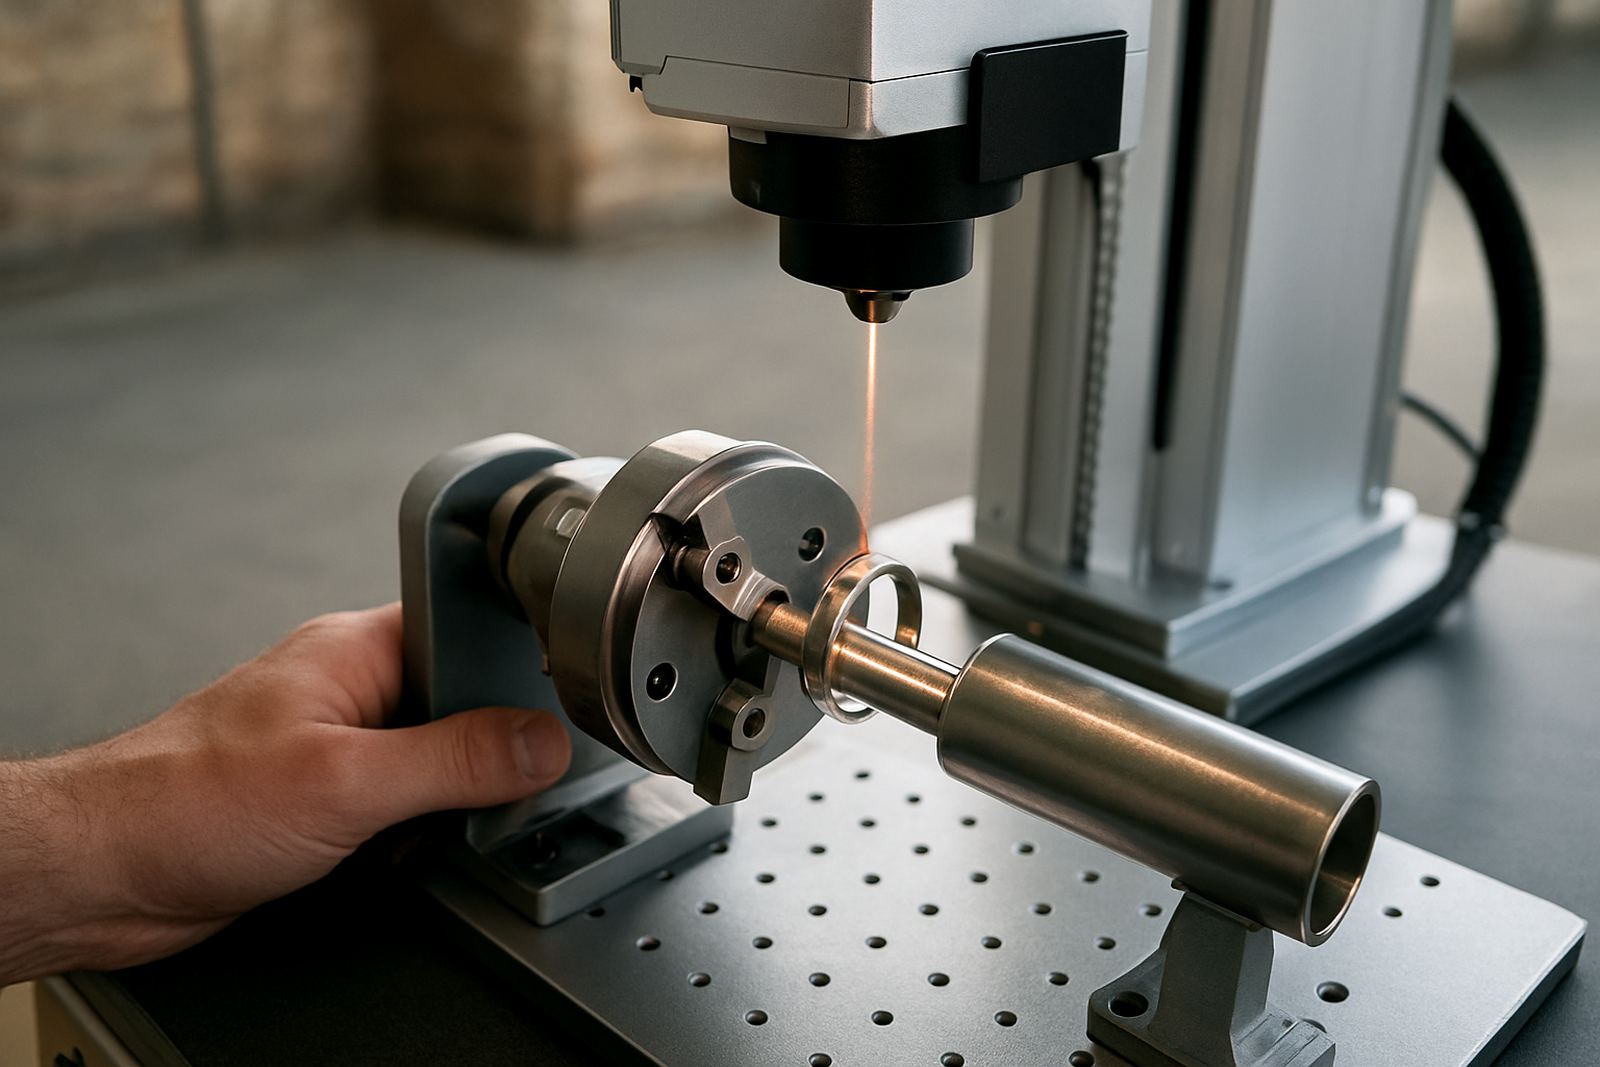
Permanent identification also helps with traceability. If a tool is refurbished in Germiston today and sent to a site in Durban next week, the marking should still be visible after handling, cleaning fluid and regular use. Fibre laser marking works well on steel, stainless steel, hardened tools and many coated surfaces because the mark is crisp and does not rely on consumables. For tooling rooms that run through load-shedding and long shifts, that reliability matters.
A good marking plan is not only about a serial number. It should help operators, fitters and maintenance staff understand what the part is, where it belongs and what attention it needs. That can be as simple as a tool code, cavity number, date of service or location reference. A neat mark also looks more professional when customers or auditors visit the site.
What to mark on moulds, dies and holders
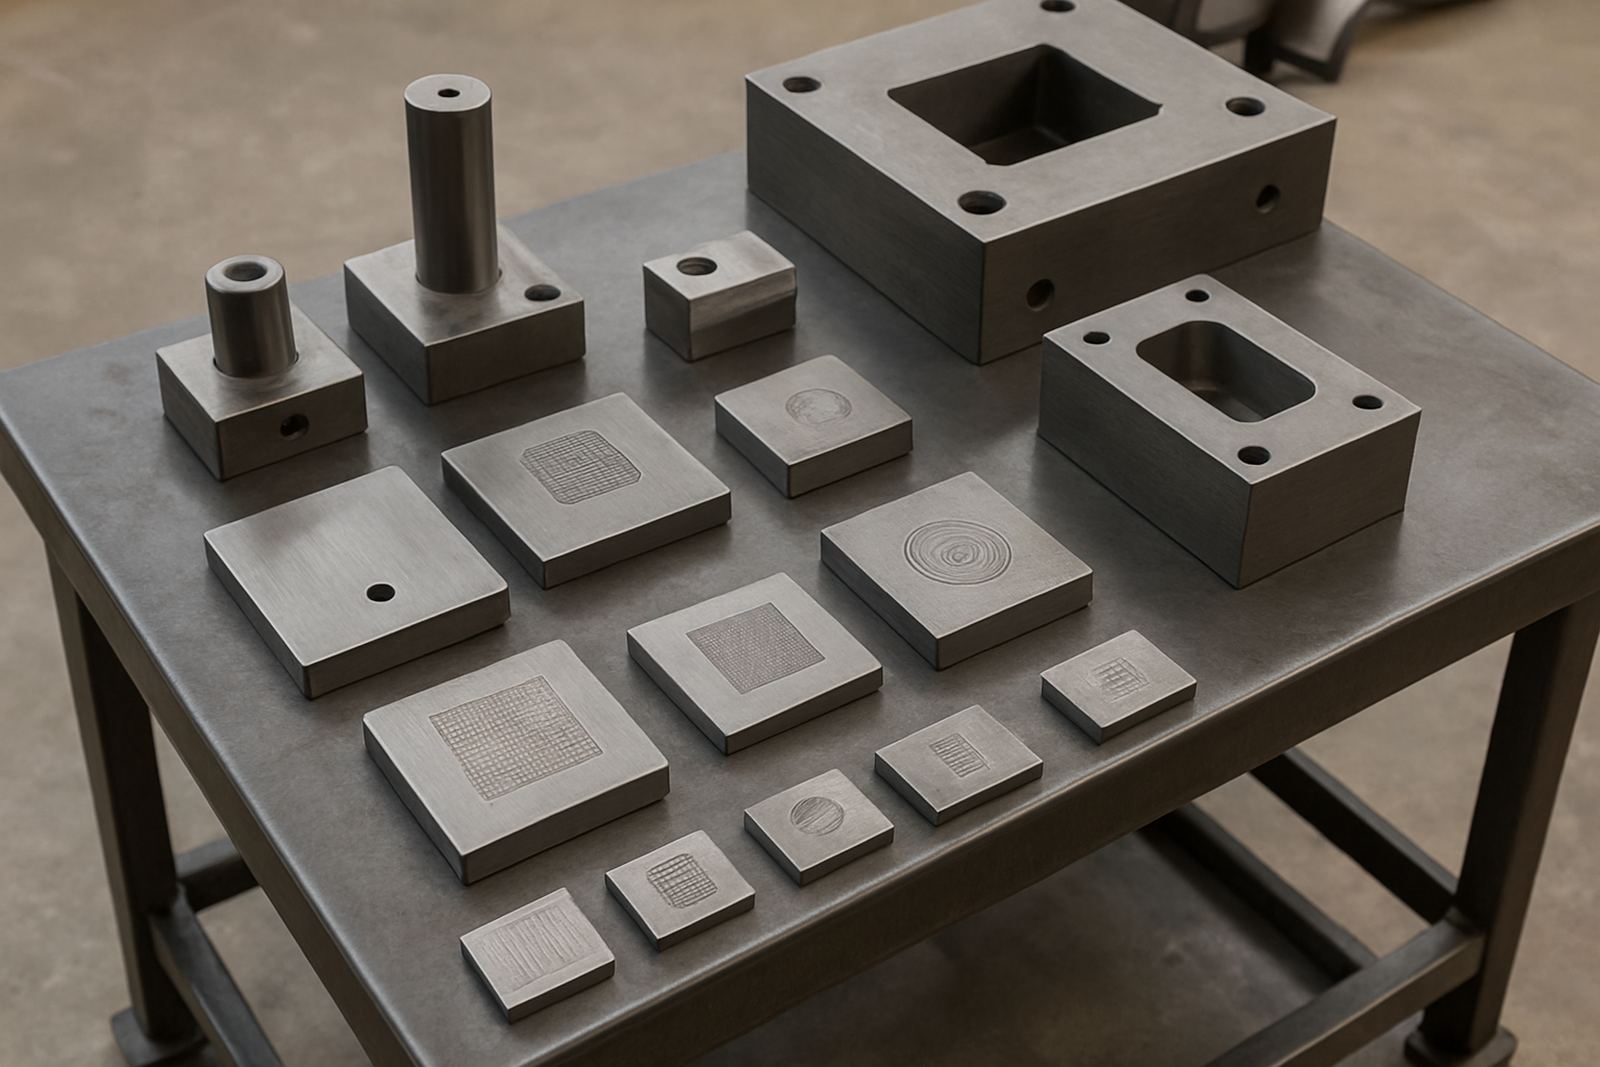
The best approach depends on how the tool is used and what information the team needs at the point of use. A press tool may need a job number and orientation mark, while a mould may need cavity identification, steel grade reference and a service date. For holders and fixtures, the aim is often fast sorting and correct reassembly after maintenance.
- Tool number or asset code for stores and traceability
- Cavity or station numbering for multi-part tools
- Arrow, face or alignment mark for correct setup
- Service date, repair date or inspection interval
- Internal reference for job tracking or maintenance logs
- QR code or data matrix for linked records if your process allows it
Keep the content practical. A mark that is too long can be hard to read when the tool is oily or partly installed in a machine. On smaller holders or inserts, a compact code often works better than a full description. If your team uses the same tooling across several shifts, use a format that is easy to read in poor light and from a short distance.
Choosing the right mark style for the job
Not every tool needs the same marking depth or size. For fine identification on high-value mould components, a shallow, precise mark is usually enough and keeps the surface neat. For assets that are handled often, a deeper mark may be useful so the identification remains visible after repeated cleaning, polishing or contact with fixtures.
Here are a few practical mark styles that work well in local workshops:
- Fine text for serial numbers and part references
- Filled or outlined logos for in-house identification
- 2D codes for record keeping and scan-based checks
- Simple icons for orientation, heat treatment or inspection status
- Micro text for security or hidden traceability marks
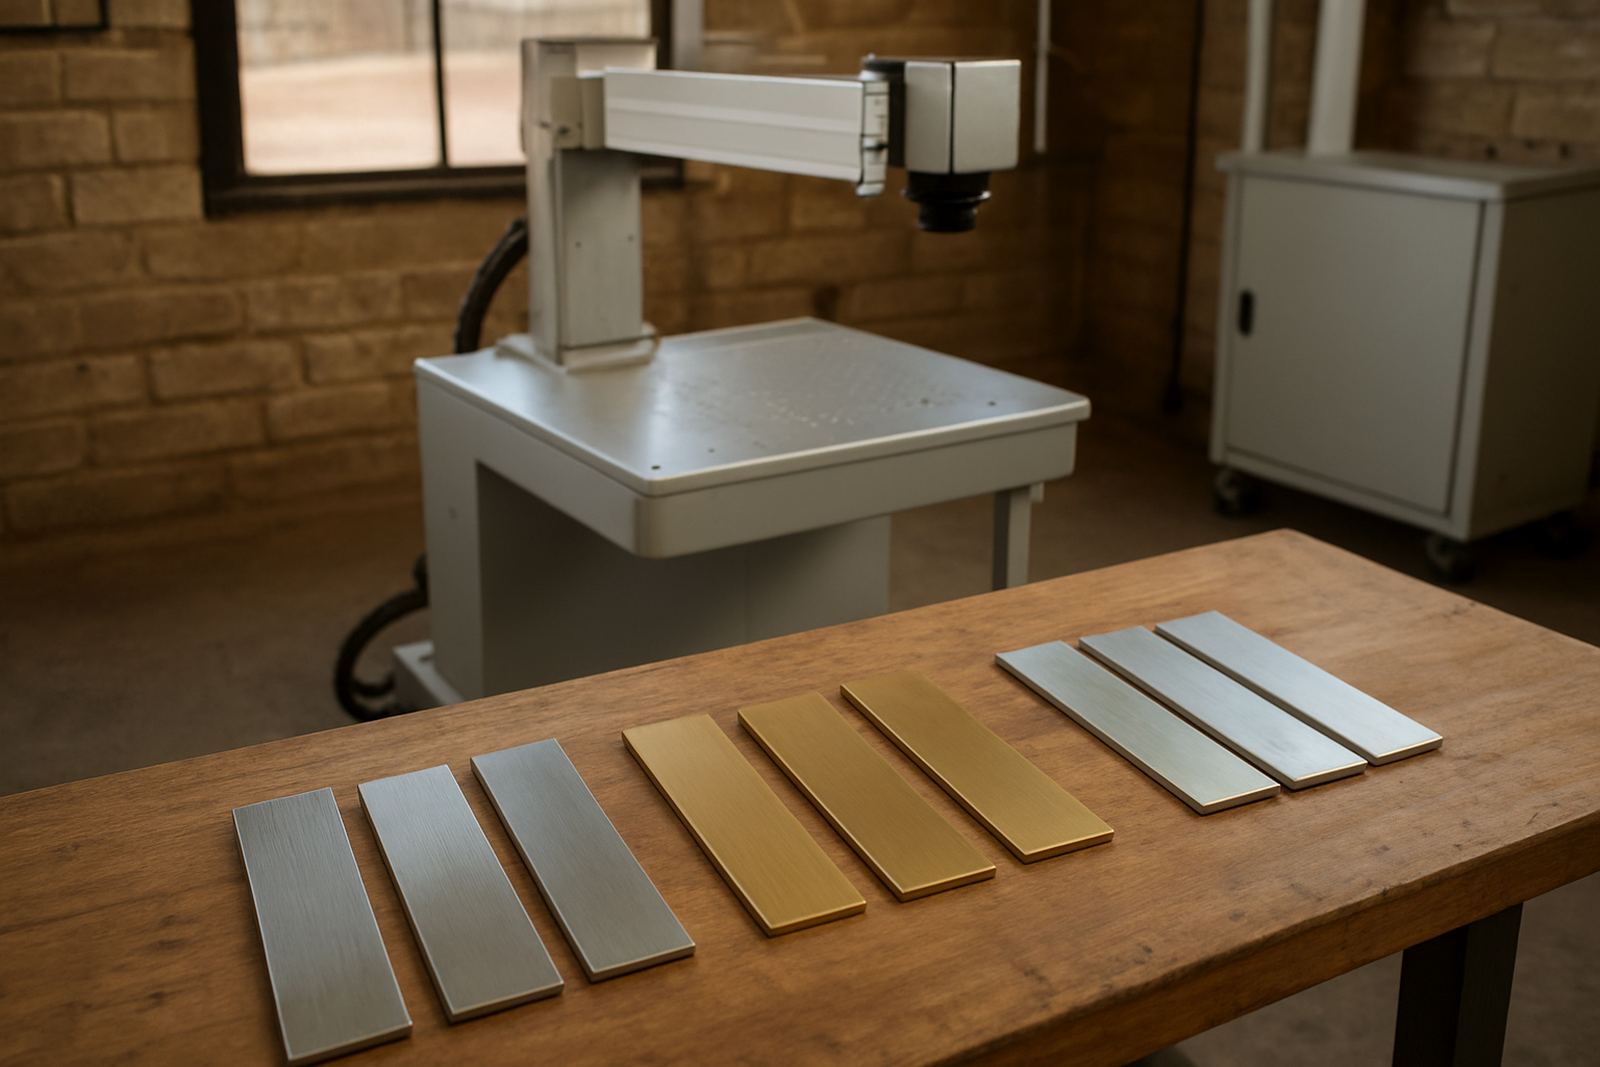
Material matters too. Hardened tool steel, stainless steel and plated parts respond differently, so the settings need to suit the surface. A careful sample mark helps confirm depth, contrast and readability before the full batch is done. That small check saves rework and avoids putting the wrong mark on a finished tool.
Keeping maintenance references easy to use
Maintenance references are most useful when they help the next person on the job. A mould that goes in for cleaning, a die set that needs a bushing replaced, or a fixture that is sent out for repair should come back with a mark that tells the story. This makes it easier to plan spares, log the job and spot repeat problems.
Many shops in Wadeville and Jet Park do best with a simple identification system linked to their service records. For example, a tool can carry a permanent asset code while the maintenance team adds a smaller inspection mark or rework reference near it. That way the main identity stays fixed, but the service history can be updated without confusion.
- Use one fixed asset code across the full life of the tool
- Add small service marks near non-critical areas
- Keep identification away from sealing faces and working edges
- Mark parts before or after assembly based on access and finish requirements
- Use the same format across all lines so staff do not need to guess
Good identification also helps when tools are relocated between sites. A holder moved from Boksburg to Germiston should still be easy to identify after transport, cleaning and refitting. That reduces mix-ups and makes handover far smoother, which is a real help when production is under pressure.
A local example from a Germiston production floor
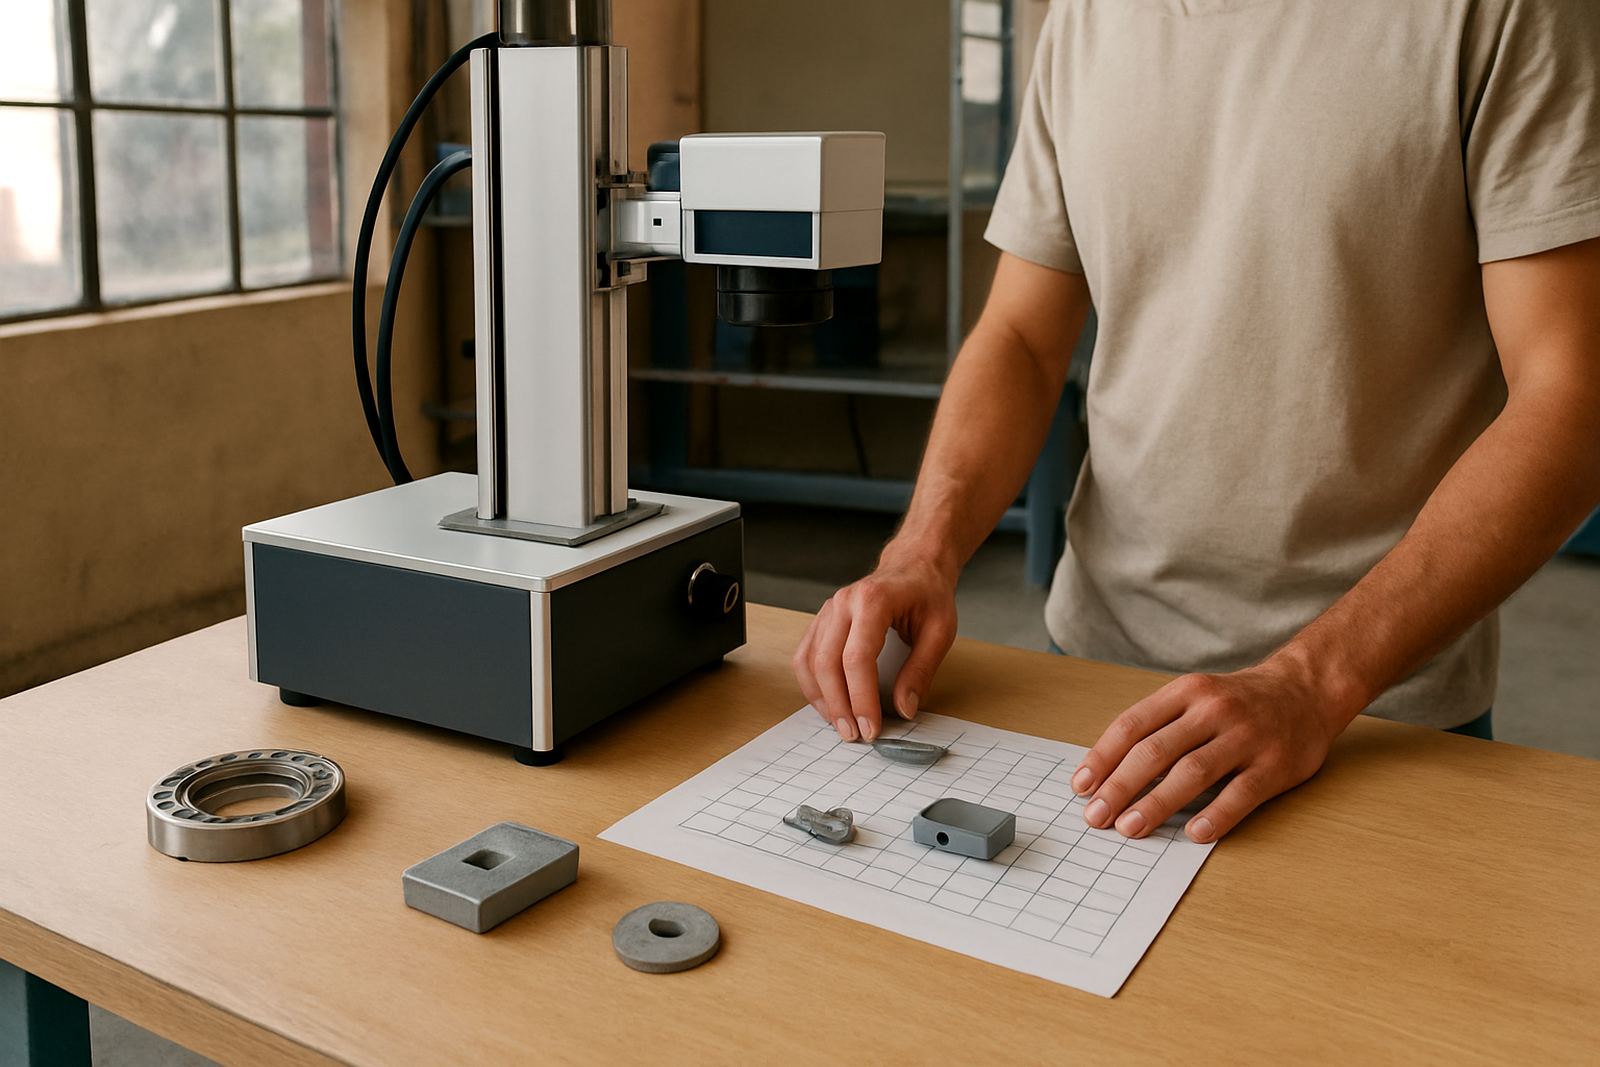
One common case is a local metal parts maker with mould inserts, jigs and hold-down fixtures spread across two bays. Operators were spending time searching for the right insert because the old paint marks had faded and the tags were missing. The result was delays at setup, a few wrong picks and extra wear on the tooling from repeated handling.
After introducing fibre laser marks, the team used a compact code on each insert, a cavity number on the active face and a service reference on the side of the holder. The marks were small enough not to interfere with the function of the tool, but clear enough to read during cleaning and changeovers. The workshop manager also asked for a simple sample marking check before the full run so the placement could be confirmed. That saved a lot of back and forth, and the tools now return to the right shelf much faster.
For coastal clients, especially where humidity is high, a permanent mark is often better than adhesive labels or paint. Labels can lift and paint can chip. A laser mark stays readable when the part is wiped down, stored in a cabinet or moved between departments. It is one of those small changes that makes daily work easier, not just prettier.
How Fibre Laser Marking supports tooling identification projects
Tooling identification works best when the marking process fits into the workshop routine. Fibre Laser Marking handles installation, operator training, software setup, focus calibration and sample marking so the team can start with the right settings. We also assist with fixture design, preventive maintenance and breakdown repairs, which matters when a site needs practical support and not just a machine drop-off.
For businesses across South Africa, the important part is getting a mark that suits the tool, the material and the day-to-day use. A small workshop in Alberton may need a simple, repeatable code for service parts. A larger manufacturer in Kempton Park may need a full identification system for mould sets, dies and maintenance references. The right answer is usually straightforward once the tool flow is understood.
If your tooling is overdue for a clearer identification system, start with the parts that cause the most confusion. A few well placed marks can save a surprising amount of time, and reduce mistakes during busy shifts. It is a practical fix with long term value, especially where tools are shared, stored off site or moved between lines.
Simple rules for a marking system that lasts
A good system does not need to be complicated. It just needs to stay consistent from the first tool to the last. Set one naming format, choose one mark location rule and keep the code short enough for quick reading. Once the team knows where to look, the whole process gets faster.
- Choose one code structure and use it everywhere
- Keep marks off wear faces, seals and critical edges
- Confirm readability after cleaning and handling
- Use the same font size and depth range where possible
- Review the system after a few months and adjust if needed
When the marking plan is practical, the tools stay easier to manage and the maintenance team spends less time decoding old references. That is the kind of change that pays back quietly, day after day.