Why round parts need a rotary axis
Flat marking is straight forward because the part stays still under the lens. With a tube, ring or any round component, the surface moves away from the focal point as it curves, so the mark can stretch, fade or double up if the part is not rotated correctly.
A rotary axis keeps the surface moving at the same speed as the marking head writes across it. That matters when you are putting serial numbers on stainless tubes, part codes on aluminium fittings or fine text on jewellery. In practice, the difference shows up in edge quality, character spacing and repeatability from one job to the next.
For workshops in Gauteng, this is not only about neat marks. It is also about production control. When parts leave Wadeville or Jet Park for assembly, a clear code helps with traceability, warranty checks and stock handling. If the mark is shallow or uneven, the part may still be usable but it creates extra handling later.
What a rotary setup does on tubes and rings
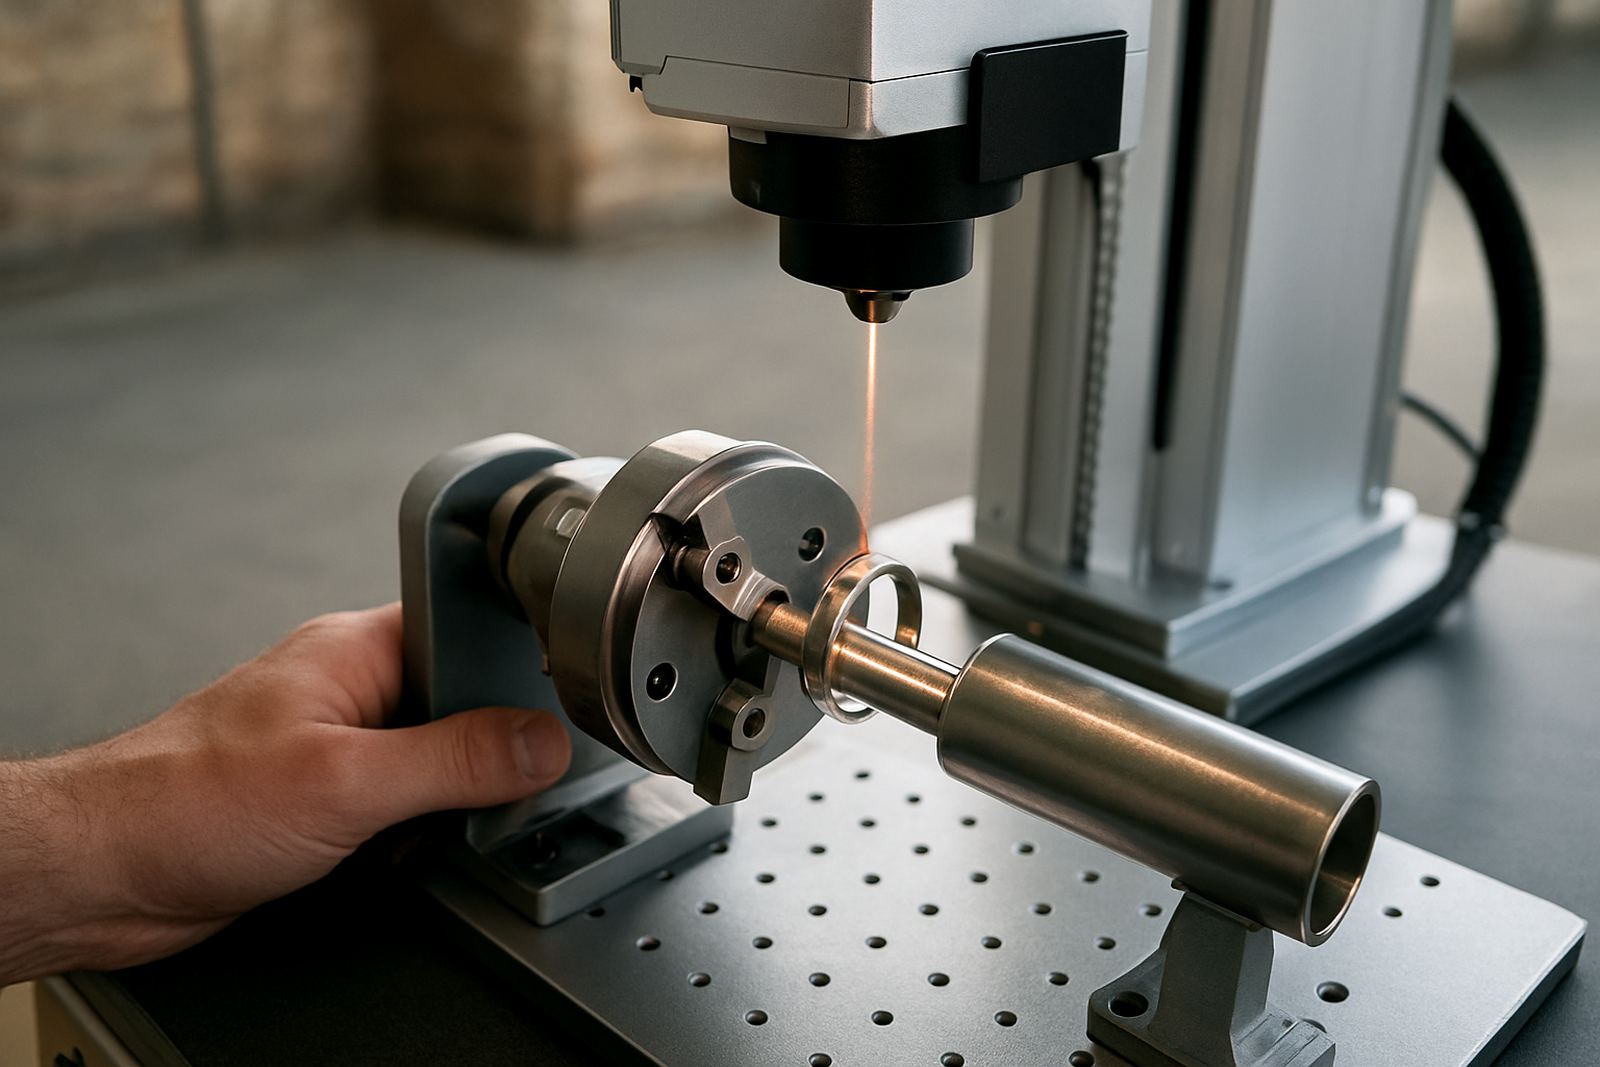
A rotary axis turns the part under the marking beam in a controlled way. Instead of trying to bend the mark around the curve in software only, the machine physically rotates the job so the laser can place each line accurately. That is why you can mark around a tube wall, inside a ring shank, or along the side of a cylinder with better consistency.
The main parts of the setup are simple:
- a rotary unit sized for the component diameter
- secure clamps or collets that stop slipping
- correct centre height so the beam meets the surface at the right point
- software settings that match the circumference and marking length
- test marks before production starts
On jewellery, the margin for error is very small. A ring can move a fraction and the engraving will look off-centre. On industrial tubing, the issue is usually repeatability across batches. Both need a steady hand and proper fixturing.
Choosing the right part size and clamp method
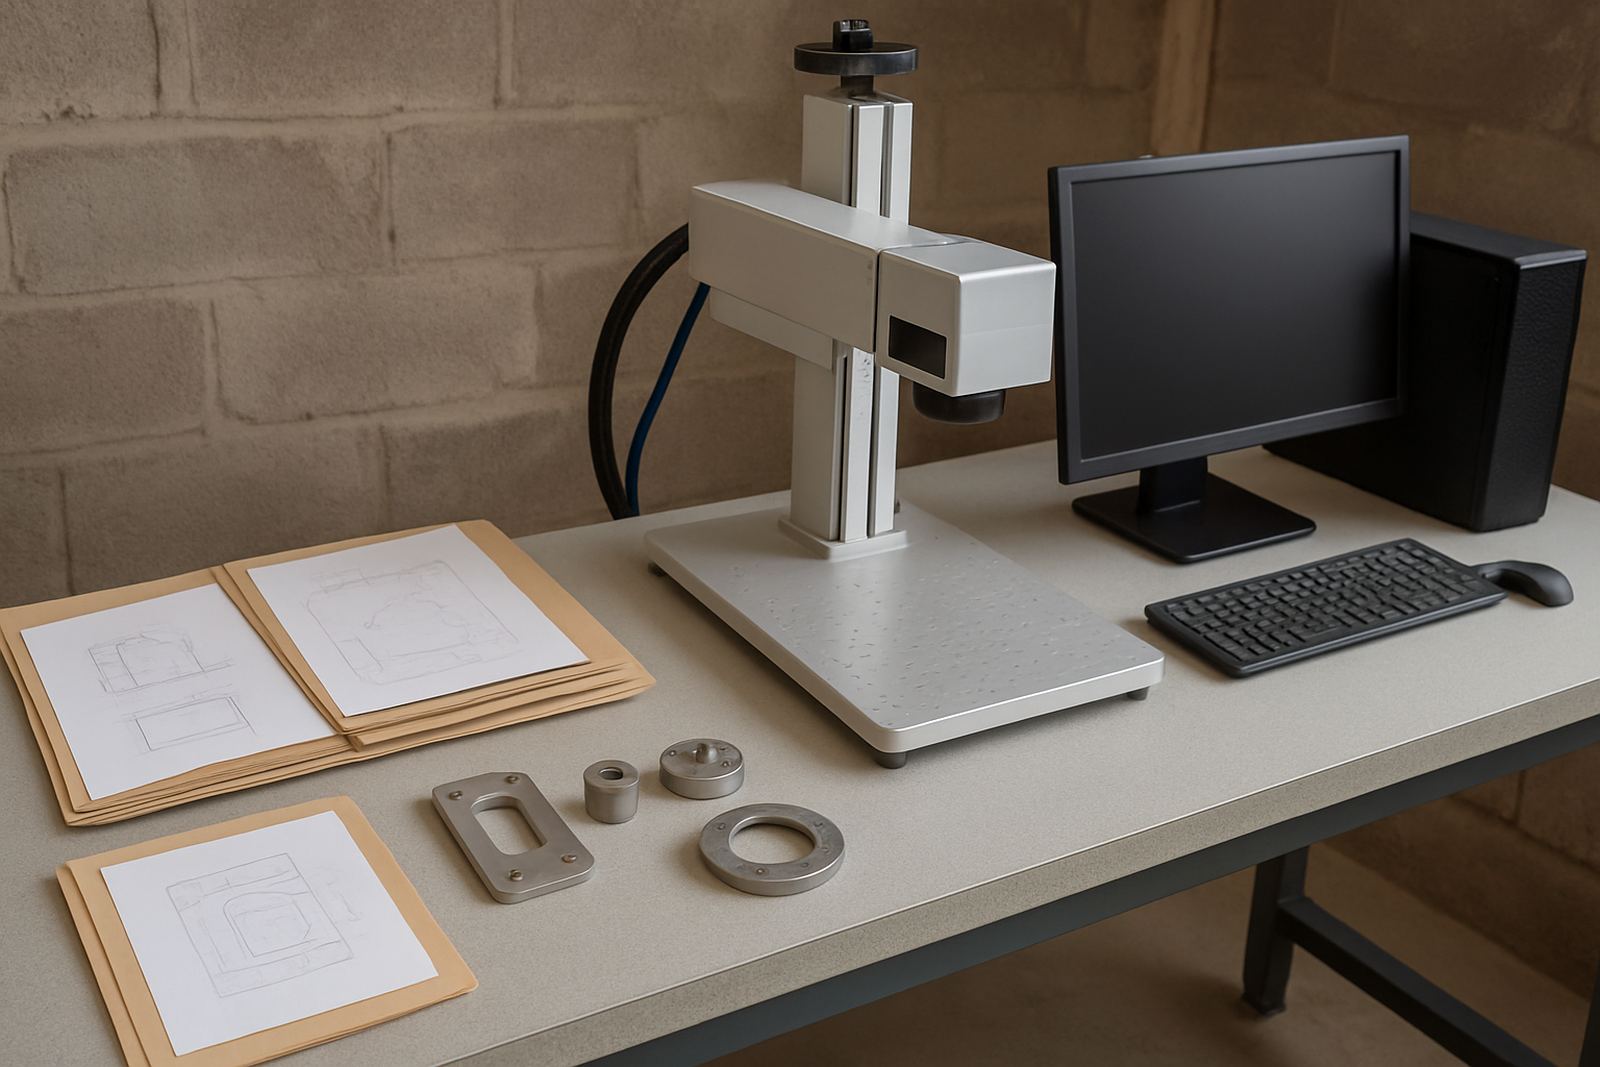
Before you start a job, measure the part properly. Outer diameter, inner diameter, wall thickness and usable marking length all affect the result. A tube that looks easy to mark might flex under clamp pressure. A thin ring may need soft support to avoid distortion, especially if you are engraving the inside band.
Good clamping is not about squeezing harder. It is about matching the fixture to the part so it sits true. If the part lifts on one side or rocks during rotation, the mark will wander. This is common on polished metal pieces because they can slip more easily, especially in hot conditions or where oils are still on the surface.
- Use soft jaws or inserts on polished parts to reduce slip
- Support long tubes at both ends if they overhang the rotary unit
- Clean grease and fingerprints before marking
- Check that the part turns freely but without play
- Keep small rings and light parts from bouncing during rapid movement
For a factory in Boksburg marking short stainless sleeves, the best result may come from a simple two point support. For a jeweller in Germiston, a compact collet setup may be better because it holds the ring tighter and leaves a cleaner finish.
Focus, speed and fill settings that save rework
Rotary marking is not only about turning the part. Focus is critical because the beam must stay on the correct surface height as the job rotates. If the axis sits too high or too low, the beam loses sharpness and the mark can become light on one side and deep on the other.
Speed settings also need attention. Too fast and the detail may not fully form. Too slow and you can overheat the surface, which is a problem on thin-walled tubes and delicate jewellery. A balanced setting gives a clean, readable mark without unnecessary heat build-up. In some cases, a small change in hatch spacing can make a big difference to contrast.
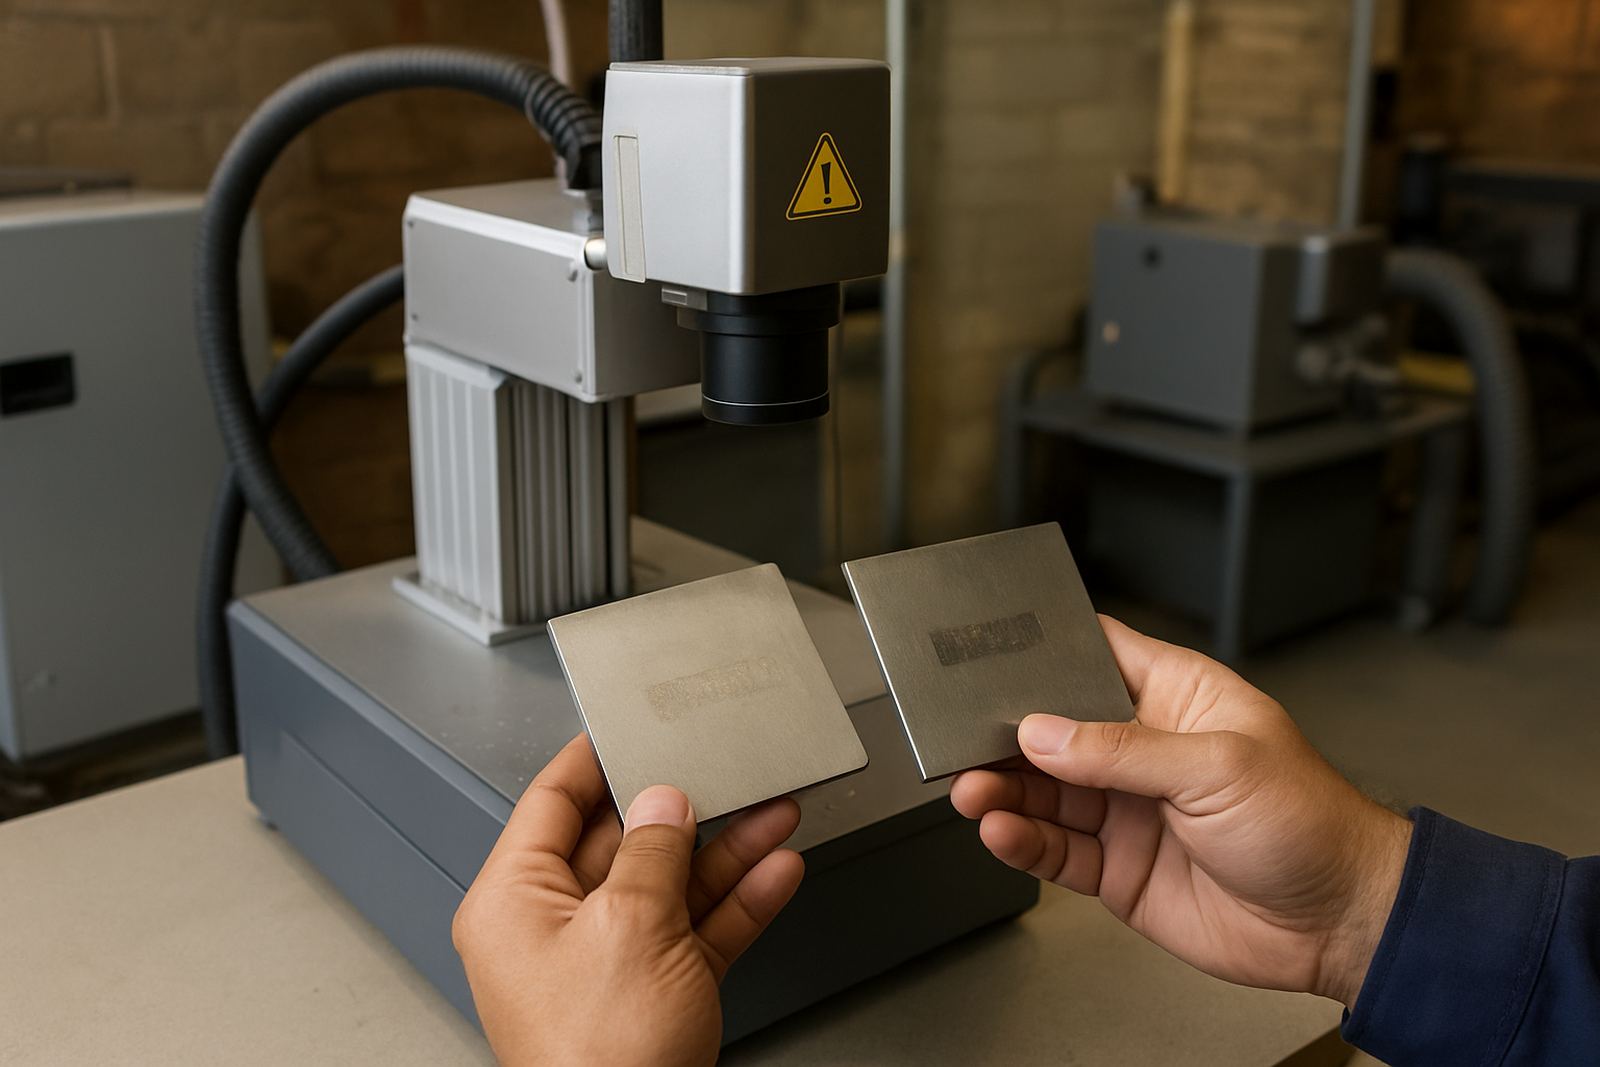
When you are setting up a new part, start with a sample mark. That is the best way to see whether the rotation, focal height and power levels are working together. One small adjustment can save a batch from being scraped later. It is better to spend five minutes on a sample than waste an hour remaking parts, thats the reality on most shop floors.
Common mistakes on round parts and how to avoid them
Most rotary problems come from the setup, not the laser itself. Once you know what to watch for, they are easier to fix.
- Misreading the centre height and leaving the beam off target
- Letting the part slip because the clamp is too smooth or too loose
- Using a marking file meant for flat stock on a curved surface
- Ignoring wall thickness and marking too aggressively on thin parts
- Skipping a test piece before a full production run
Another common mistake is assuming all round parts behave the same. A heavy steel shaft and a thin brass ring need very different treatment. Jewellery usually needs lower energy and finer spacing. Industrial parts may need deeper contrast and stronger identification, but still with enough control to keep the edge neat.
A local example from Wadeville to production floor
Take a small Germiston workshop making stainless fittings for industrial use. The team receives round sleeves for a municipal water project and needs each part numbered before dispatch. The items are short, and the finish must stay readable after handling, cleaning and outdoor exposure.
With a rotary axis, the operator can load each sleeve, run a sample on one piece, confirm the size and then move through the batch. Because the mark wraps evenly around the curve, the numbers remain legible even when the pipe is turned in the hand. If load-shedding interrupts the job, the important part is that the settings are saved and the fixture keeps the part in the same position when power returns.
This matters just as much for jewellery in a retail workshop. A ring engraved on the inside band needs a fine, accurate mark without distorting the shape. The same rotary principles apply, only the scale changes.
When to call for support and what to prepare
If your marks are drifting, fading or landing off-centre, the best first step is to check the fixture, focus and rotary alignment. If that does not solve it, get support before the issue spreads across a full batch. Problems on round parts can look minor at first then become costly once production builds up.
Before asking for help, have these details ready:
- part material and diameter
- wall thickness or ring size
- mark position and required text size
- current speed, power and hatch settings
- photos of the fixture and a sample mark
That information makes it easier to diagnose the issue quickly, whether you are in Alberton, Kempton Park or on a site further afield. Good rotary marking is not complicated, but it does reward careful setup and a methodical approach.