Why mark depth matters on real production jobs
In metal marking, depth is about more than appearance. A shallow mark may look neat but disappear after polishing, powder coating or years of handling. A deeper mark can stay readable through cleaning, wear and light corrosion, which is why many South African workshops set different depths for serial numbers, logos, traceability codes and decorative work.
For stainless steel, aluminium, brass and coated metals, the target depth depends on what the part must survive. A job for a machine nameplate in Wadeville is not the same as a jewellery mark for a retail counter in Kempton Park. One needs long-term legibility, the other needs fine detail with a clean edge and little heat tint.
It also helps to think about the rest of the process. If the part will be sanded, tumbled or reworked after marking, you need extra depth to keep the mark visible. If the part is thin or finished, too much depth can distort edges or leave a rough surface that needs extra clean-up.
Power and pulse settings set the ceiling for depth
Laser power gives you the energy needed to remove material, but more power does not automatically mean a better mark. On fibre laser systems, the balance between power, pulse width and frequency changes how energy lands on the surface. Too much energy in one spot can burn, splash or leave a harsh texture. Too little and the mark sits on the surface without proper bite.
For deeper engraving, operators usually increase power first, then check whether the surface is still crisp. On tougher alloys you may need higher energy to cut through the top layer, while on softer metals a lower setting can still reach the required depth. Jewellery work often needs careful control because fine detail can close up if the settings are too aggressive.
- Higher power can increase depth, but it may also widen the mark.
- Short pulse settings can keep edges cleaner on fine text.
- Frequency changes how smooth or coarse the finish looks.
- The same setting can behave differently on stainless, brass and anodised surfaces.
We often find that clients ask for one setting for all parts, then discover the finish changes from batch to batch. That is normal, because surface condition, thickness and coating all influence how much material the beam removes.
Speed, hatch spacing and repeat passes change the result
Speed is one of the quickest ways to change mark depth. Slower marking means the laser spends more time on the same area, so the engraving goes deeper. Faster marking is better for light marks, but if the speed is too high the mark can look thin or uneven. The right choice depends on whether the goal is traceability, contrast or a recessed cut.
Hatch spacing also plays a big role. Tight spacing gives a denser fill and usually a deeper, more even mark. Wide spacing can leave lines visible and may suit a decorative finish, but it often reduces depth. Repeat passes allow you to build depth in stages which is useful when you want control instead of trying to reach full depth in one pass.
- Use slower speed for deeper engraving on thicker metal parts.
- Use tighter hatch spacing when you need a solid filled mark.
- Use repeat passes when one heavy pass causes too much heat or burrs.
- Test the combination on a spare part before running the full batch.
A repeat-pass approach is common in job shops because it gives better control on mixed work. A small workshop in Germiston may mark machine tags, tool bodies and stainless plates in the same week, and each one needs a different balance of speed and depth.
Focus height and lens setup decide how energy lands
Even with the right power and speed, poor focus will spoil the mark. When the beam is exactly where it should be, energy density is highest and the mark is cleaner. If the focus is off, the beam spreads out and the engraving becomes wider, softer or shallower than planned.
Focus height matters even more on uneven or curved parts. Jewellery items, small components and pressed metal pieces often have slight variations in height, so a fixed setting may not be enough. A small error can turn a crisp mark into a fuzzy patch, or leave one side deeper than the other. That is why focus calibration should be part of setup, not something done only when there is a problem.
Lens choice also affects how the machine behaves. A lens suited to fine work may give excellent detail on small parts, while a different lens is better when you need a larger marking field. If a customer expects deep engraving on a wide plate, the setup has to be checked before the first run, otherwise the operator may chase the wrong result for the whole shift.
Material type and surface condition can change depth fast
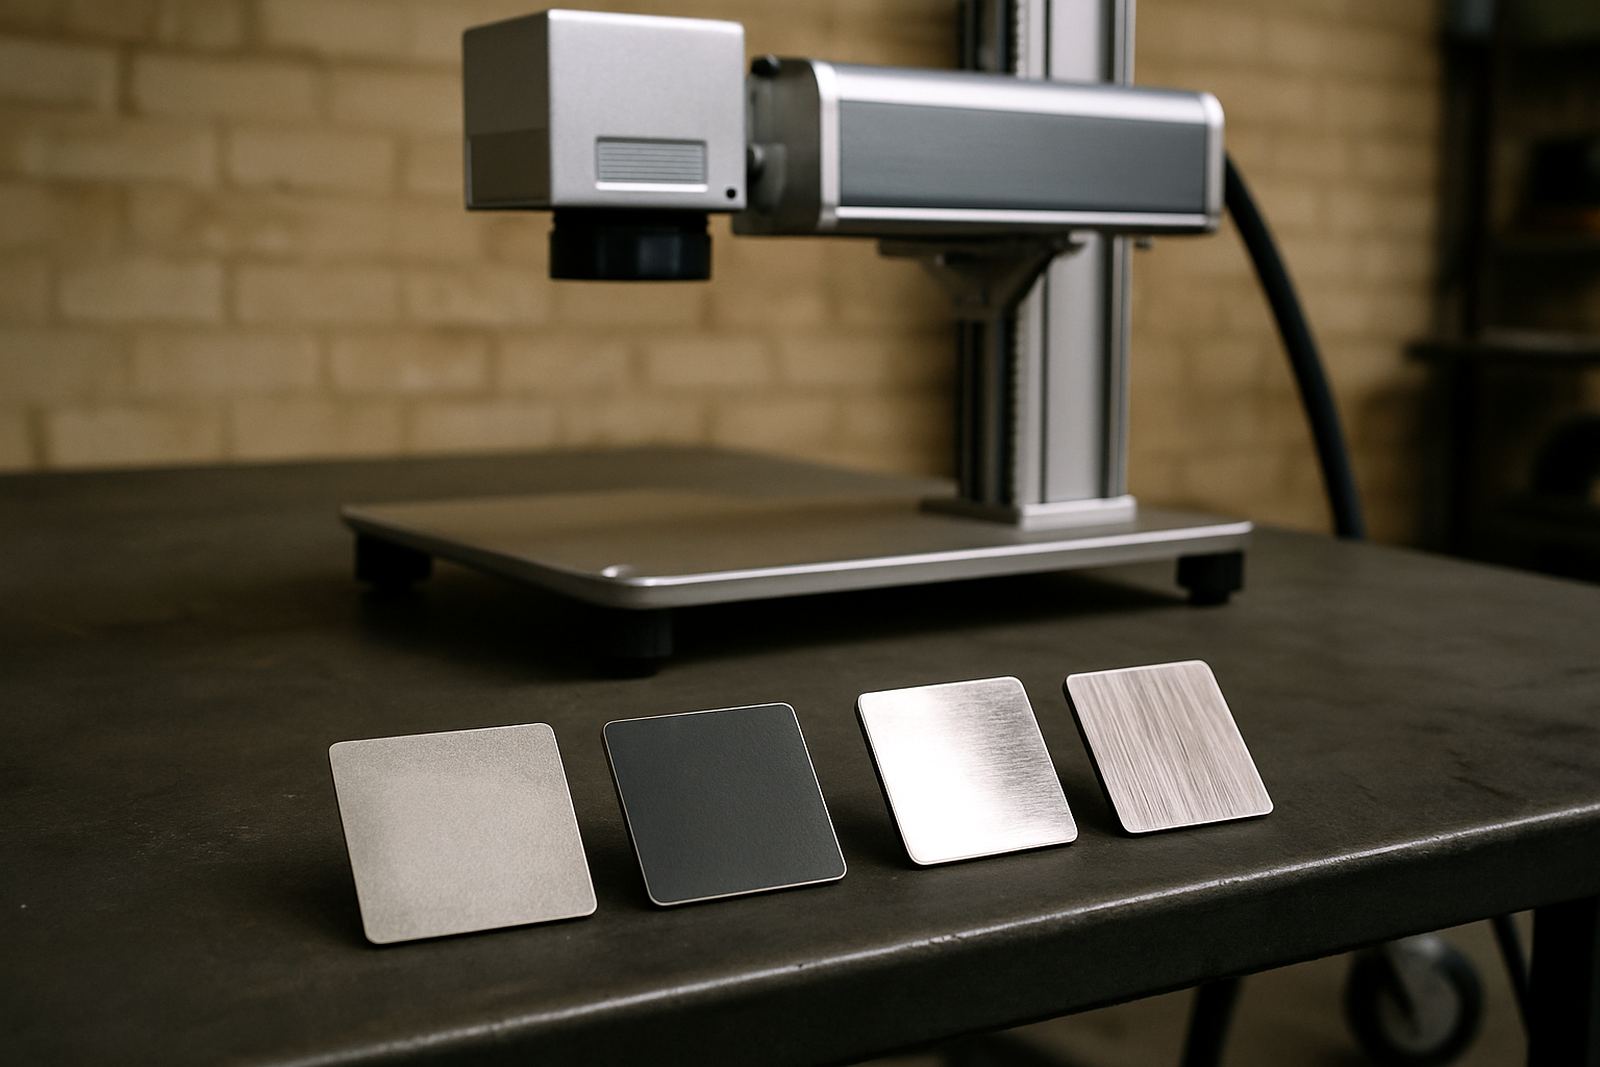
Not every metal responds the same way. Stainless steel usually needs a different approach from aluminium, brass or coated parts. Some materials mark by removal, while others change colour or texture more easily. Polished surfaces can reflect more energy and may need a different setting from brushed or matte finishes. Even the same grade can behave differently if one batch has a coating or a harder top layer.
Surface condition matters too. Oil, dust, oxide and handling marks all affect the first pass. A clean part gives more predictable depth and a better finish. If the part comes from a humid coastal area or has been stored near the sea, there may be light corrosion or moisture on the surface, which can change how the laser starts cutting.
- Clean parts before marking to keep depth consistent.
- Check for coatings, plating or oxide layers before you start.
- Use sample marking on one part from the batch, not only on scrap.
- Watch for heat tint on polished or decorative pieces.
For jewellery and small precision work, the smallest material change can matter. A ring blank or charm blank may look identical to the eye but still take a different mark depth if the finish or alloy is slightly different.
A Wadeville example: serial plates and jewellery do not use the same recipe
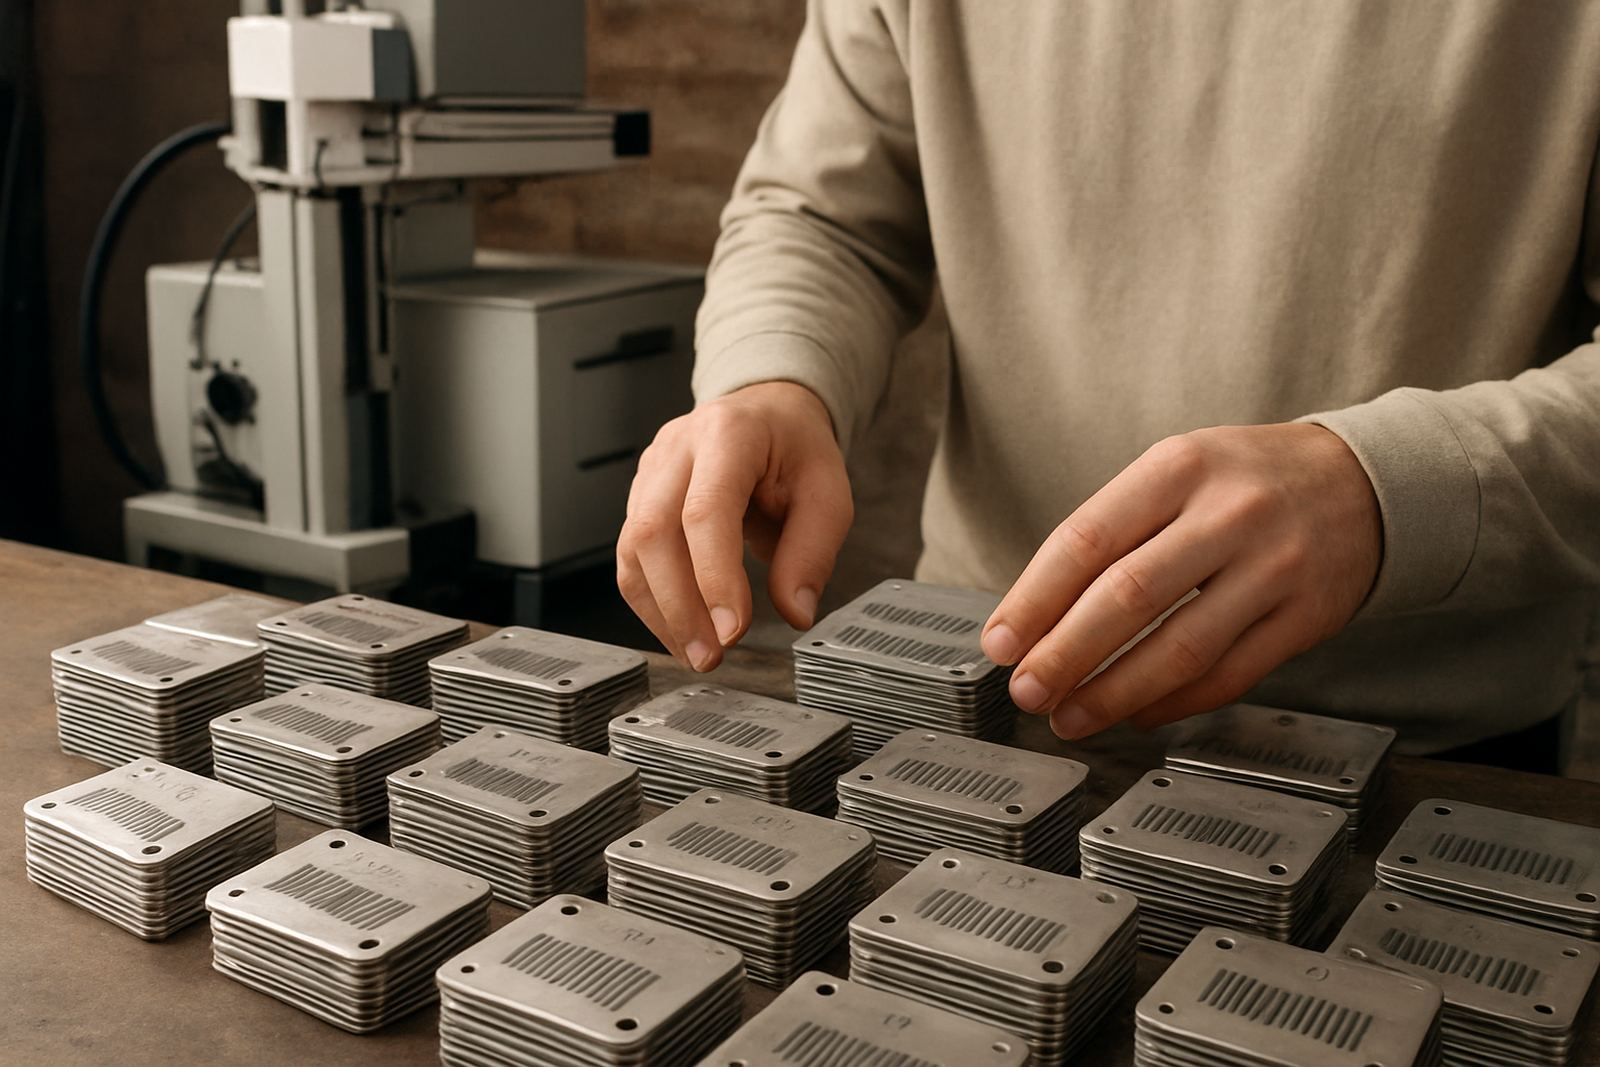
In Wadeville, it is common to see a workshop handling both industrial plates and smaller custom items. For serial-number plates on steel, the priority is usually depth and readability after years of handling, cleaning and repainting. The operator may use slower speed, tighter hatch spacing and a few controlled passes to get a clear recessed mark. For a jewellery job, the same machine may need much finer tuning so the engraving stays neat and the edges do not lose definition.
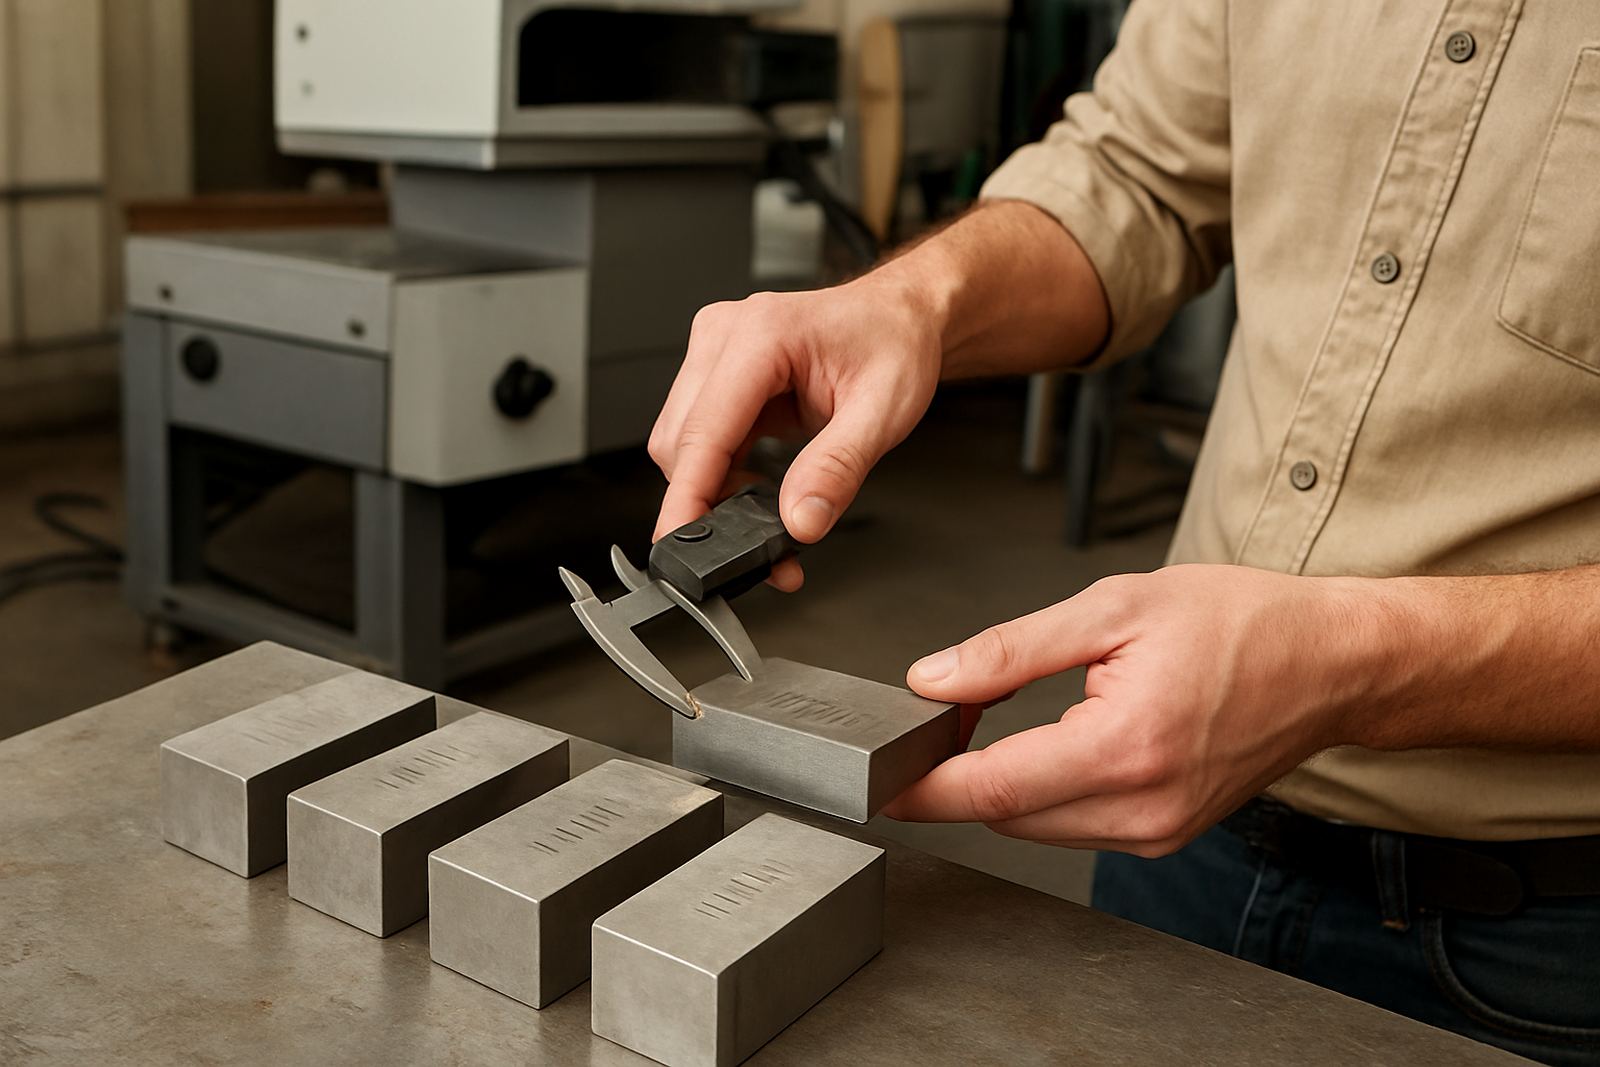
This is where training and sample marking save time. Before a full run, test the setting on a spare item that matches the real batch as closely as possible. If the mark is too shallow, adjust power or reduce speed in small steps. If the edge starts to look harsh, back off and use another pass instead of forcing depth in one go. That approach saves material and avoids rework.
In a busy production line, a few minutes spent checking the sample can prevent a whole tray of parts from being rejected. That is especially true when a customer in Germiston or Boksburg needs the order turned around quickly and there is no room for guesswork.
How to keep depth consistent from one batch to the next
Once the right setting is found, the real challenge is keeping it the same across the batch. Consistency depends on clean optics, stable focus, correct fixture positioning and regular preventive maintenance. If the machine is moved between sites, or if the work area changes due to load-shedding or a power interruption, it is worth rechecking the alignment before starting production again.
A simple batch control routine helps:
- Record the power, speed, hatch spacing and pass count for each job.
- Use the same clamping or fixture method for every part.
- Check the first and last item in the run for depth and finish.
- Recalibrate if the mark starts drifting or the edges look uneven.
For South African workshops, this kind of discipline pays off. It reduces scrap, keeps turnaround times steady and makes it easier to repeat the same result whether the job is in Alberton, Jet Park or further afield. If you understand the depth factors and treat them as a system rather than a single knob, you get cleaner marks and fewer surprises.