Why silver needs a lighter touch than harder metals
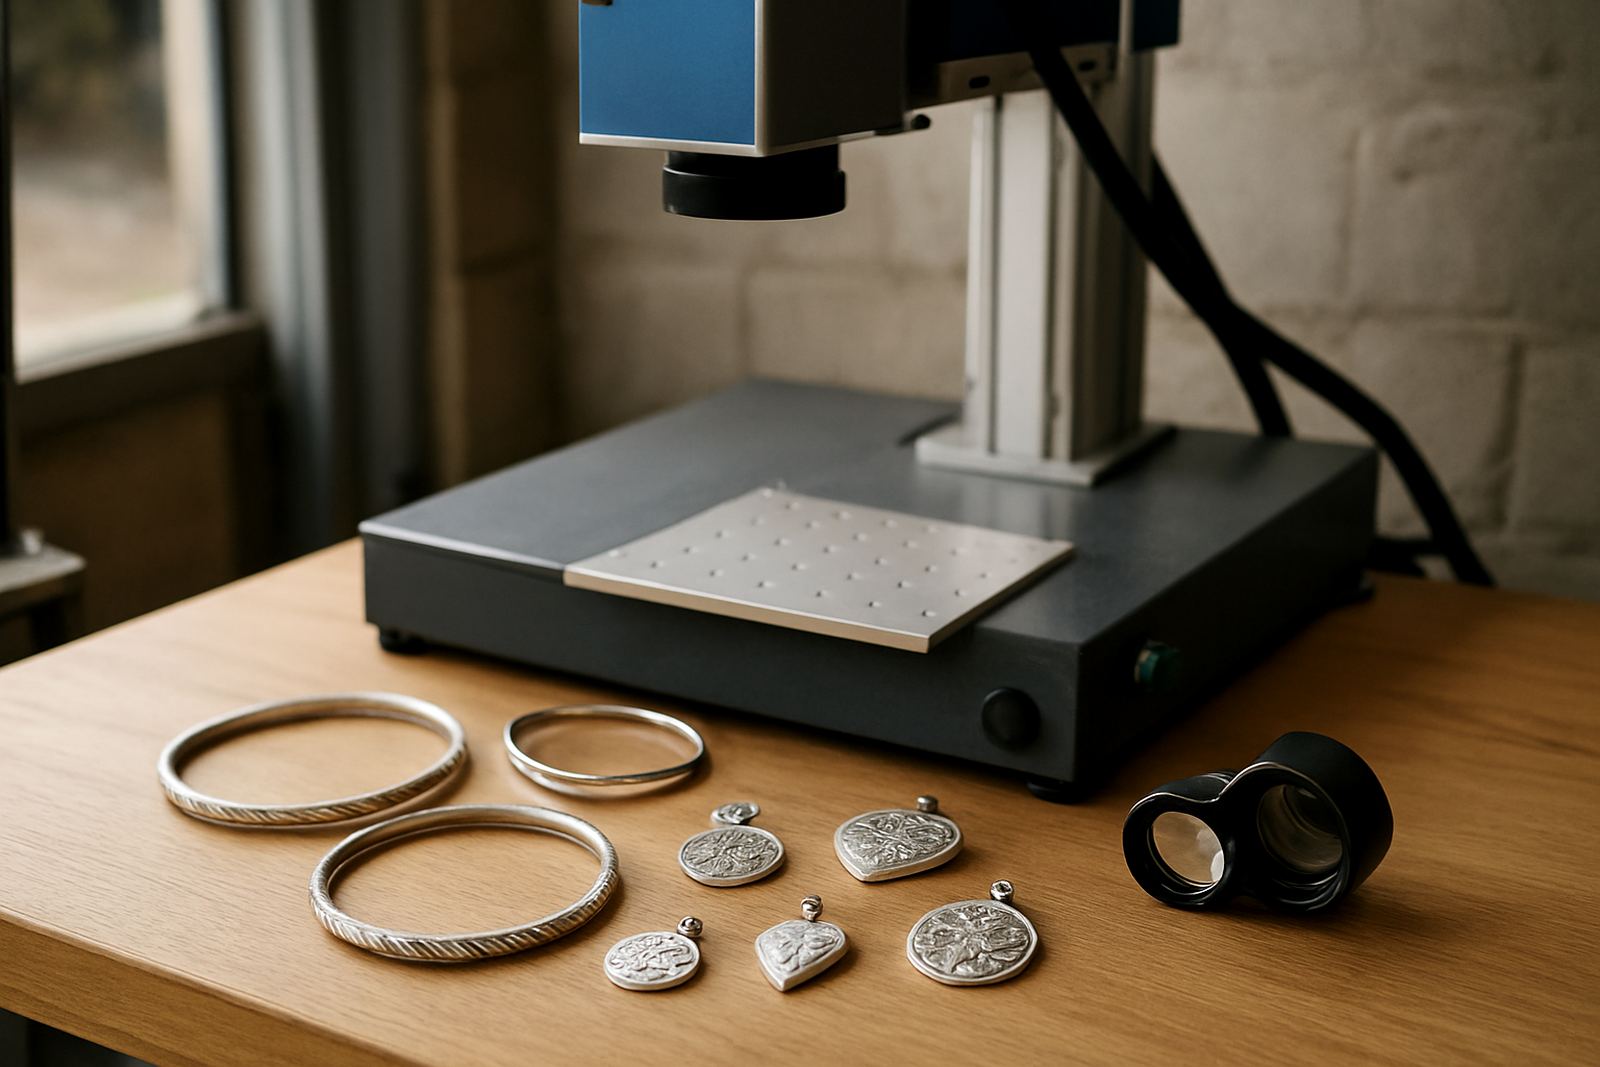
Silver is a soft metal and that is good news and bad news at the same time. It takes a clear mark, but it also shows overburn, surface haze and tiny slips straight away. For jewellery work, the aim is not only to make the text readable, it must also look tidy under normal light and hold up after polishing, cleaning and wear.
On rings and thin pendants, a setting that is too aggressive can leave a rough edge or a dull patch around the mark. On bangles, the curve can pull the beam off line if the piece shifts even a little. That is why silver jewellery marking is best handled with controlled power, a focused beam and proper workholding rather than trying to push speed first.
For workshops in Germiston, Benoni or Alberton, the real challenge is usually consistency across small batches. One ring might engrave beautifully while the next sits a fraction higher in the jig. That small difference is enough to change the depth, so it pays to treat each piece the same way every time.
Set up the piece before you press start
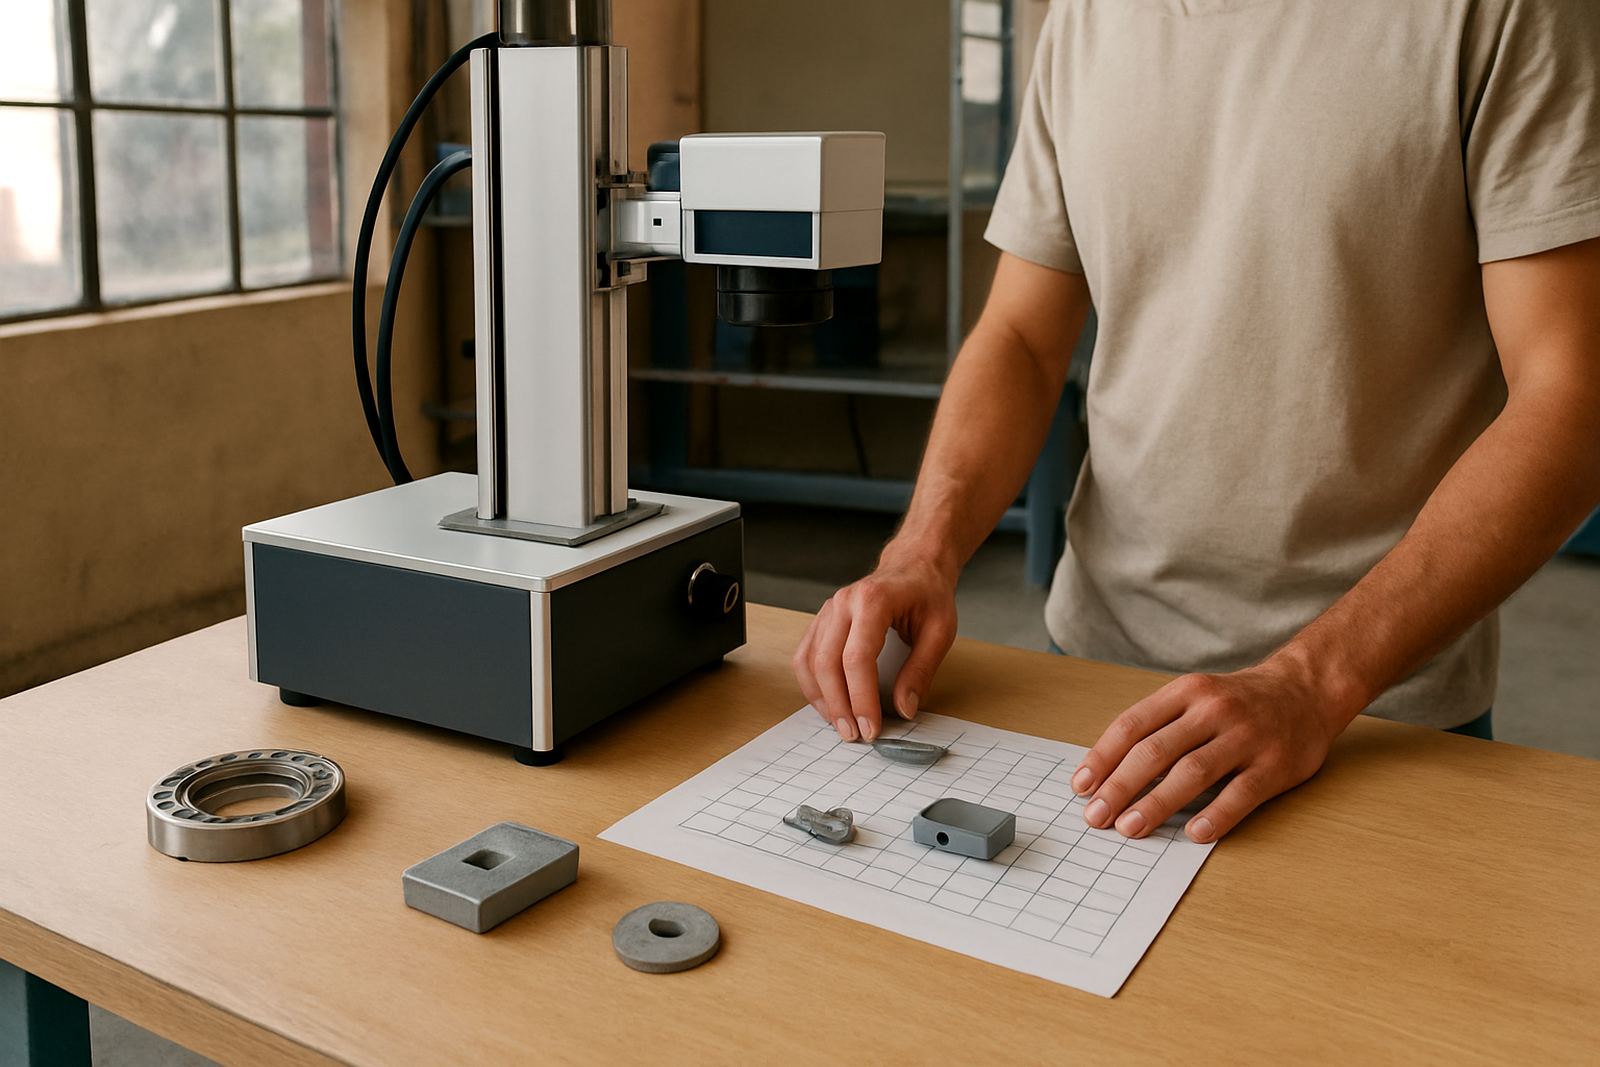
Good results begin with the fixture, not the software. Rings, pendants and bangles need to sit flat, level and repeatable. If the item rocks or twists, the mark will move across the surface and the finish will look uneven. A simple custom jig often does more for quality than any setting change.
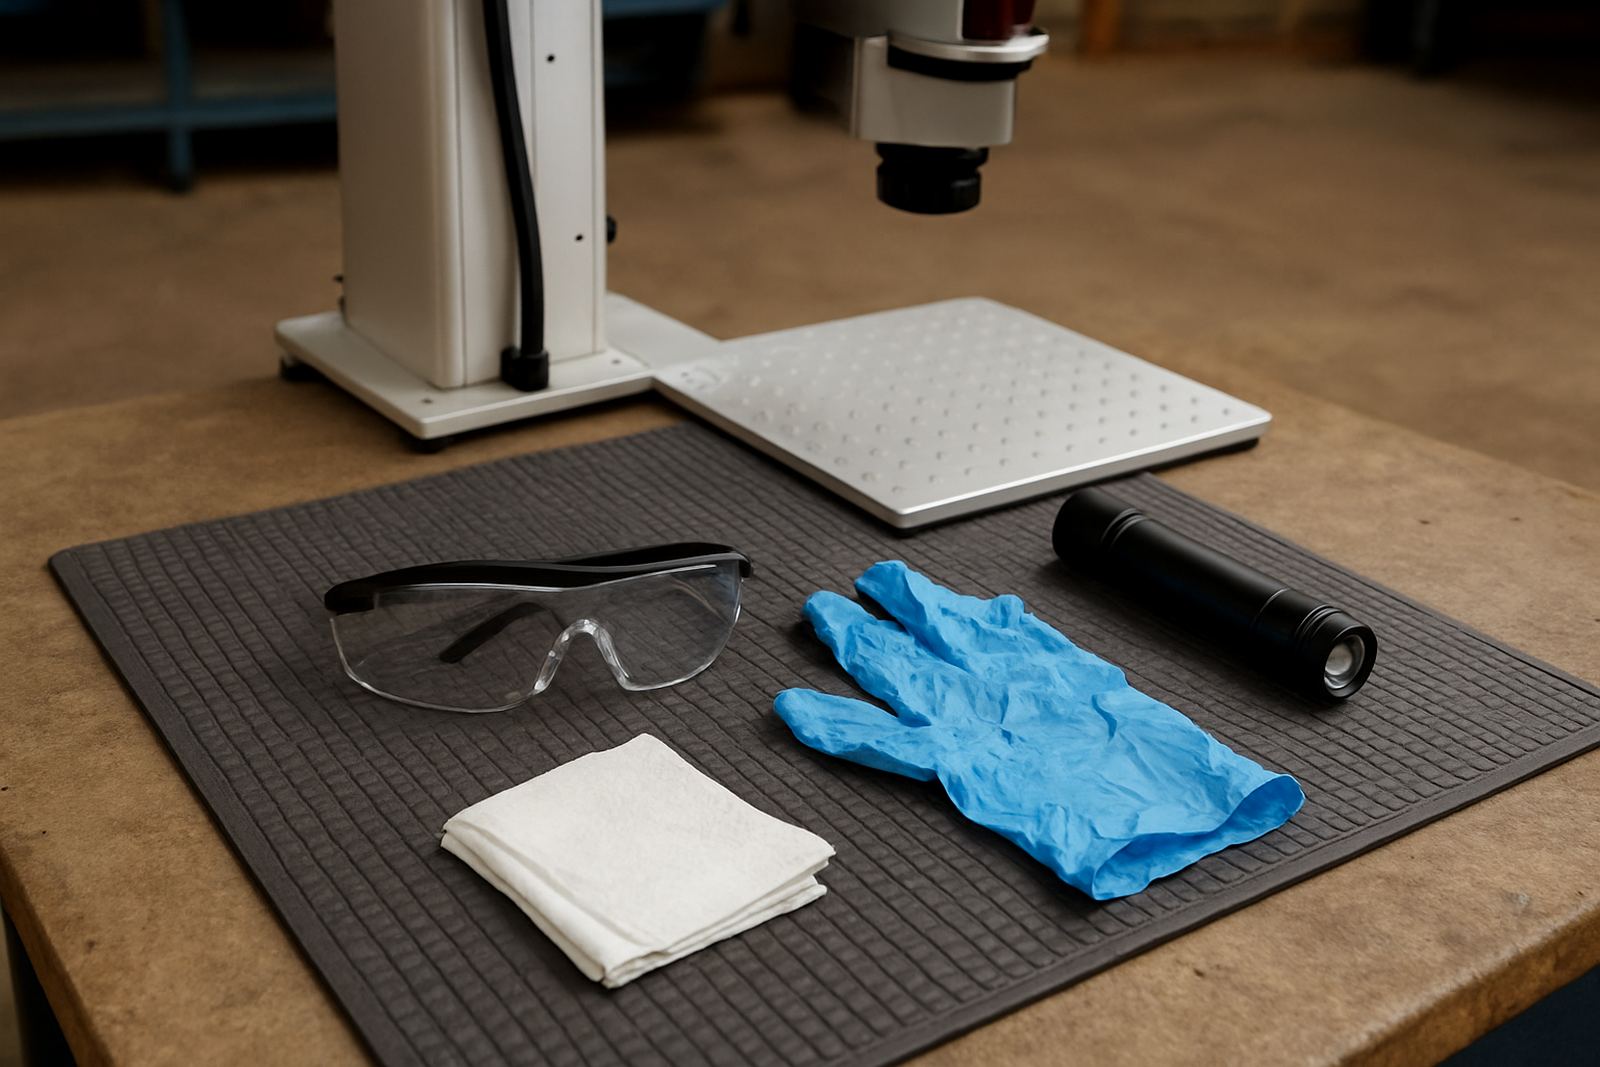
Before marking, clean the surface with a lint free cloth and check for polish residue, dust or adhesive from previous handling. Silver picks up fingerprints quickly, and that can affect how the mark looks after the first pass. If you are marking multiple items, sort them by thickness and shape so you do not keep resetting the machine between jobs.
- Use a stable fixture that holds the ring or pendant without pressure marks.
- Check that the focus height is correct for the exact item thickness.
- Test the mark on a spare piece before starting a full batch.
- Keep the work area clean so small particles do not reflect the beam.
- For curved bangles, rotate the item in a controlled way instead of forcing a flat setup.
A small workshop in Wadeville marking sterling silver name pieces may only need a few minutes of setup per design, but that time saves hours in rework later.
Choosing the right mark style for rings, pendants and bangles
Not every silver item needs the same mark. A wedding ring with a short inside inscription asks for fine, narrow text. A pendant may need a logo, initials or a serial number. Bangles often need a wider field and more care around the curve. The cleaner the layout, the easier it is to keep the mark balanced.
For rings, inside marking works well when the text is short and the font is not too thin. If the ring is narrow, leave enough spacing so the characters do not blur together once the piece is worn. Pendants usually allow a little more freedom, but the front face still needs careful alignment so the mark sits square. Bangles are trickier because the surface moves away from the lens as it curves, so fixture position and focus must be checked with extra care.
- Use simple fonts for tiny text on rings.
- Keep logos clean and avoid fine lines that disappear on polished silver.
- Allow extra space around script or decorative elements.
- For bangles, plan the mark around the visible viewing angle, not just the flat drawing.
If the customer wants serial numbers, purity notes or batch codes, it is better to keep those separate from decorative text. That makes future identification easier and keeps the jewellery looking tidy.
Practical settings that help prevent overburn and haze
Silver often responds well to lighter power and tighter control. The exact settings depend on the thickness, finish and shape of the item, but the method stays the same. Start with a sample piece, test the contrast, then move in small steps until the mark is clear without creating a dark halo or pitted edge.
Shorter pulses and careful focus are usually better than trying to force depth in one pass. If the piece is polished, you may need to reduce energy so the top surface stays clean. If the jewellery has a brushed finish, the mark can blend differently and may need a slightly adjusted pass. Do not assume one setting will work across every silver job, because that is where costly rework starts.
Load-shedding can also affect consistency if the machine stops mid setup or the environment changes during a long shift. When power returns, recheck focus, alignment and software settings before continuing. A quick test mark is worth far more than sending a poor batch to finishing.
In practice, a neat silver mark is usually the result of three things: stable focus, controlled energy and repeatable handling. Get those right and the mark stays sharp without looking overworked.
Local production, training and support from Wadeville
Silver jewellery work is often done in small runs, repair batches or personalised orders, so fast setup matters. A Germiston base makes it easier to support workshops in Wadeville, Jet Park, Isando, Kempton Park, Boksburg and Alberton without long delays. It also helps when you need someone on site for installation, operator training or a process check after moving a machine.
For a local example, a jewellery workshop in the East Rand might need to mark 50 silver pendants for a retail order and then switch to bangles for a corporate gift run the next day. If the fixture and software profiles are organised properly, that changeover can happen smoothly. If not, the team wastes time resetting focus and checking every item by eye.
- Machine installation and commissioning for new workshop lines.
- Operator training for marking, focusing and basic fault checks.
- Software setup for repeat jobs, templates and batch control.
- Preventive maintenance to keep marking quality stable.
- Breakdown repairs, spares supply and remote assistance when needed.
That kind of practical support matters when deadlines are tight and the jewellery has to go out looking consistent across every piece.
Small habits that keep silver marks neat over time
Once a silver marking process is working well, keep it simple and repeatable. Record the settings that gave the best result for each item type, keep fixtures labelled and inspect the first sample of every batch before moving on. A quick check at the start can save a whole tray of rework.
It also helps to separate jobs by finish. Polished silver, oxidised silver and brushed silver do not always react the same way, so group them properly and do not mix settings unless you have tested the change. If you are doing site relocation or adding another workstation, make sure the new position still gives stable power, proper ventilation and enough room for loading small parts without rushing.
For workshops that serve jewellers, retailers or repair counters, the best approach is calm and controlled. Silver rewards careful handling. When the fixture is right and the settings are checked, the result is a clean mark that looks deliberate instead of forced. That is what customers notice when they pick up a ring, pendant or bangle that has been marked properly.
When to ask for a sample before full production
Any new design should be tested before a full run, especially if the silver is thin, highly polished or curved. A sample mark helps you confirm legibility, depth and position before you commit to the batch. It also gives the client a clear point of approval, which avoids confusion later if the text is too small or the logo is too fine.
Ask for a sample when the job includes:
- Very small lettering on rings or narrow pendants.
- Curved bangles with limited flat space.
- Special fonts, logos or decorative borders.
- Mixed batches with different silver thicknesses.
- Personalised orders where a single mistake would be expensive.
That one sample often answers the questions that matter most: will it read cleanly, will it stay centred, and will it still look good after polishing. Once those are confirmed, the rest of the job usually goes much smoother.