Start With a Clean Surface, Not a Stronger Setting
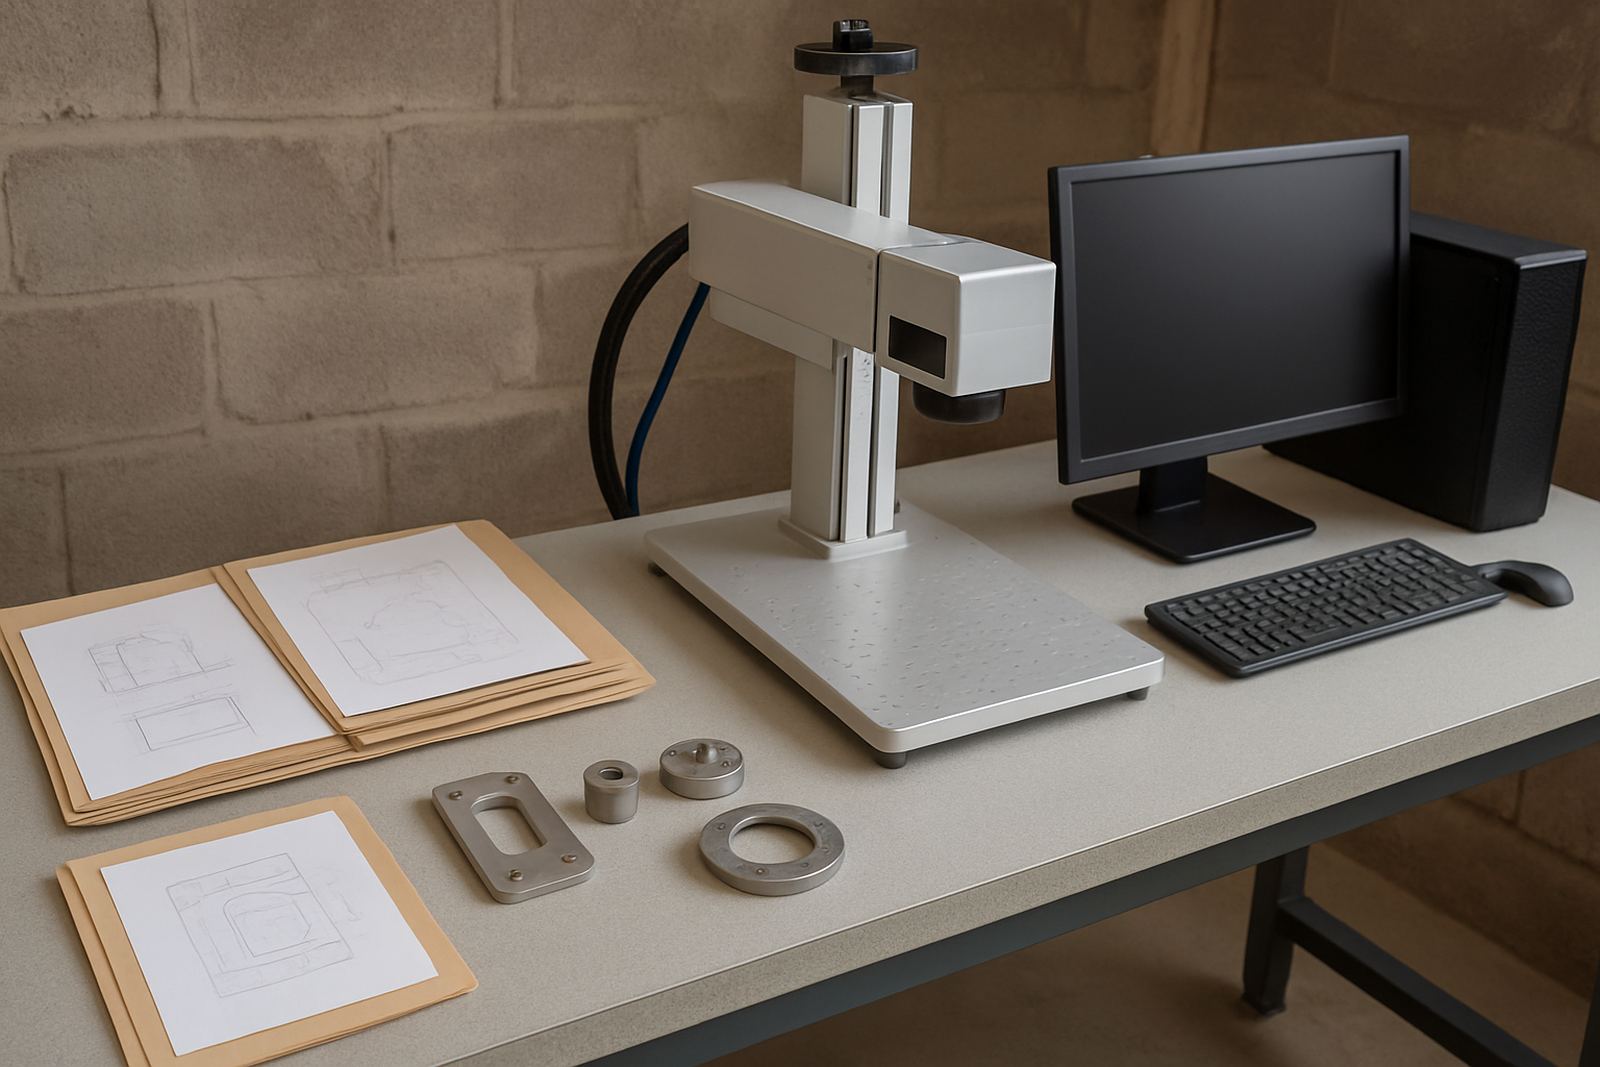
Most bad stainless marks start with surface contamination, not with the laser power. Oil from handling, polishing compound, cutting fluid and light rust all change how the beam reacts. On stainless, that often means patchy contrast, a smoky halo or a mark that looks fine in one pass and poor in the next. Wipe each part with a clean lint free cloth and a suitable degreaser, then let it dry fully before loading it into the fixture.
If the part came from laser cutting, check the cut edge and the surrounding surface for oxide and residue. For jewellery or polished tags, use gloves after cleaning so fingerprints dont undo the prep. A light mist of coolant residue can be enough to spoil fine text at 0.2 mm height, especially on small plates and rings.
- Remove oil, polishing paste and dust before marking.
- Use gloves after cleaning to avoid fresh fingerprints.
- Dry the part fully, then mark within a short window if the workshop is humid.
- For high value parts, test on a spare sample first.
Set Focus Carefully for the Stainless Grade and Finish
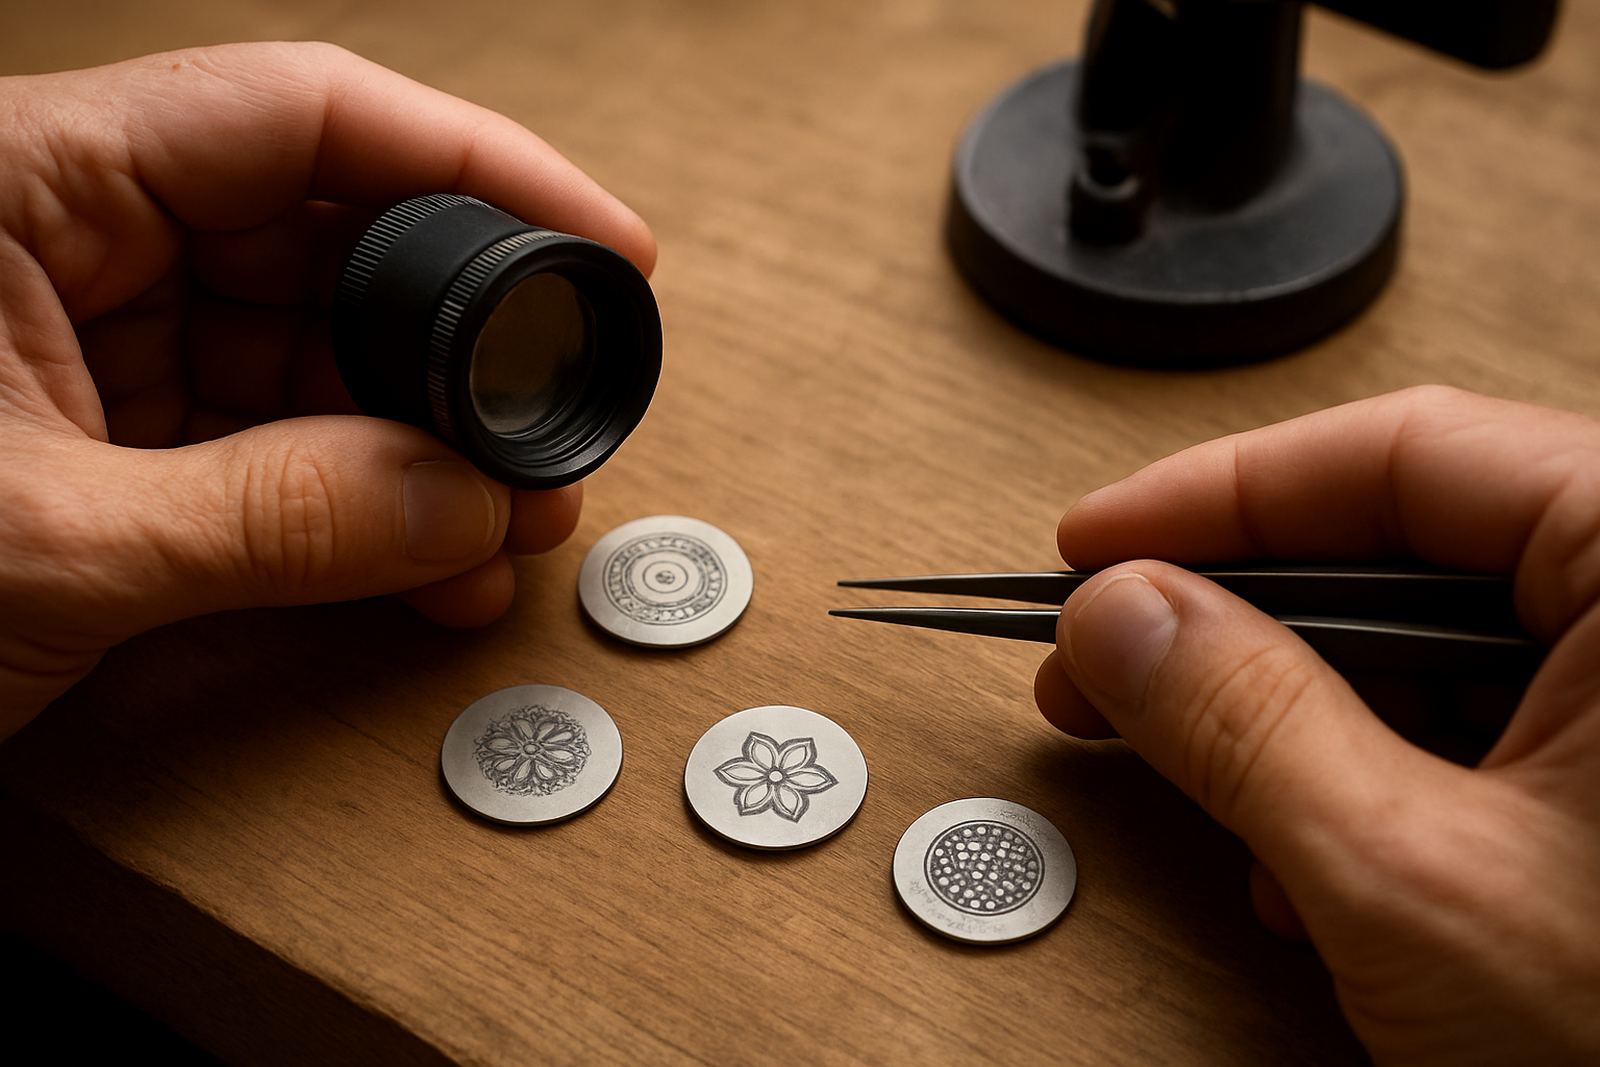
Stainless steel is not one material in practice. A brushed plate, mirror finish pendant and bead blasted component will all respond differently. Start by setting true focus on the surface, then make small adjustments of 0.1 mm to 0.3 mm if the mark needs more contrast or less heat. On flat industrial parts, a slight defocus can help spread the energy and reduce rough edges. On jewellery, exact focus usually gives the cleanest line and the least thermal tint.
Be careful with curved items like flanges, cups and rings. If the curvature is sharp, a simple flat focus point will only be correct in one small zone. Use the right fixture or rotate the part so the marking area sits as level as possible. In Wadeville and the rest of Gauteng, dust in the air can collect on lens windows quickly, so keep optics clean and check focus after any extended run.
- Use exact focus for fine detail on jewellery and serial marks.
- Try small defocus changes when the surface needs more contrast.
- Level curved parts before marking to keep letter height consistent.
- Clean optics often, especially in busy industrial areas.
Choose Speed, Power and Frequency as a Set
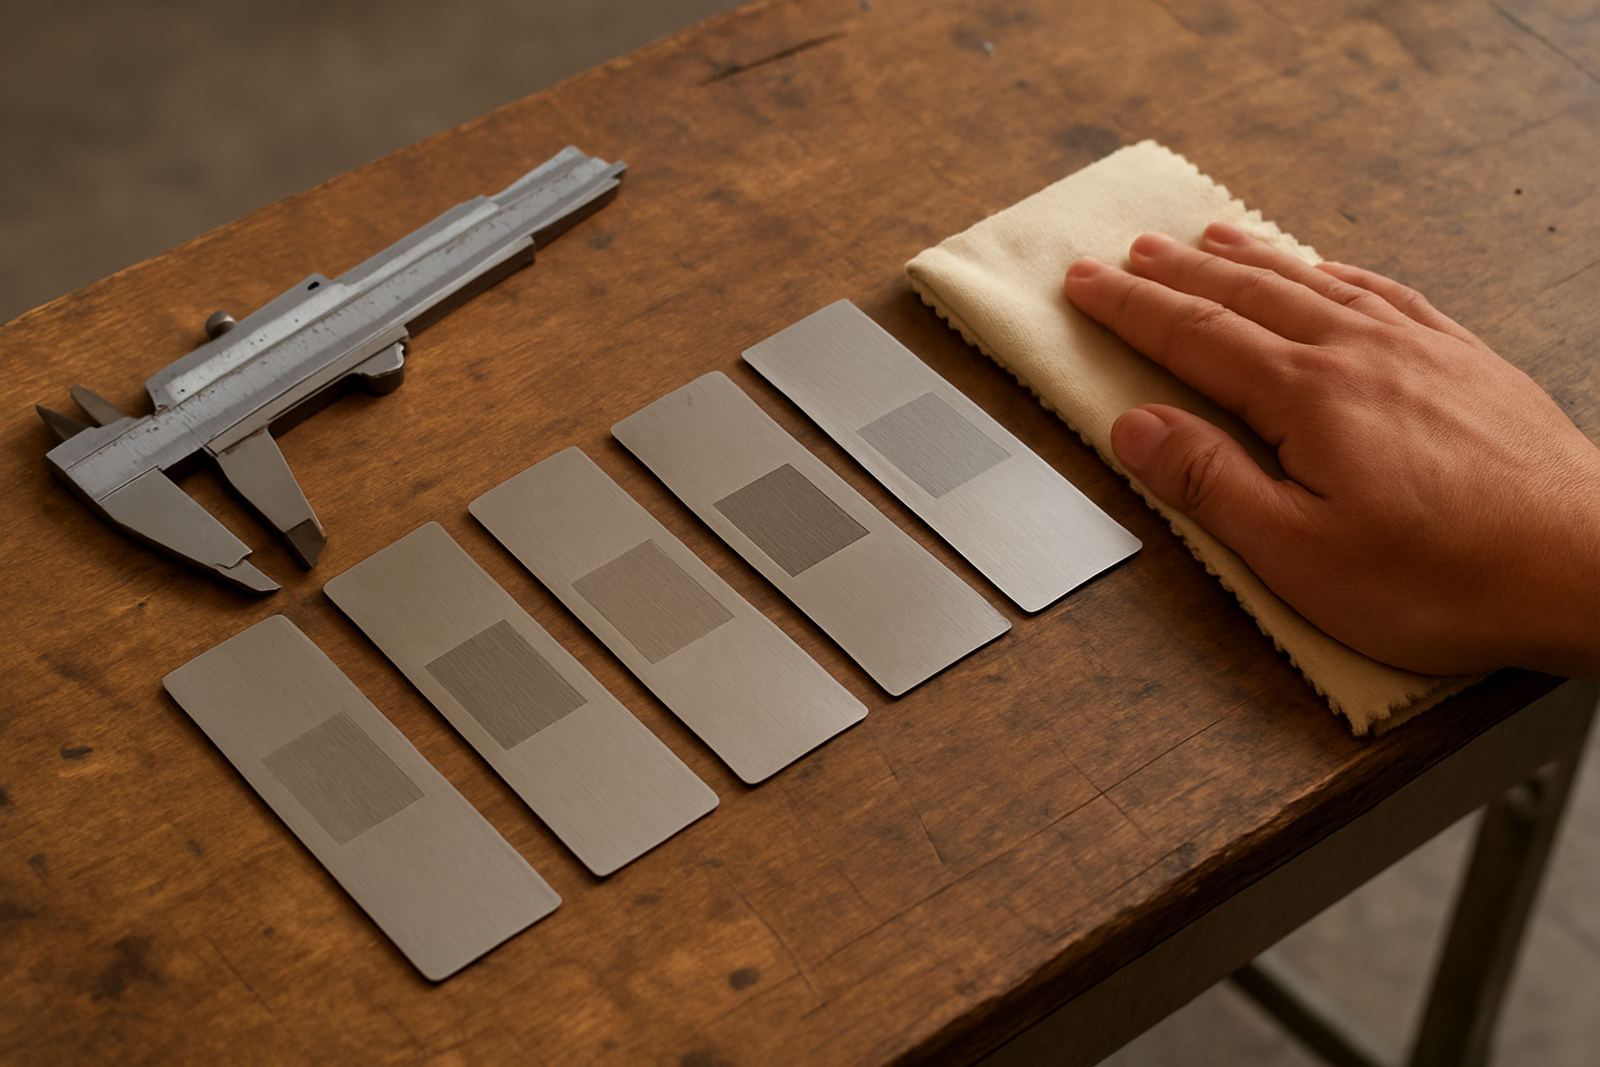
Good stainless marking comes from balancing power, speed and frequency, not from pushing one setting high and hoping for the best. Too much power with slow speed can overheat the surface, leaving a rough or brown mark. Too little power with fast speed gives a pale mark that fades under handling. For most workshop work, start with a sample matrix and move in small steps until you find the setting that gives a clear mark without excessive heat build up.
For dark, high contrast marks on some stainless grades, higher frequency with controlled power often gives a smoother finish. For shallow engraving, lower frequency and a slower pass may remove more material, but watch for burrs at the edge of the mark. Always record the final recipe by material grade, finish and thickness. That saves time later when the same batch comes through again.
- Adjust power, speed and frequency together.
- Use test pieces to find the cleanest result before production starts.
- Record settings by grade, finish and part thickness.
- Watch for heat tint, rough edges and pale marks after the first run.
Fixture Design Matters on Small Parts and High Volume Runs
Stainless parts move easily if they are light, curved or oily. A small shift of even 1 mm can ruin a serial number or a logo placement. That is why proper fixturing matters as much as laser settings. Use a fixture that supports the part firmly without scratching the surface, and make sure the loading position is repeatable from one operator to the next.
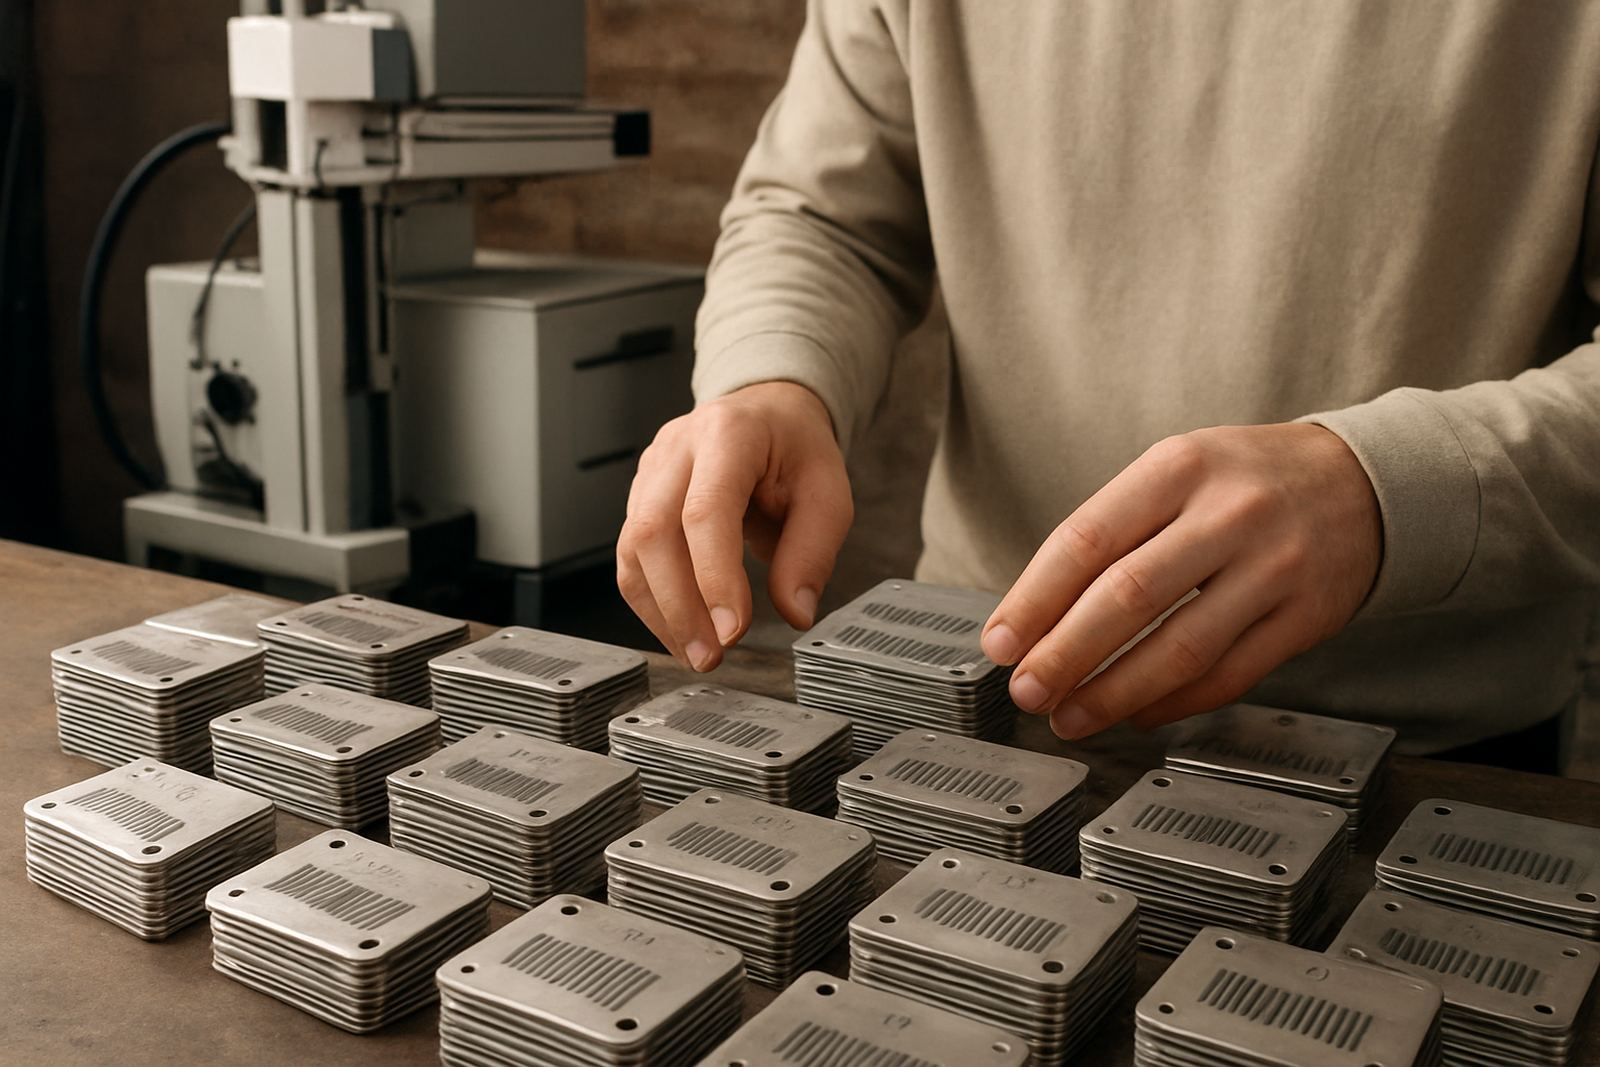
For a Germiston workshop marking nameplates for machine builders, a simple stop block and clamping plate can cut setup time and reduce mistakes. For jewellery, a formed nest is better than a loose tray, because fine items can tip or rotate during marking. If the part has a finished face, protect it with soft contact points and keep the clamp area outside the marking field.
- Hold each part so it cannot slide, lift or twist during marking.
- Use repeatable stops for batch work and serial numbers.
- Keep clamp points outside the marking area.
- Choose soft contact points on polished or decorative stainless.
Know When to Mark in One Pass and When to Use Two
Not every stainless job should be done in a single pass. Fine logos, codes and small lettering often look better with two lighter passes than one heavy pass. The first pass can lay out the mark cleanly, while the second pass deepens contrast without burning the edges. This is useful on parts that must stay neat under close inspection, such as instrument plates, electrical enclosures and jewellery inserts.
If the stainless is heat sensitive or thin, two lighter passes may keep distortion down. If the part is thicker and the requirement is durability over appearance, a deeper single pass may be acceptable. The choice depends on the end use. For food plant parts, weld adjacent areas and polished visible faces usually need a cooler setting. For industrial tags, legibility often matters more than deep engraving.
- Use lighter passes for fine detail and better edge control.
- Choose deeper engraving only when durability is more important than finish.
- Keep heat low on thin parts to avoid distortion.
- Check the mark under normal workshop light, not only under the machine lamp.
Prepare for South African Workshop Conditions
Local conditions change marking results more than many operators expect. Load-shedding can interrupt a run and leave a half marked batch in the fixture, so plan settings and batch sizes with recovery in mind. Coastal humidity can leave moisture on parts and inside storage bins, while inland dust can affect optics and moving parts. If the workshop is in Wadeville, Jet Park or Isando, keep stainless blanks sealed until just before use and avoid stacking them bare on open benches.
After a power interruption, recheck focus, lens cleanliness and part position before restarting. For sites that move machines between branches or client premises, always confirm the machine level and the fixture alignment after transport. A good mark on Monday may look different on Friday if the machine has shifted by a fraction and nobody checked it.
- Plan for load-shedding with smaller batches and clear restart steps.
- Keep stainless stock dry and covered in humid coastal areas.
- Recheck focus and alignment after transport or power interruptions.
- Store sample settings by site and material, not just by job name.