What the Brakpan toolroom needed
The client was a mould and tooling workshop in Brakpan working on repeat production and routine tool maintenance. Their team needed a simple way to mark mould plates with cavity numbers, job references and service notes so each set could be traced without confusion. The marks had to stay legible after oil, cleaning, clamping and general handling in the workshop.
The main brief was to engrave on hardened and semi hardened metal plates without slowing down the workflow. The workshop also wanted a method that did not rely on stickers, paint pens or hand stamping because those options were wearing off too quickly. They needed clean marking that looked neat on finished tooling and could be read by operators, setters and maintenance staff at a glance.
- Permanent cavity IDs on mould plates
- Maintenance reference marking for internal control
- Readable text on small plate areas
- Fast turnaround for workshop use
Material checks and marking constraints
Before the job started, we tested the plate material and surface condition so we could set the correct power, speed and focus. The plates were a mix of tool steel surfaces with different finishes, so one setting would not suit every item. Some plates had polished faces while others had already seen machining marks, which meant contrast and depth had to be managed carefully.
The workshop also asked for compact marking zones because some plates only allowed a small flat area near the edge or inside a recess. That meant the text layout had to be planned with enough spacing for cavity numbers, date codes and maintenance notes. In a mould shop, a mark that is too large can interfere with the parting line or create clutter, so placement mattered as much as the engraving itself.
- Mixed steel finishes on the same batch
- Small marking fields on selected plates
- Need for durable contrast, not surface ink
- Marks had to avoid functional areas of the mould
What we supplied and set up
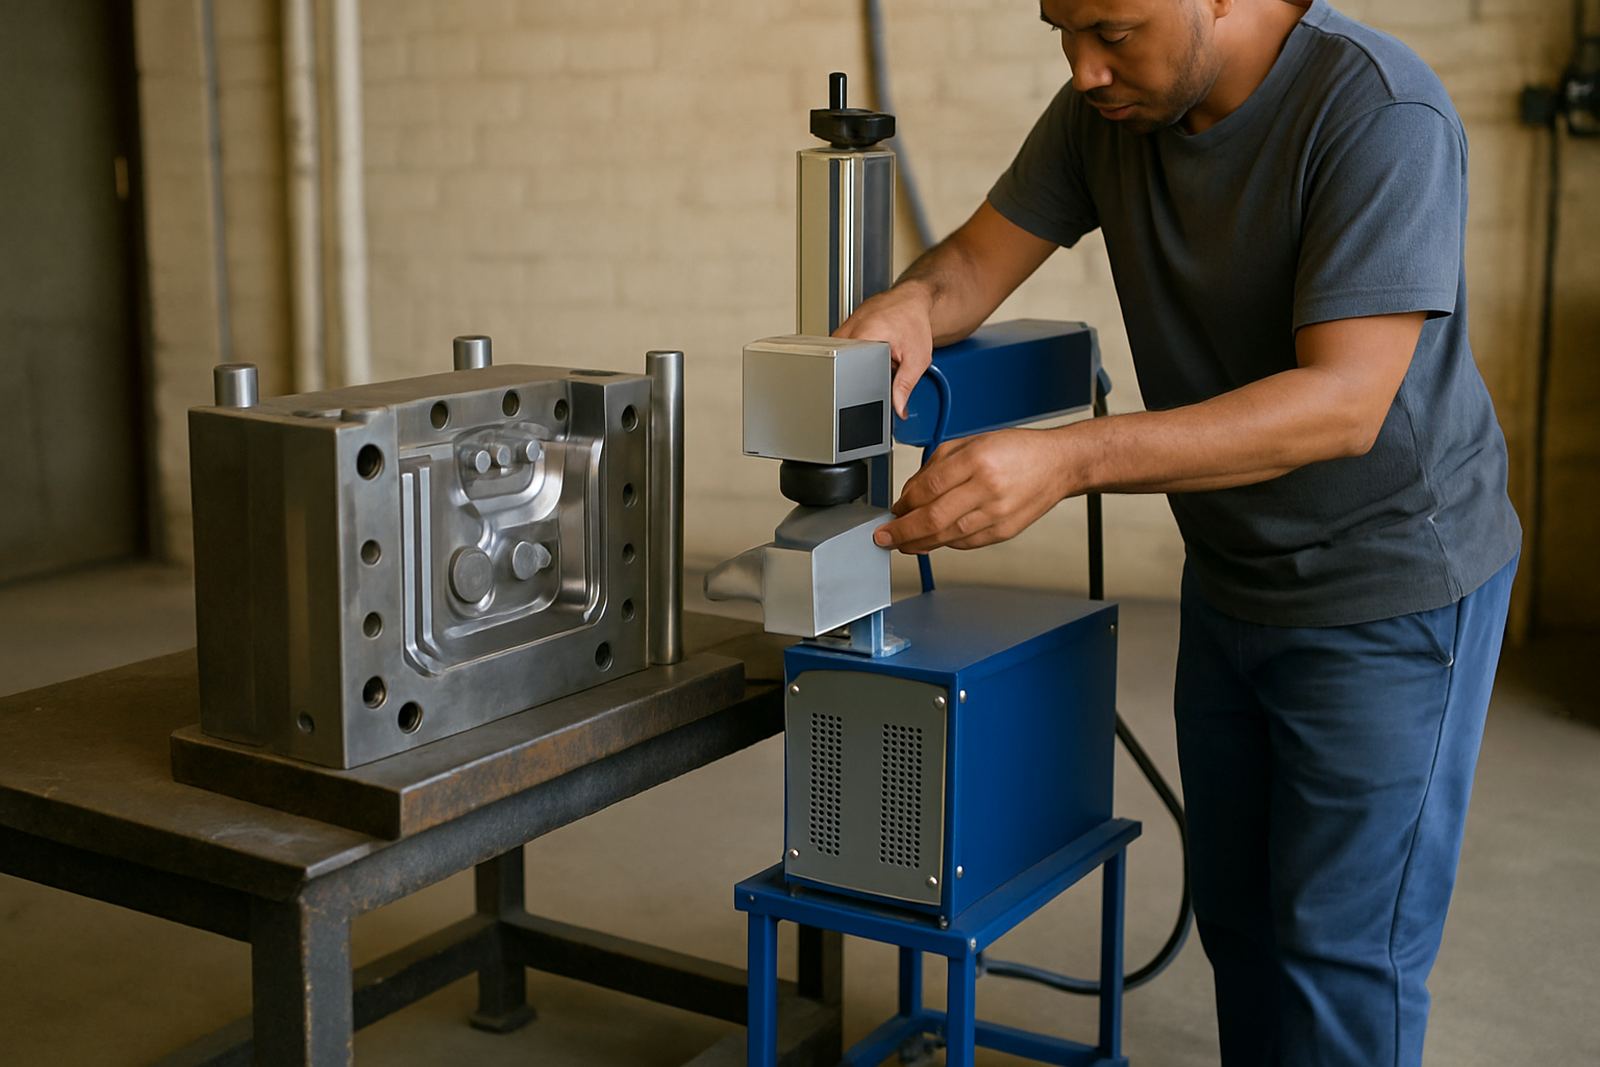
We supplied a fibre laser marking machine suited to metal plates and fine character work. The machine was set up for detailed engraving with a stable marking head, fine focus control and repeatable positioning for batch work. We also prepared the marking files so cavity IDs and maintenance references could be applied in a consistent format across the full set.
Our team handled the machine installation, software setup and focus calibration on site. The goal was to make the system easy for the workshop to use without needing a lot of adjustment between jobs. We also checked the fixture arrangement so plates could be located squarely and marked in the same position each time. That saved time and cut down on rework.
- Fibre laser marking machine for metal parts
- Software setup and file preparation
- Fixture alignment for repeatable placement
- Focus calibration for consistent depth and clarity
Installation, training and live marking
The project ran over two weeks from first testing to handover. During week one we completed sample marking, checked the plate response and confirmed the preferred character height for the client’s control system. In week two we carried out the final setup, trained the operators and marked the full batch of mould plates. The job stayed on schedule and the workshop was able to continue its normal output alongside the marking work.
Training covered day to day operation, basic file handling, focus checks and simple maintenance. We showed the team how to keep the lens area clean, how to confirm marking position before starting a job and how to avoid double handling of heavy plates. The operators picked it up quickly, which helped the client keep control of the process internally rather than sending plates out for marking.
- Project duration: 2 weeks
- Sample marking completed before production
- Operator training included practical setup steps
- Handover done on site at the Brakpan workshop
Results for workshop control
The finished plates carried clear cavity IDs and maintenance references that remained easy to read after handling and cleaning. The markings gave the workshop a better record for tool control, especially when similar moulds were being stored, moved or serviced. It also reduced the risk of mixing up plates with close part numbers or similar layouts.
Because the engraving was permanent, the client no longer had to rely on temporary labels that could lift in heat or grime. The marks were neat enough for workshop use and practical enough for maintenance tracking. For a Brakpan toolroom, that meant faster identification, less confusion and better traceability on every set. It was a small change that made daily control much easier, and it held up well under normal shop conditions.
What we'd carry into the next Brakpan mould marking job
If we were doing the same job again, we would follow the same process: sample first, then lock in the character size, then proceed with the batch. That approach works well when the plates vary in finish or when the workshop needs the marks placed in a very specific area. It also gives the client a chance to confirm readability before the full run starts.
We would also keep the fixture method the same, because repeatable plate location makes a real difference to speed and accuracy. In mould work, consistency matters, and a tidy marking pattern saves the team time every week. The process is straightforward, but it needs care from start to finish.
- Test on a sample plate before the batch
- Confirm character size and spacing early
- Use a fixed fixture for repeatability
- Keep the mark away from functional mould faces
Key facts
| Project location | Brakpan, Gauteng |
|---|---|
| Client type | Mould and tooling workshop |
| Material | Steel mould plates with mixed surface finishes |
| Marking content | Cavity IDs, maintenance references and job control notes |
| Timeline | 2 weeks |
| Services used | Machine installation, software setup, focus calibration, operator training, sample marking |