Start with the part, not the machine
Before you choose a fixture, look closely at the part itself. Check the shape, weight, finish and the area that must be marked. A flat plate, a turned shaft and a small jewellery component all need different support. If the part can move, rock or sit at an angle, the mark will shift and you will spend time reworking it.
For most jobs, the goal is simple: hold the part firmly without damaging the surface or blocking the marking area. On polished metals, soft contact points help prevent scuffing. On heavier components, the fixture needs enough mass and support so it does not move during loading or when operators work through a busy shift.
In Wadeville and the surrounding industrial areas, many workshops handle mixed batches and short runs. That means fixtures should be practical to load, quick to set up and easy to adjust when the next batch changes size by a few millimetres.
Define the repeatability you actually need
Repeatability is the real reason for a fixture. If the part lands in the same position every time, your marking stays in the right place and the software setup becomes quicker. Start by deciding how exact the location must be. For serial numbers or data plates, a few tenths of a millimetre may matter. For larger branding marks, the tolerance can be more forgiving.
Think about how the operator will place the part. If the part can only fit one way, the job is easier. If it can sit in more than one orientation, add stops, pins or shaped pockets to remove that uncertainty. The less guesswork at loading, the steadier the output across a full day.
- Ask how the part is positioned today
- Measure the real variation between parts
- Decide what must be located and what can float
- Check whether the mark area is visible after clamping
Choose a fixture style that matches the job
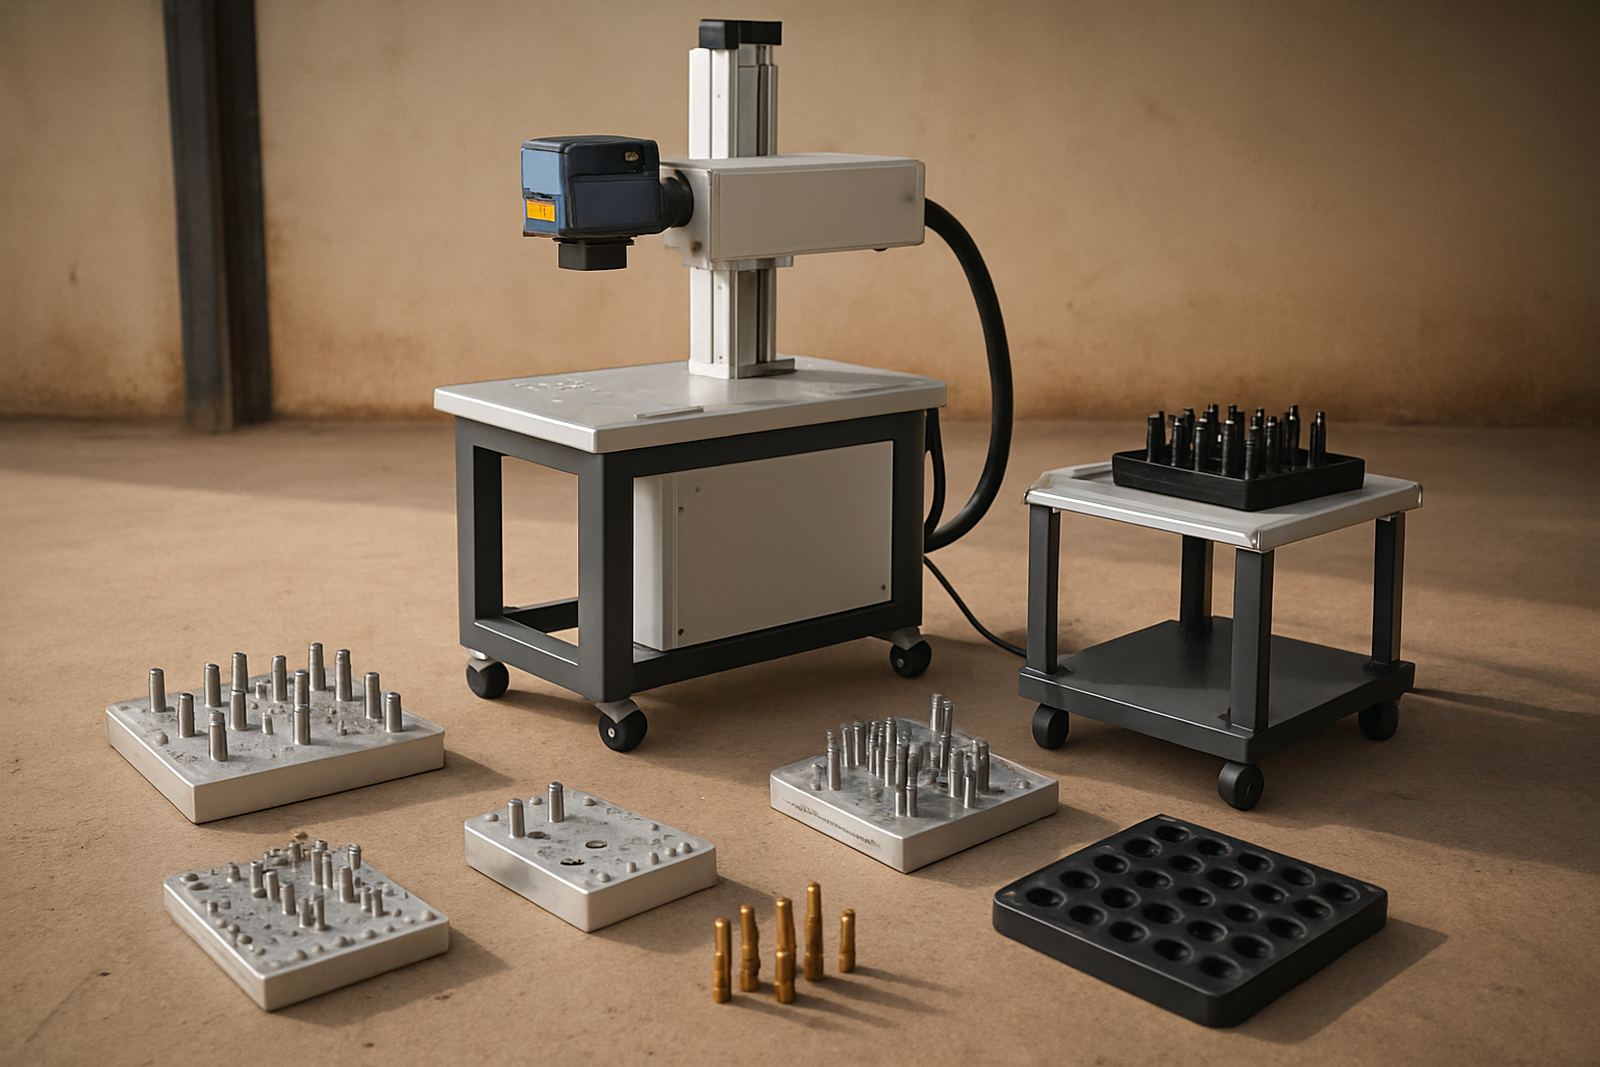
There is no single fixture type that suits every workshop. Simple angle plates, flat nests, rotary holders and modular clamping systems each solve different problems. Jewellery work often needs fine control and gentle support, while larger industrial parts may need a heavy base and a quick release clamp. The best choice is usually the one that balances speed, stability and access to the marking face.
If you run several jobs a day, a modular setup can save time because you can reconfigure it without starting from scratch. For high volume repeat work, a dedicated nest may be better because it removes setup drift. In coastal areas, especially where humidity is high, it also helps to choose materials and finishes that resist rust and clean down easily after use.
When planning the fixture, remember the operator’s hands too. If the clamp is awkward to reach or forces a poor posture, loading slows down and mistakes creep in. Good fixture planning should make the job easier, not harder.
Build in access, visibility and safe clamping
A fixture is only useful if the laser can reach the target area cleanly. Leave enough open space for the beam path and make sure the part can be seen clearly during alignment. Avoid tall shoulders or unnecessary hardware near the mark zone. If the fixture hides the surface, setting the focus and position becomes more difficult.
Safe clamping matters just as much. The part should be held securely, but without distortion. Thin sheet metal can bend if the clamp is too aggressive, while small rings or tags can slip if the support is too loose. For mixed batches, add adjustable stops and soft jaws so the same fixture can handle slight size changes.
- Keep the mark face open and visible
- Leave room for focus checks and sample positioning
- Use soft contact points where surface damage is a risk
- Test that the part cannot shift when the operator presses it into place
Plan for changeovers and daily cleaning
Many South African workshops deal with load shedding, rushed orders and staff doing more than one task in a shift. That makes easy changeovers important. A fixture that takes ten minutes to reset will slow the whole line, especially when power returns and everyone needs to catch up. Keep the layout simple enough that a different operator can understand it without a long explanation.
Daily cleaning should also be part of the plan. Metal dust, polish residue and oil can all affect how a part sits in the fixture. If the support surfaces are dirty, the part may tilt by a small amount and the mark will land off centre. Wipe down the fixture, check the locating points and inspect any moving parts for wear. It is a small task, but it prevents bigger problems later on.
A good habit is to keep one reference part or sample in the workshop. That makes it easier to check the fixture after maintenance, relocation or a software update. It is a simple check that can save a full batch from being marked incorrectly.
Use a short setup checklist before production
Before a production run starts, run through a simple checklist. This keeps the fixture, software and machine working together rather than leaving each part to chance. If the job is for a client with strict branding or traceability rules, the checklist becomes even more important. One small error at the start can affect every piece that follows.
A practical checklist should cover the fixture itself, the part location, the mark position and the operator workflow. If anything feels loose, hard to read or awkward to load, fix it before the batch begins. It is quicker to spend two minutes checking than to spend an hour sorting out rejected parts.
- Fixture clean and free of debris
- Locators tight and in the correct position
- Part sits flat with no rocking
- Mark area visible and correctly aligned
- Sample mark checked before full production
- Operator knows the loading sequence
When to ask for fixture support
If you are marking mixed metal parts, small jewellery items or components with awkward shapes, a custom fixture can make a big difference. The same applies when a job keeps drifting after every setup, or when operators need too much time to load each item. In those cases, a better fixture is often cheaper than extra rework, scrap or lost time.
At Fibre Laser Marking in Wadeville, Germiston, we help businesses plan workholding for repeatable marking, easier loading and cleaner results. That can include fixture design, sample marking, focus calibration and on-site training at branches and industrial sites across Gauteng and nationwide. If your process needs a quicker changeover or more consistent part positioning, it is worth reviewing the fixture before the next production run.
When that happens, the rest of the job gets easier.