When a rotary axis starts making sense
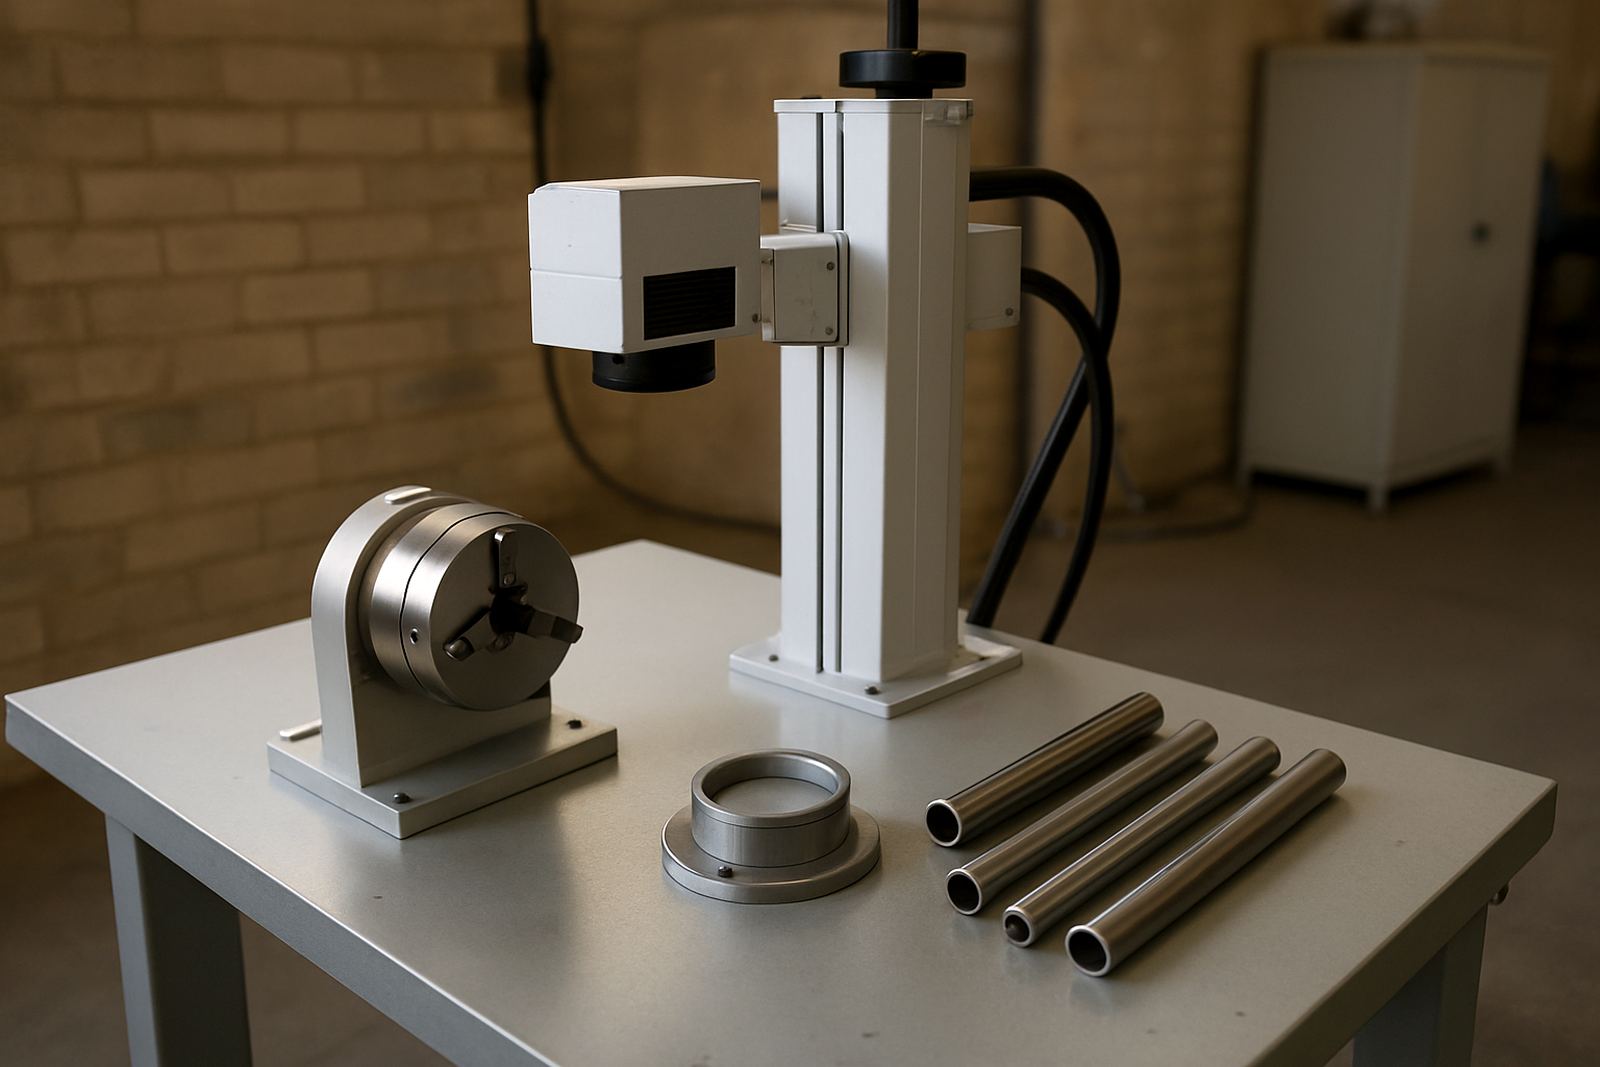
If your work is mostly flat plates, tags or panels, a rotary accessory may sit unused for long stretches. The value appears when you handle regular cylindrical jobs such as tumblers, medical components, torch bodies, steering parts, bottle-style housings and jewellery rings. It is also useful where the mark must wrap around a part in a controlled position, not just appear somewhere on the curve.
A rotary becomes a practical buy when the same type of round part keeps coming back, or when customers expect the same logo or serial number on every piece. It also helps if you are losing time on jigs, hand rotation or rejected parts from uneven marking. In many Gauteng workshops, the question is not whether a rotary can work, but whether the part mix is steady enough to justify the extra setup.
For one-off jobs, you may still manage with careful fixturing and a flat bed. But if you are doing batch work, a rotary reduces variation and gives you better control over mark position, especially on small diameters where a tiny shift shows immediately.
The parts that benefit most
Rotary marking is not only for rings. It helps on any job where the surface turns away from the lens and the curvature affects focus or spacing. The best results normally come on parts with a stable outer diameter, a sensible grip area and enough repeatability to load them the same way each time.
- Rings and bangles with inside or outside marking
- Cylindrical bottles, flasks and tubes
- Shafts, sleeves and spacers
- Machined hardware and fittings with repeat batches
- Tool handles, torch bodies and instrument housings
- Jewellery pieces that need fine detail on curved surfaces
Very soft, polished or awkwardly shaped items need more care. Thin-walled tubes can ovalise if the clamp pressure is wrong. Rings can slip if the grip faces are dirty or the size changes too much. If the part flexes, the mark may drift or the focus may change across the travel. That is where sample marking matters before you commit to a production run.
How to judge whether your machine and rotary match
Not every rotary suits every machine. Before you buy, check the chuck style, the available bed space and whether the controller can handle rotary motion properly. The accessory must fit the working height and the lens focal distance, otherwise you waste time packing up the part to suit the machine instead of the job.
Ask these questions first:
- What is the smallest and largest diameter you mark regularly?
- Do you need inside marking, outside marking, or both?
- Will the part be held by jaws, rollers or a custom fixture?
- How heavy is the average component once loaded?
- Do you need quick changeover between ring sizes or mixed batches?
- Will operators be able to set it up the same way every time?
In humid coastal areas and busy metal shops, it also pays to think about dust and handling. Fine swarf, polishing residue and oil can affect grip and mark quality. A rotary with simple cleaning access and solid mechanical parts is easier to keep in line. If the job changes often, a unit with clear position marks and repeatable adjustment will save real time.
A simple setup routine that avoids bad marks
The rotary itself is only part of the answer. Good results depend on a routine that operators follow every time. Start with the part size, then confirm the holding method, then test focus and wrap alignment on a sample piece before you launch the batch. Skipping that order is where most problems begin.
Use this basic setup sequence:
- Clean the part and the clamping faces
- Confirm diameter, wall thickness and length
- Set the rotary centre height to the beam line
- Lock the part so it cannot creep during travel
- Run a low-risk sample mark first
- Check the wrap, spacing and depth before full production
If the design must sit at a certain clock position, mark a reference line on the part and on the fixture. That small step helps with repeat loads and makes training easier for new operators. On ring work, even a slight twist can shift the final appearance, so a reference method is worth the effort.
What to check before you commit to a purchase
A rotary is not just another accessory. It changes the way you load parts, train staff and manage output. Before you commit, look at your current job list from the last three to six months and count how many jobs were truly round. If the answer is only a handful, you may be better off first improving fixturing and process control on the flat bed.
Use this checklist when deciding:
- Do you mark enough round parts each month to justify the cost?
- Will one operator handle setup, or several people?
- Do customers ask for serial numbers, logos or jewellery detail on curves?
- Can your workshop keep the accessory clean and stored safely?
- Will training cover both software setup and physical loading?
- Do you need future options for different chucks or attachments?
In South African workshops, load-shedding and site movement can also affect planning. If the machine is moved between rooms or branches, the rotary should be easy to re-level and re-calibrate. That saves time after a relocation or a power interruption that knocks your setup out by a few millimetres.
Keeping rotary work consistent over time
Once the rotary is in use, consistency comes from maintenance and discipline. Inspect the jaws, rollers and fasteners for wear. Keep the guide surfaces free of oil, grit and polishing compound. If you run small jewellery parts, even a thin film can cause slip that only shows after the batch is done. A short daily check is better than repairing a bad run later.
It helps to record three details for each recurring job: part diameter, grip method and focus setting. That note book becomes useful when the same customer returns three months later and wants the same result. For mixed batches, write down which fixture was used and where the reference mark was placed. This keeps the process practical for the person on the floor, not just for the planner.
When the rotary is matched to the right job, it turns curved marking from a fiddly task into a repeatable one. For workshops in Germiston, Jet Park, Isando, Kempton Park and beyond, that means steadier output and fewer do-overs. The goal is simple: load the part, mark it once, and get on with the next job.