Start With The Part, Not The Machine
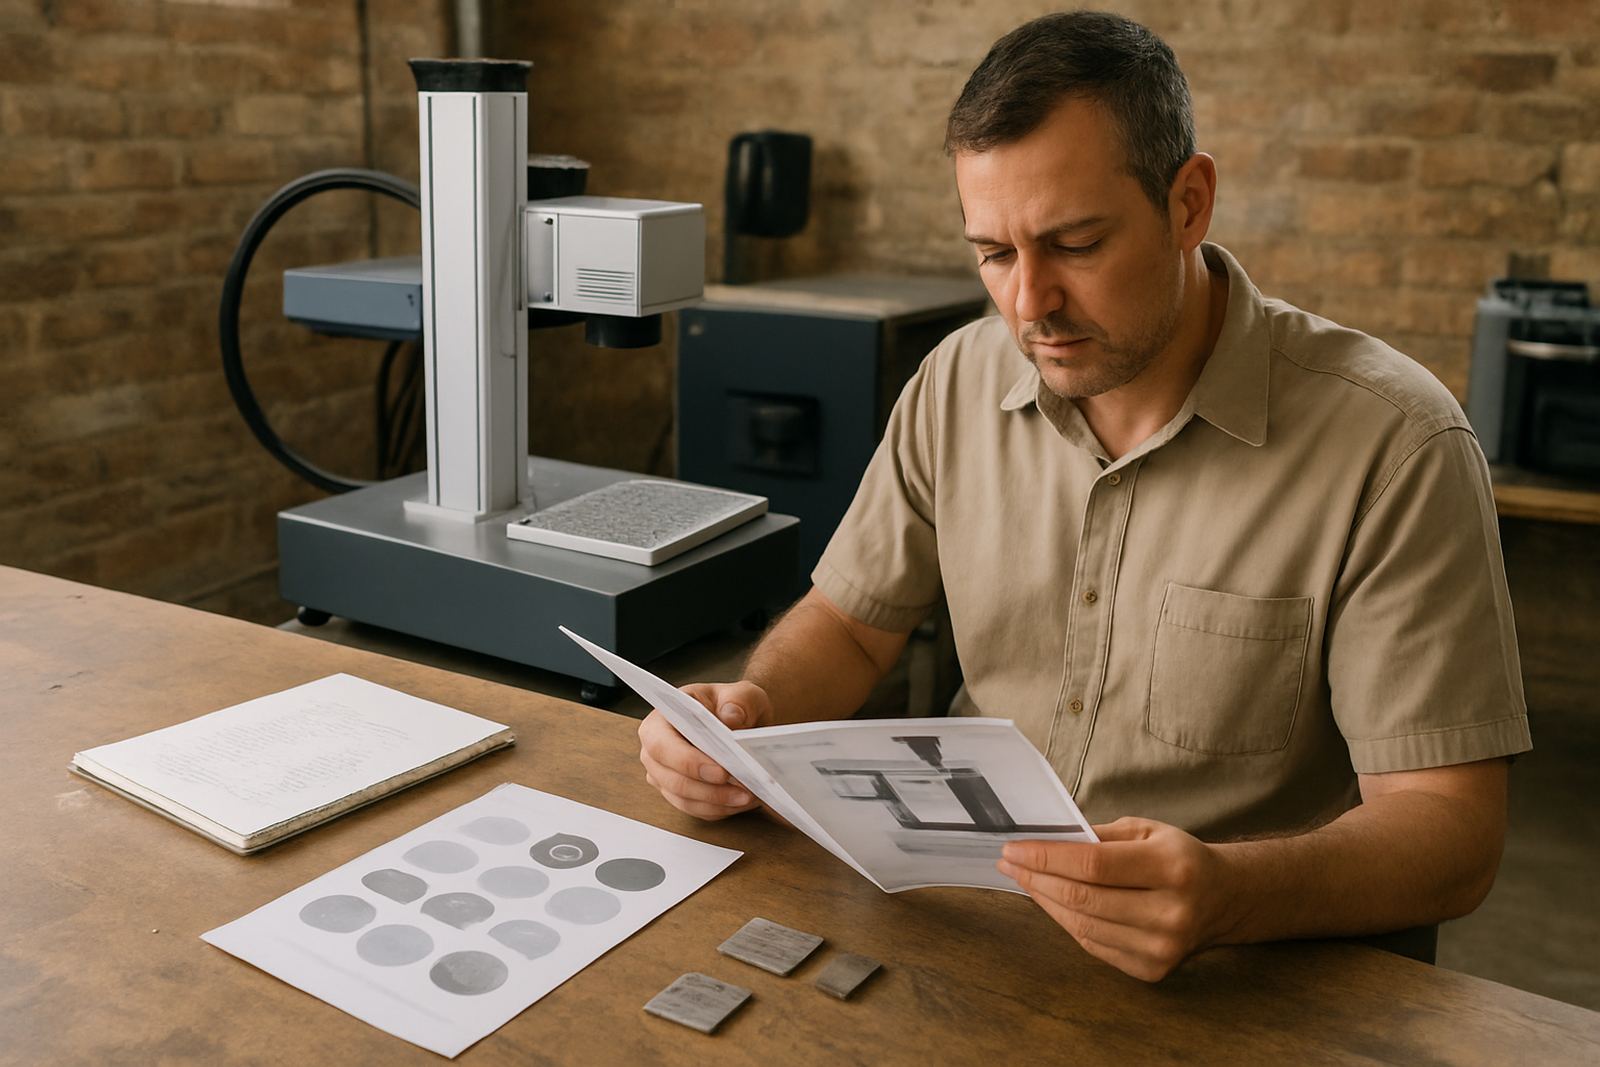
Bring the real part you want to mark, not a similar offcut if you can help it. Material grade, surface finish, coating, curvature and part size all affect the result, especially on stainless steel, aluminium, brass, mild steel and plated components. A flat test coupon can be useful for setup, but it should not be the only sample you approve.
Before the trial, note the part's purpose. A serial number on a gearbox housing needs a different finish to a logo on a ring blank. If the mark must stay readable after cleaning, handling or outdoor exposure, say so upfront. That helps us set the right focus, power and mark depth from the start and avoids rework later on.
- Send one finished part and, if possible, one spare for testing.
- Include drawings, photos or a sketch with the mark area clearly shown.
- Tell us if the part will be painted, anodised, polished or heat treated after marking.
Define What Success Looks Like Before The Trial
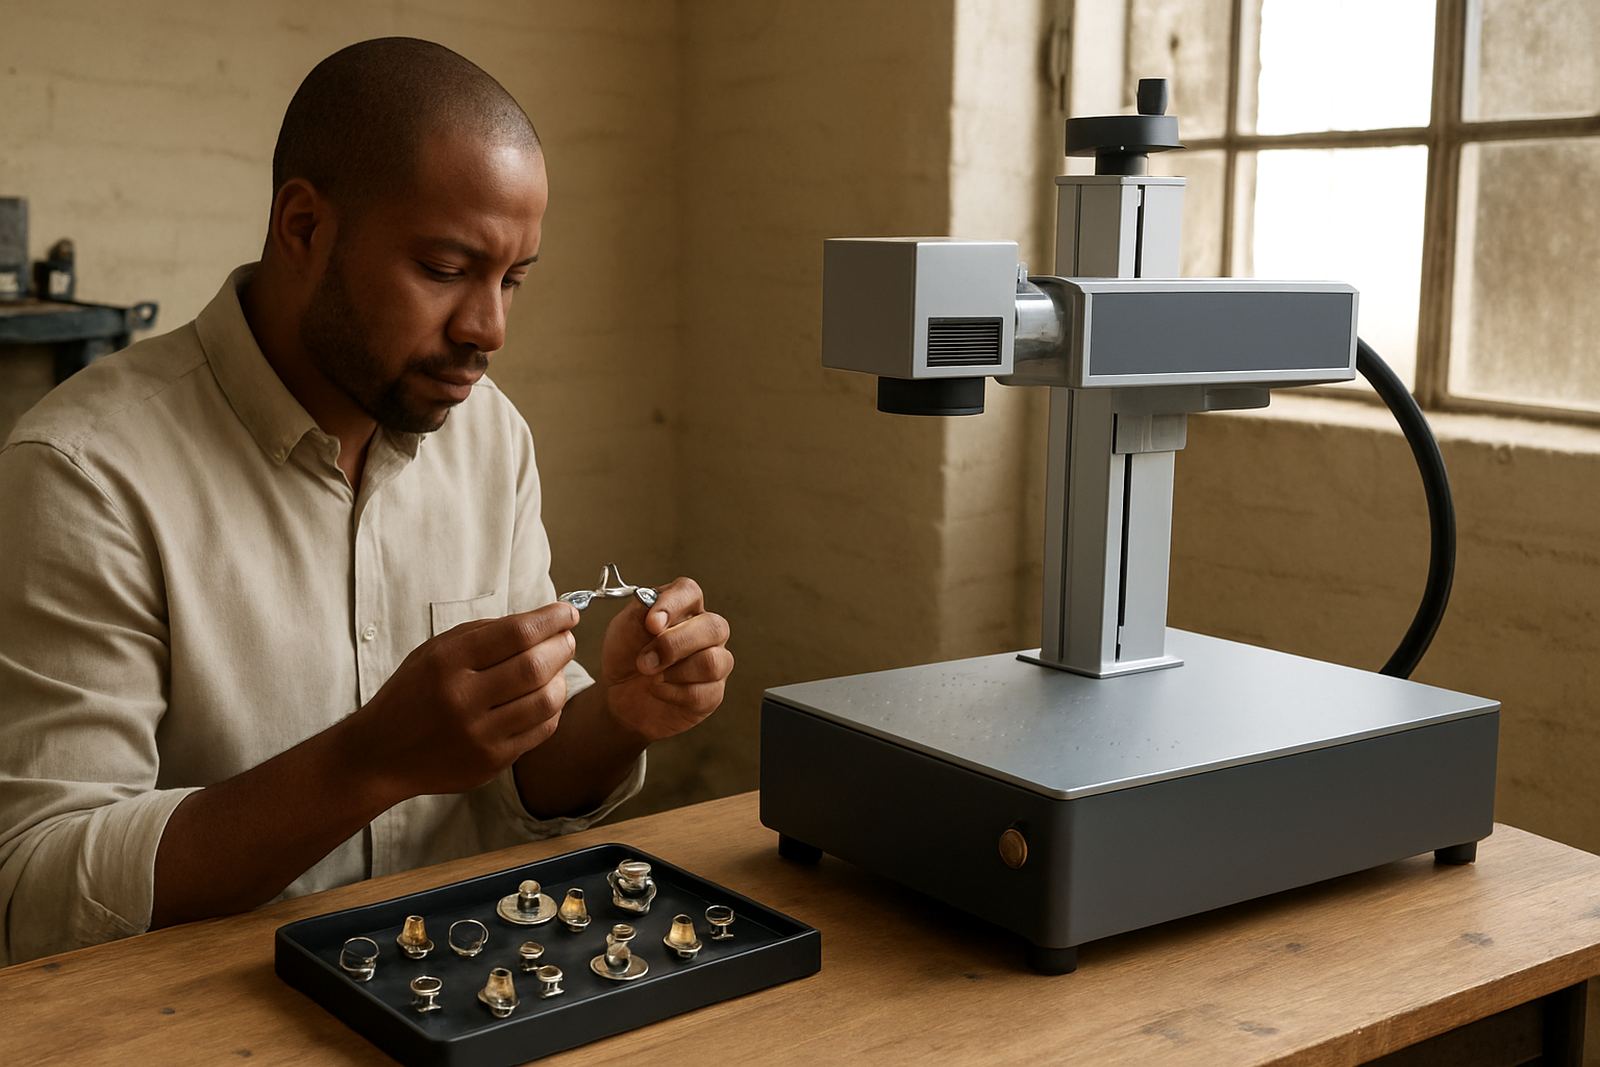
A good sample test has a clear pass mark. You are checking if the text is sharp, the barcode scans, the logo is clean and the cycle time suits production. For jewellery and small parts, the question is often whether the mark is fine enough without burning the surface. For industrial parts, depth, contrast and repeatability usually matter most.
Set practical criteria before you arrive or send samples. That way everyone looks at the same thing. If your team has a QA spec, bring it along. If there is no formal spec yet, we can help you define one that suits your process and the way your customers inspect product.
- Readability at normal viewing distance.
- Barcode or QR code scan success.
- Mark depth or contrast requirement.
- Acceptable cycle time per part.
What To Bring For A Proper Sample Trial
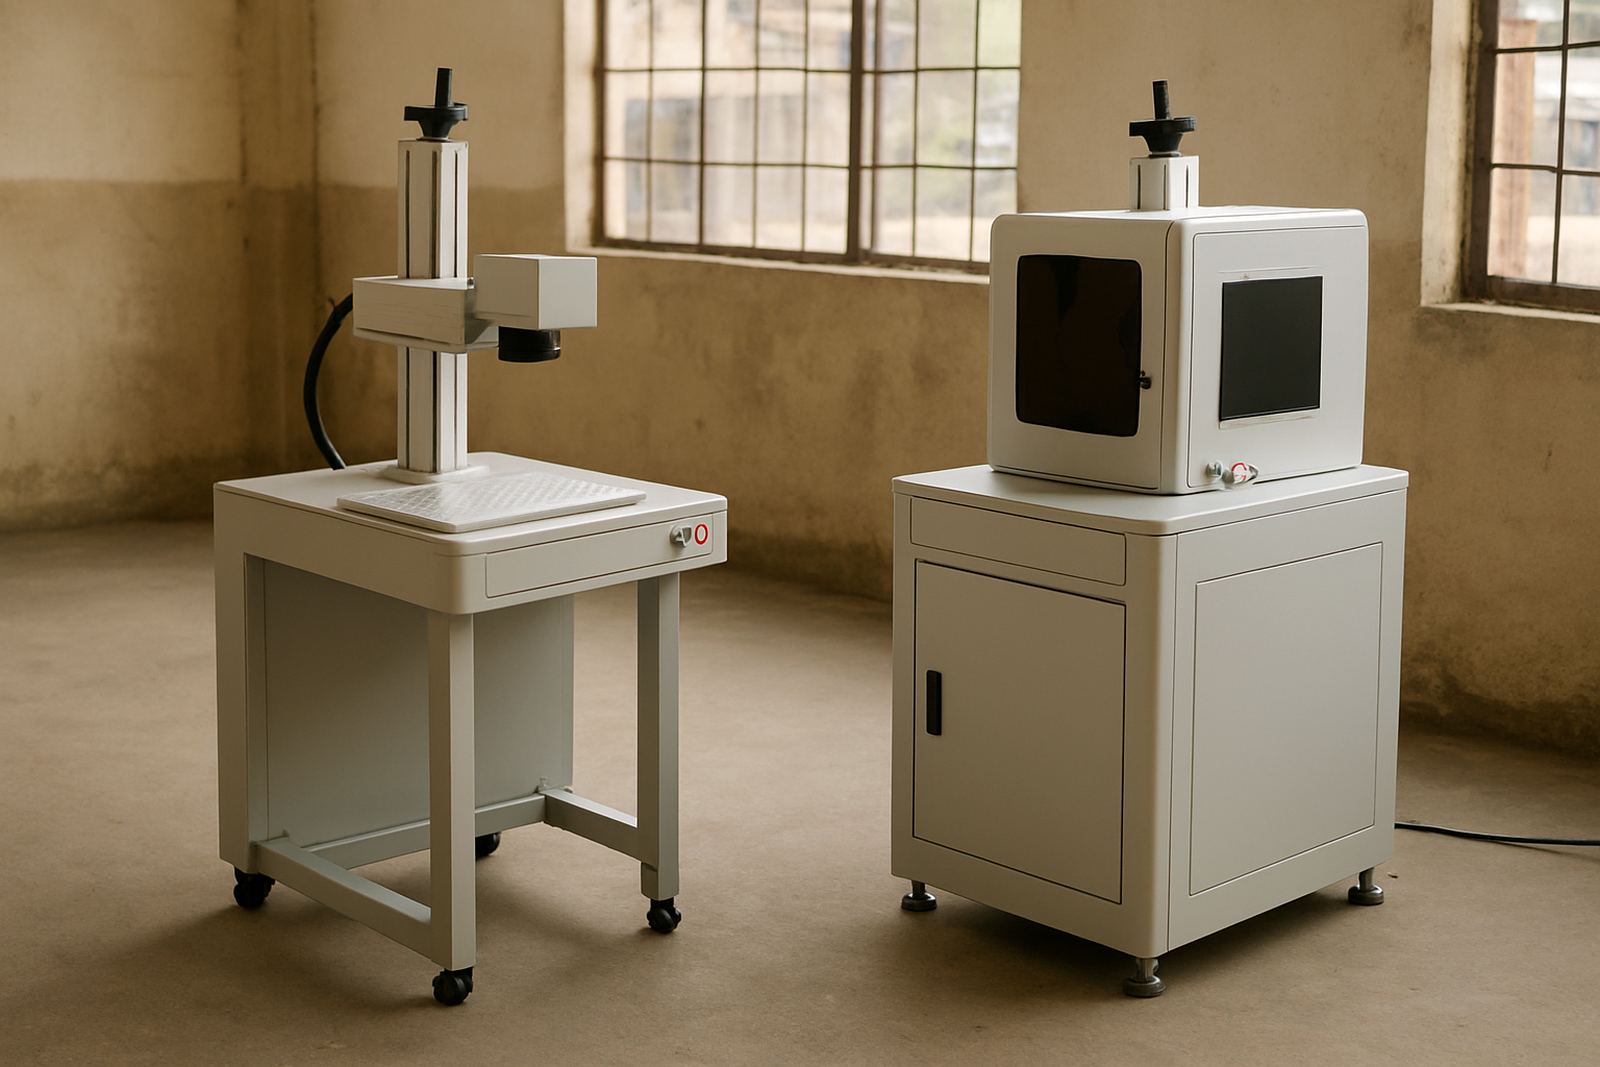
A proper trial is faster when the details are complete. If the job uses a fixture, rotary unit or special alignment, bring the sample and all related accessories. For batch jobs, one sample from each size or variation is best. If the part has a tight marking area, indicate the exact position with tape, marker or a simple paper template.
We also recommend bringing the file you want marked, even if it is only a rough layout. That lets us check font sizes, line thickness and spacing before we run the first pass. If the job will be done in a noisy factory or a dusty plant, tell us that too, as ambient conditions can affect handling and setup time.
- Actual workpieces and a spare if available.
- Artwork, serial format or sample data.
- Any fixture, jig or rotary requirement.
- Inspection method used by your team.
How The Trial Is Usually Done
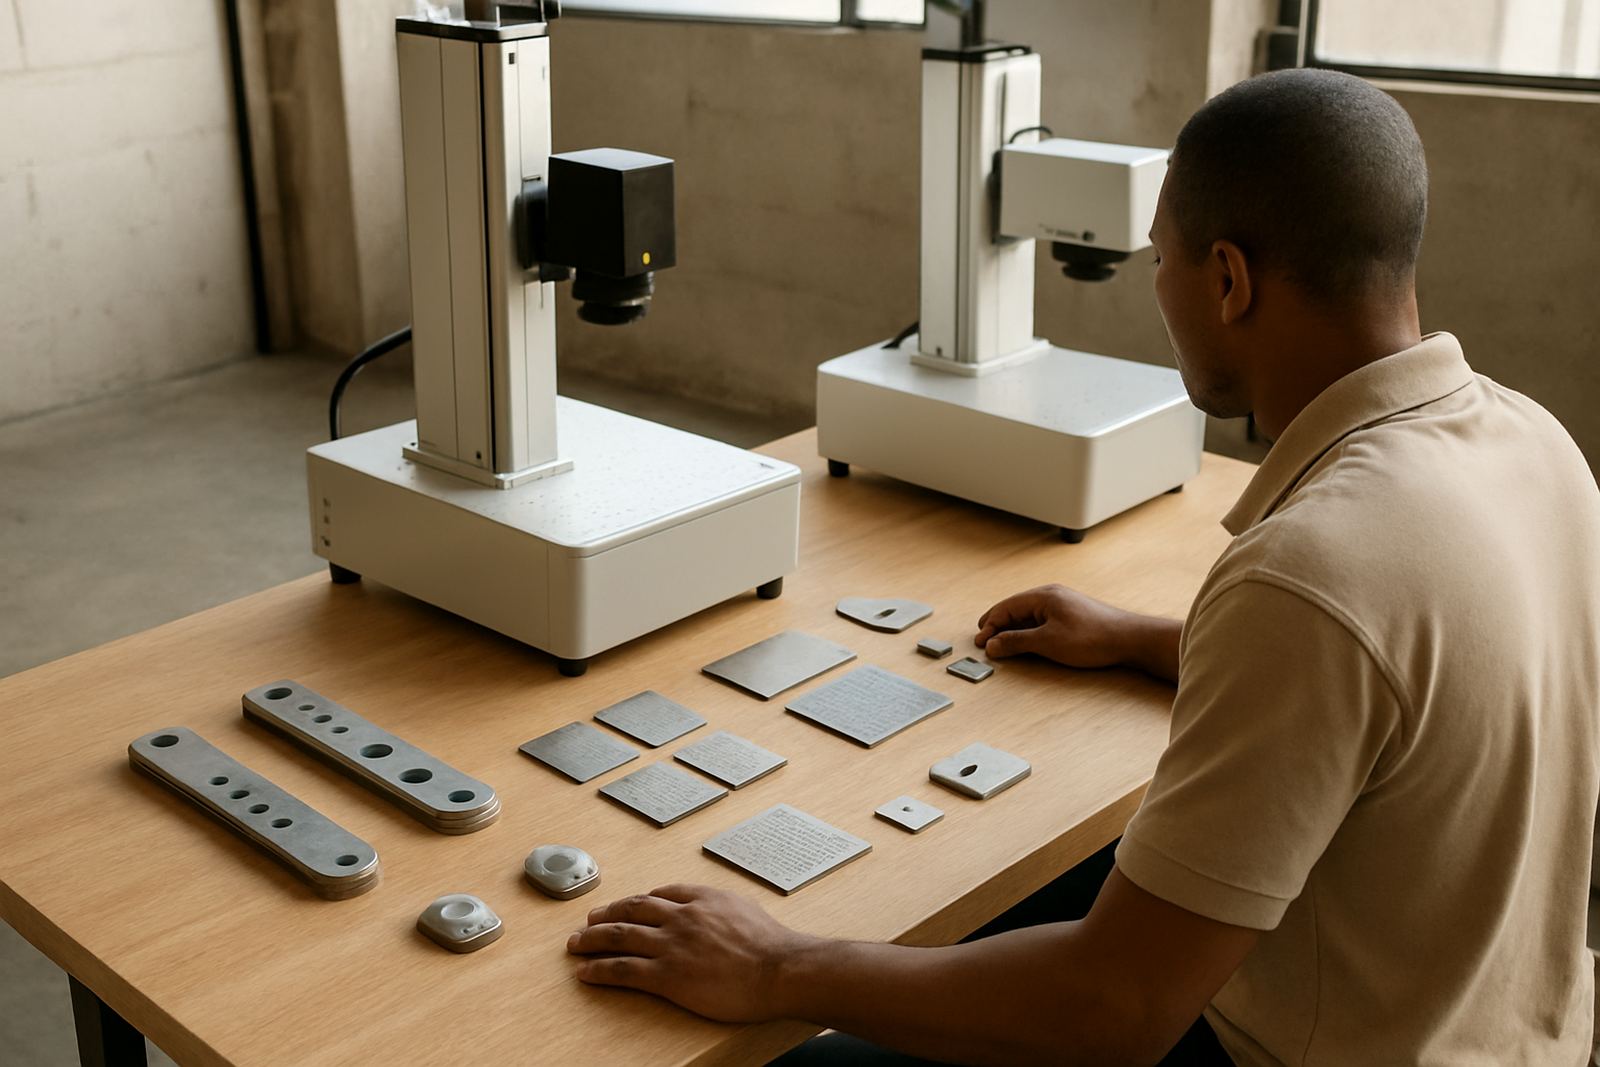
We start by inspecting the part and confirming the marking area, then we clean the surface if needed and set focus precisely. From there we run a first mark, check the result and adjust power, speed, frequency and hatch settings until the mark suits the material. If needed, we repeat with a second or third setting so you can compare options side by side.
For metals, small changes can make a big differnce in contrast and edge quality. On polished parts the mark may need a lighter touch, while on coated or anodised parts we may need a different approach to prevent smearing or uneven removal. For jewellery, we pay close attention to fine detail and part presentation because the finish has to look good as well as last.
- Check focus before every run.
- Test at least two setting variations where practical.
- Inspect the sample under good lighting.
- Keep one approved sample as a reference part.
Check The Sample Against Real Production Conditions
Do not stop at a pretty mark. Ask whether the result will hold up in production. If the part will be handled with oily hands, exposed to coastal humidity, washed, packed in bulk or moved through a high-volume line, test for that. A mark that looks fine on a clean bench can behave differently once it faces daily use.
If your site has load-shedding, uneven power or a shared workshop supply, tell us before the trial. We can factor in startup time, power stability and the way the machine will be used during working hours. For plants in Wadeville, Jet Park, Isando, Kempton Park, Boksburg and Alberton, we also consider local setup space, dust and access around the workbench or production line.
- Handling resistance.
- Resistance to cleaning fluids or light abrasion.
- Consistency across repeated marks.
- Ease of loading and unloading parts.
After The Trial: Decide On The Next Step
Once the sample is approved, keep the settings, a photo of the mark and the material details together. That record helps with repeat orders, staff handover and future maintenance. If the trial exposed a fixture problem, poor part positioning or a software setup issue, solve it before placing the machine into full use.
If you are still comparing options, ask for a second sample run with a different part or a different marking depth. Small adjustments at this stage save time later. Our team can help with sample marking, fixture design, focus calibration, software setup and process optimisation, whether you are in Germiston or anywhere else in South Africa.
- Store the approved settings and sample photo.
- Note the operator, date and material type.
- Record any issues found during the test.
- Plan training for the staff who will run the job.