Why firearm component marking needs to be precise
When you mark firearm components, the job is not only about appearance. The mark must stay readable on steel, aluminium, stainless steel and coated parts, and it must hold up to oil, wear and regular cleaning. That is why many workshops and manufacturers choose fibre laser marking for serial numbers, model references, batch codes and legal identification.
For compliance work, consistency matters. A mark that is too shallow can fade, while a mark that is too deep can affect the part finish or leave sharp edges. Good process control helps you place the mark in the correct position every time, with the same depth, size and contrast across a production run.
In Gauteng, the Western Cape or a remote rural workshop, the same rule applies: if the part must be traced later, the mark must still be there. That is what fibre laser systems do well, especially on small components where there is little room for error.
Typical marking setup for a firearms workshop
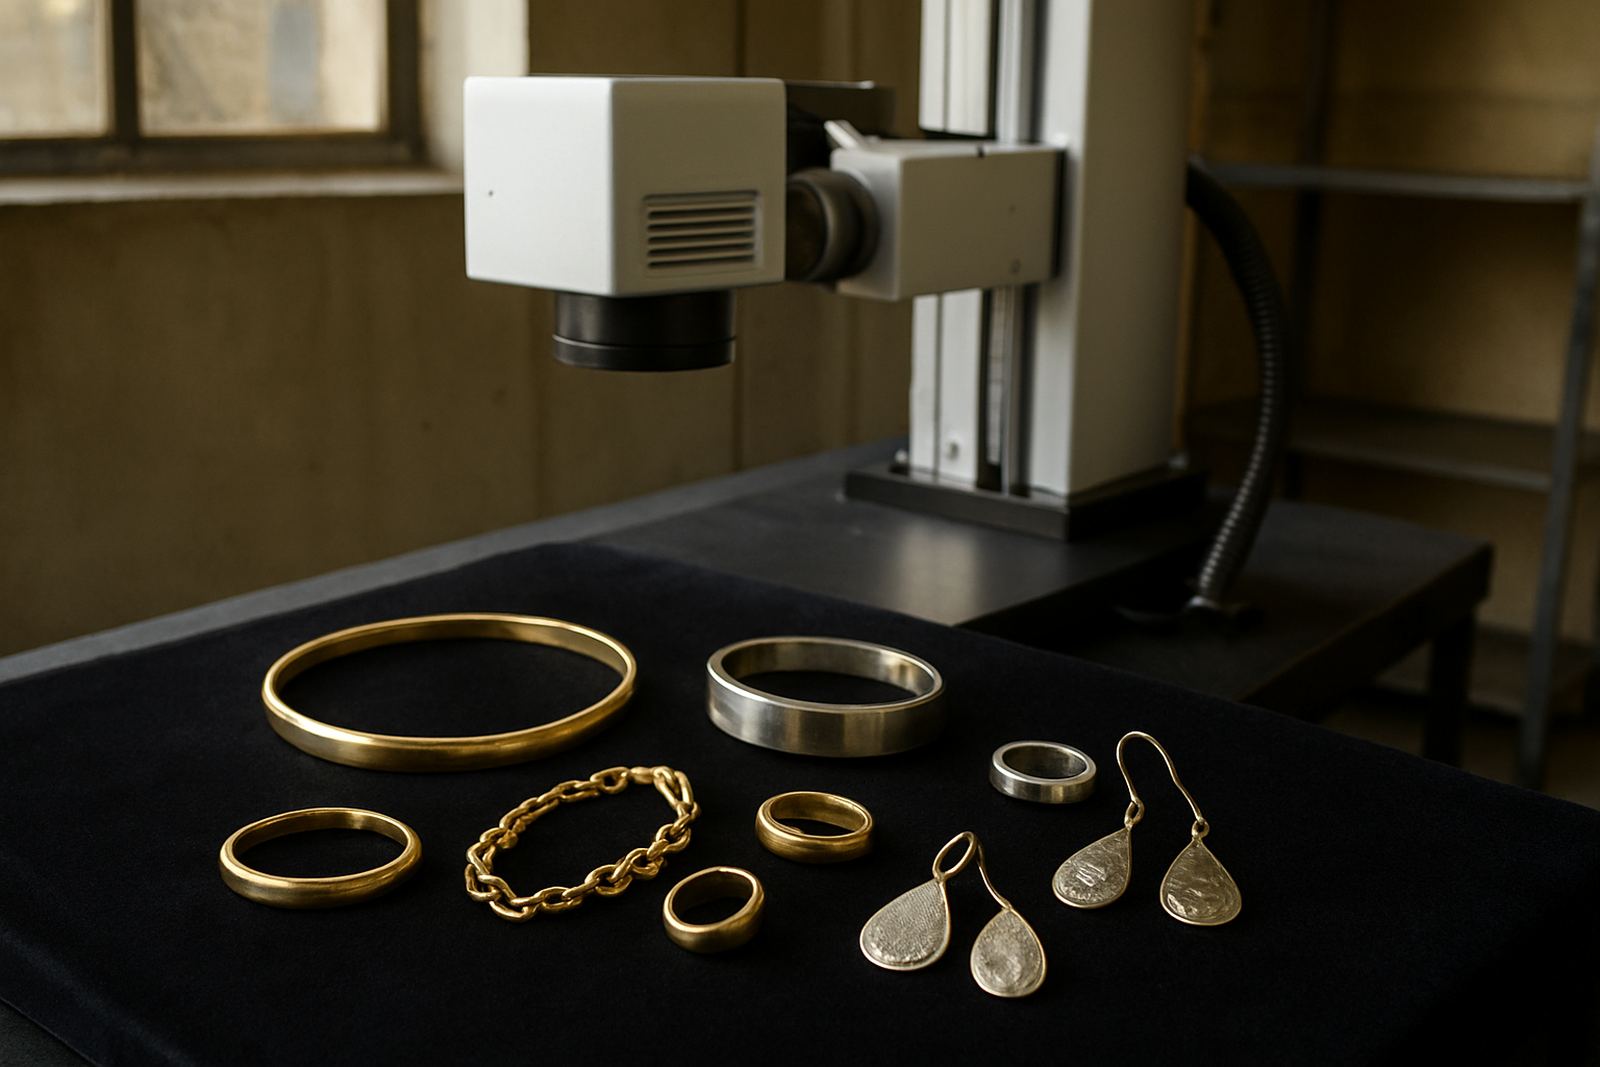
Most firearm component jobs use a compact fibre laser marker with a stable worktable, a rotary fixture for round parts, and a simple vision or alignment aid when repeat placement is needed. Some workshops also need jigs for slides, receivers, barrels, trigger parts or magazine components. The right setup depends on the size of the part and how many pieces you mark in a day.
- 20W to 30W machines suit lighter marking, fine text and low to medium volumes.
- 50W units are often better for deeper marks, darker contrast on metals and higher daily output.
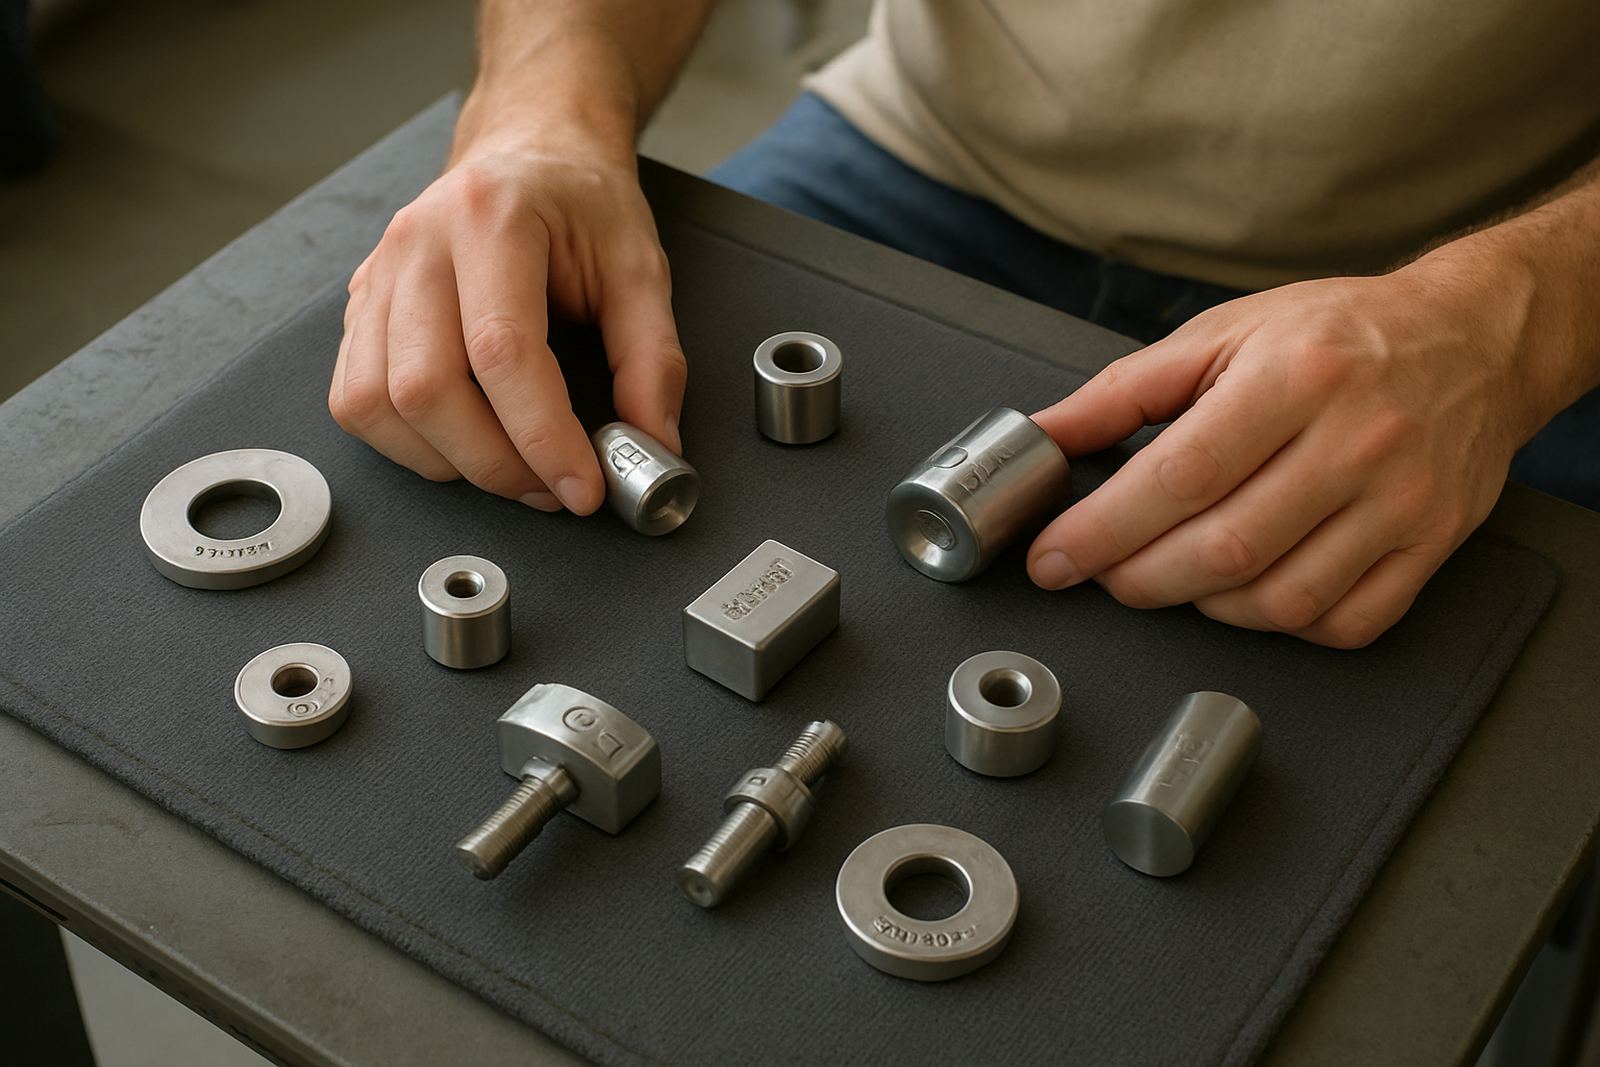
- A rotary attachment helps with cylinders, tubes and ring-shaped parts.
- Dedicated fixtures reduce loading time and cut down on positioning mistakes.
- A small extraction unit can help with smoke and fine residue in enclosed spaces.
If you work from Wadeville, Kempton Park or Boksburg, it is worth planning the machine layout around your incoming work, marking station and post-marking inspection point. This keeps handling short and lowers the chance of mixing parts.
Layout and planning advice for reliable production
A marking station should be placed where staff can load parts safely, inspect them under good light and keep records close at hand. For firearm components, clean handling is important. Oil, dust and cutting fluid can affect marking quality, so many customers set aside a clean bench just for marking and final inspection.
If your site runs during load-shedding, plan for stable power and controlled shutdowns. A fibre laser marker is not a high power machine, but sudden interruptions can still interrupt jobs and shift file settings or position references. A small backup power system for the PC, controller and light source can save time when the power trips.
In coastal areas such as Durban or Gqeberha, humidity can affect stored parts and jigs, so dry storage and regular cleaning matter. In inland areas with fine dust, keep the lens area and fixtures clean. Good planning also helps if you need to split work between a main site and a satellite shop in places like Alberton, Isando or Jet Park.
Common mistakes that cause marking problems
We often see the same mistakes on part marking jobs. The first is choosing a machine that is too light for the required depth, which leads to marks that look fine on day one but wear too quickly. The second is poor fixture design, which causes parts to move slightly during marking. Even a small shift can ruin a serial number or make a reference line hard to read.
Another common issue is using the same settings on different metals. Stainless steel, anodised aluminium and hardened steel do not behave the same way, so the mark settings must be tested on sample parts before production starts. It is also important to confirm the marking area early, because some components have limited flat space and tight legal identification zones.
- Do sample marking before full production.
- Check mark size and placement against the part drawing.
- Use proper clamping for curved or small parts.
- Keep a written record of approved settings for each component type.
- Train one person to verify finished parts before release.
Budget ranges in Rand for South African buyers
Budgets vary depending on output, mark depth and the kind of fixtures you need. A small workshop that marks limited quantities and simple text may only need a basic machine setup, while a manufacturer with batch tracing, deeper marking and custom jigs will need a more complete package. As a working guide, many customers look at entry setups from about R95 000 to R160 000, mid-range production systems from R160 000 to R280 000, and more specialised setups above that when fixtures, extraction and software options are included.
It is also worth planning for installation, operator training, software setup and first spares. Those costs are usually lower than the cost of rework, rejected parts or delayed orders. If you are comparing options, look at the total running cost, not just the machine price. A well planned station often pays for itself through fewer errors and faster throughput.
Installation, training and support from Wadeville
Fibre Laser Marking is based in Wadeville, Germiston and supports clients nationwide with installs and training. Our team works with workshops that need machine installation, operator training, software setup, preventive maintenance, breakdown repairs, spares supply, focus calibration, fixture design, sample marking, process optimisation, site relocation and remote assistance. That support is useful when you are setting up a new line or improving an older marking station.
For firearm component marking, the handover matters. Staff need to know how to position parts, choose the right mark file, check the focus and inspect the result before parts move to the next stage. With the right training, your team can keep marks clean and repeatable without wasting material. If you are in Germiston, Boksburg, Alberton, Isando or further afield, we can help you plan the site and keep production moving.