Why medical instruments need a different marking setup
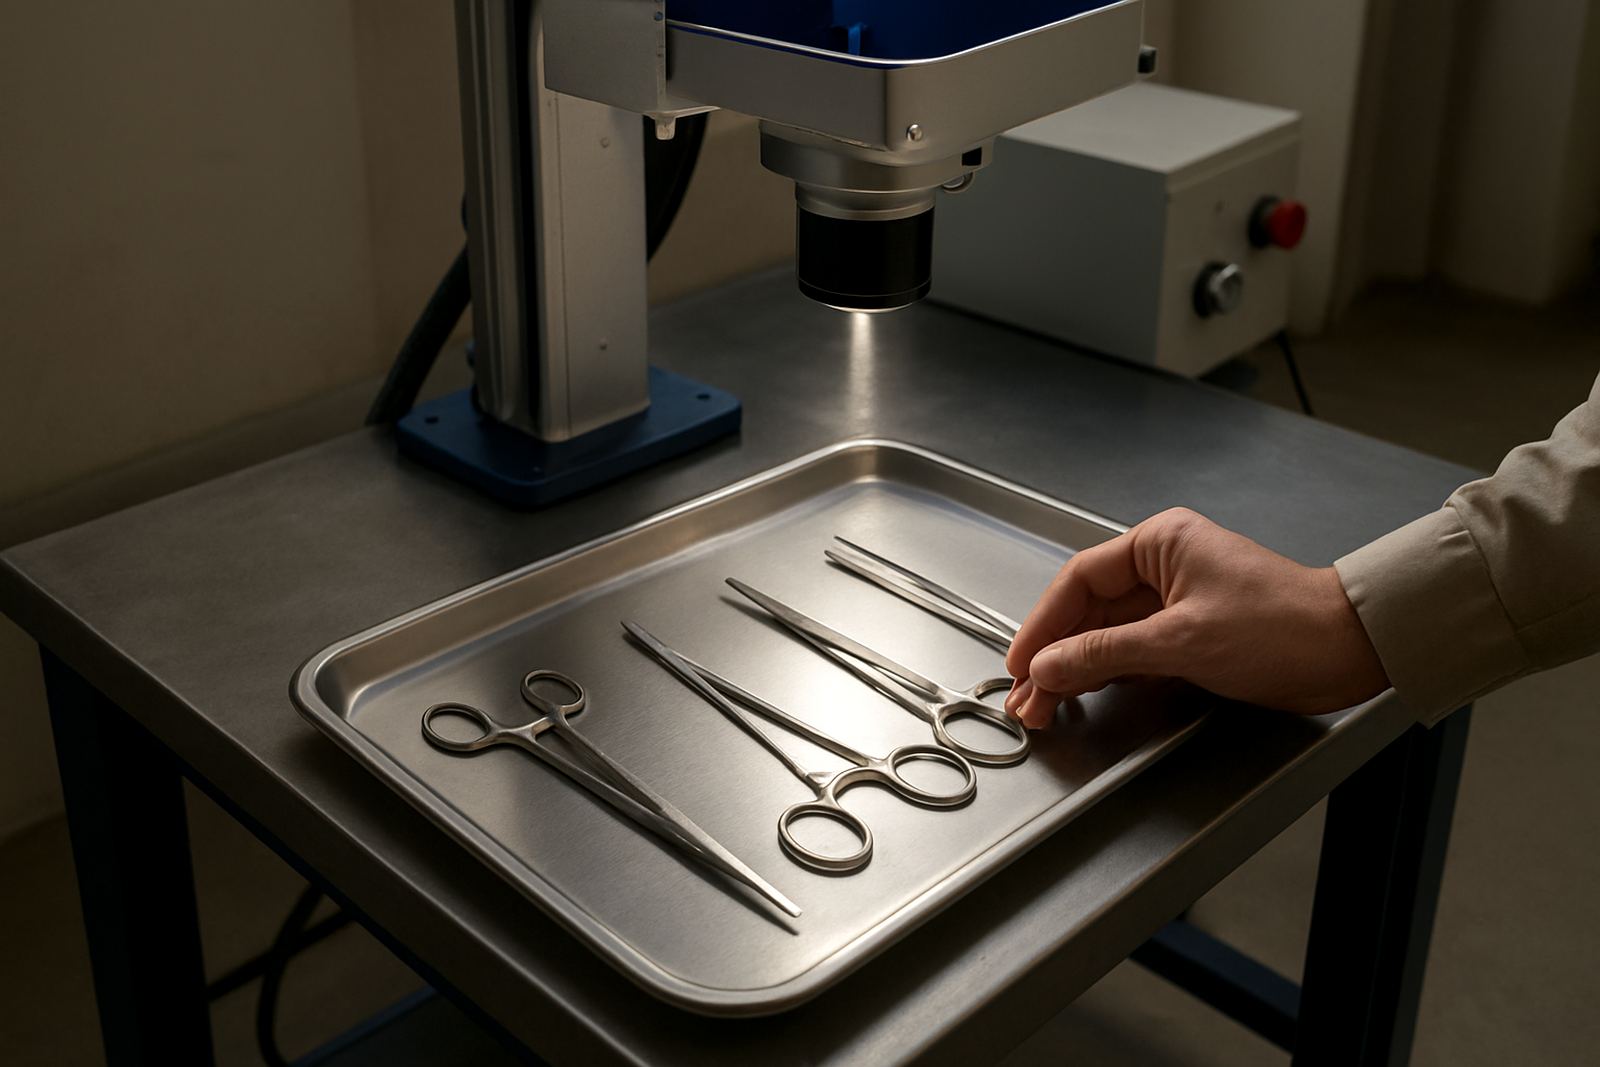
Medical instruments are not like general workshop parts. The mark has to stay readable after repeated washing, autoclaving, handling and chemical cleaning, while the surface itself must remain intact. On stainless steel, a fibre laser is usually the practical choice because it can create sharp marks on small curved items without inks or stickers that wear off.
For hospitals, sterilisation teams, device suppliers and instrument repair workshops, the main aim is traceability. You may need part numbers, batch codes, service dates, calibration IDs or clinic asset marks that are clear enough for staff to read quickly. In many cases the instrument set is small and valuable, so the marking area has to be planned carefully from the start.
This is where sample marking matters. A few test marks on your actual instruments will show whether you need a shallow high-contrast mark, a deeper engraved finish, or a very fine code for traceability. On polished surfaces the focus setting and fixturing make a big difference, and a small change in angle can affect the result more than people expect.
Typical equipment for instrument marking lines
Most medical instrument jobs can be handled with a compact fibre laser marking machine, a stable work table, a rotary attachment for cylindrical pieces and simple fixtures for forceps, clamps, scissors and probes. If you mark trays or larger stainless assemblies, a bigger working area may be useful. For tiny items, a fine focus lens and good positioning tools are more important than raw power.
- Fibre laser marking machine for stainless steel and other metals
- Adjustable fixture plates for flat and curved instruments
- Rotary unit for handles, tubes and round parts
- Fume extraction where marking creates residue or light discolouration
- Software setup for serial numbers, dates and traceability codes
- Sample marking tools for approval before production starts
Power requirements are usually modest, which helps when load-shedding and workshop interruptions are part of the week. Many users keep the marking system on a clean, protected circuit with surge protection and enough backup power for controlled shutdowns. In humid coastal areas, storage and air flow matter too, because condensation can affect optics and machine electronics if the room is poorly managed.
Planning the marking area before the machine arrives
A good layout starts with the instrument size, the quantity per shift and how the parts move between cleaning, marking and packing. If the operator has to carry trays across the workshop, the process becomes slower and the chance of mix ups goes up. A dedicated marking station near receiving or packing often works better than placing the machine deep inside a noisy production floor.
Allow space for a clean bench, a small computer or control unit, sample parts, fixture storage and a tray for marked items waiting for QC. Keep the laser area away from grinding, sanding and oily tasks. Fine marks on medical tools do not need much mess to become hard to read, and once a surface has been contaminated the marking finish can look patchy.
For clinics and device suppliers in Germiston, Boksburg, Kempton Park, Isando and Alberton, we often see better results when the machine sits close to a preparation table and a dedicated inspection point. That arrangement reduces handling and lets one person manage small batches without rushing.
Common mistakes on stainless instruments
The most common mistake is choosing a marking method that looks good on day one but fades after cleaning cycles. Another is using the wrong focus height, which leaves the mark faint on one end and too aggressive on the other. With surgical and dental tools, a poor fixture can cause more trouble than the laser setting itself.
- Marking too close to a polished edge, which distorts the result
- Skipping test marks on the actual instrument grade
- Using loose clamping that allows the part to move
- Choosing text that is too small for normal inspection
- Ignoring post-mark cleaning before packing
- Failing to check how the mark reads after sterilisation
Another issue is overcomplicating the code. If the marking area is tiny, a short serial number or compact data matrix may be more reliable than a long text line. In practice, the best setup is the one your staff can repeat all week, not only on the first few samples. A neat mark that takes too long to produce can slow the whole line down.
Budget ranges in Rand for medical marking jobs
Budget depends on mark size, daily volume, fixture needs and whether you want a simple bench unit or a fuller setup with rotary options and extraction. For smaller workshops marking instruments in batches, a basic fibre laser solution can start from about R180 000 to R280 000, depending on the working area and accessories. A more complete setup with proper fixtures, software setup, sample marking and operator training may sit between R280 000 and R450 000.
For higher-output sites, or where you need special jigs for many instrument types, budgets can move beyond R450 000. That usually makes sense when traceability is a daily requirement and the machine must handle different part shapes without constant resets. Preventive maintenance and a spare lens or key consumables should also be included in the planning, because small downtime costs add up fast.
There is also the hidden cost of poor setup. If the mark is inconsistent, the team spends extra time reworking, checking and sorting stock. A machine that is slightly more expensive upfront can save money quickly if it reduces rejects and keeps the line moving during busy weeks.
Nationwide install support for clinics and workshops
Fibre Laser Marking is based in Wadeville, Germiston and supports installs, training and field service across South Africa. We work with small repair workshops, medical suppliers and larger production sites that need accurate marks on stainless instruments and related parts. Support includes machine installation, operator training, software setup, preventive maintenance, breakdown repairs, spares supply, focus calibration, fixture design, sample marking, process optimisation, site relocation and remote assistance.
Clients can reach us through the enquiry form on our contact page for Wadeville Support, Germiston Support, Jet Park Support, Isando Support, Kempton Park Support, Boksburg Support, Alberton Support and Nationwide Installs. If your site runs with strict cleaning schedules or you need marks checked before a rollout, we can plan the job around your shift pattern and production deadlines.