A floor model made for steadier marking
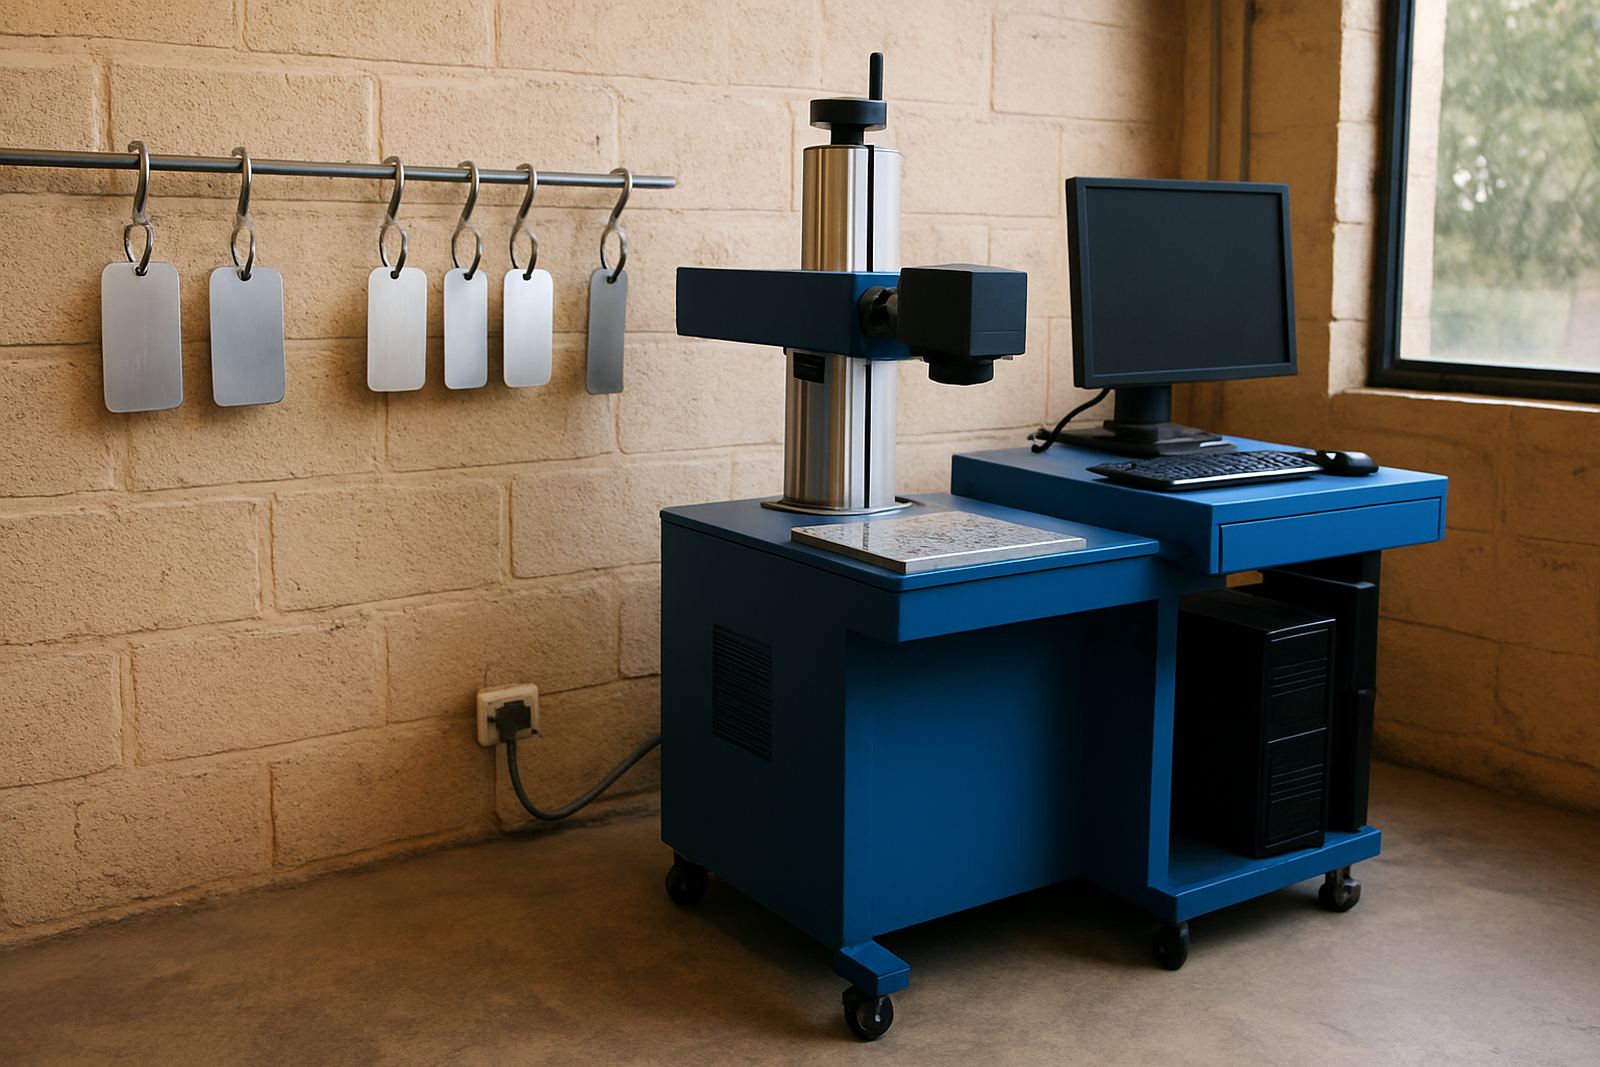
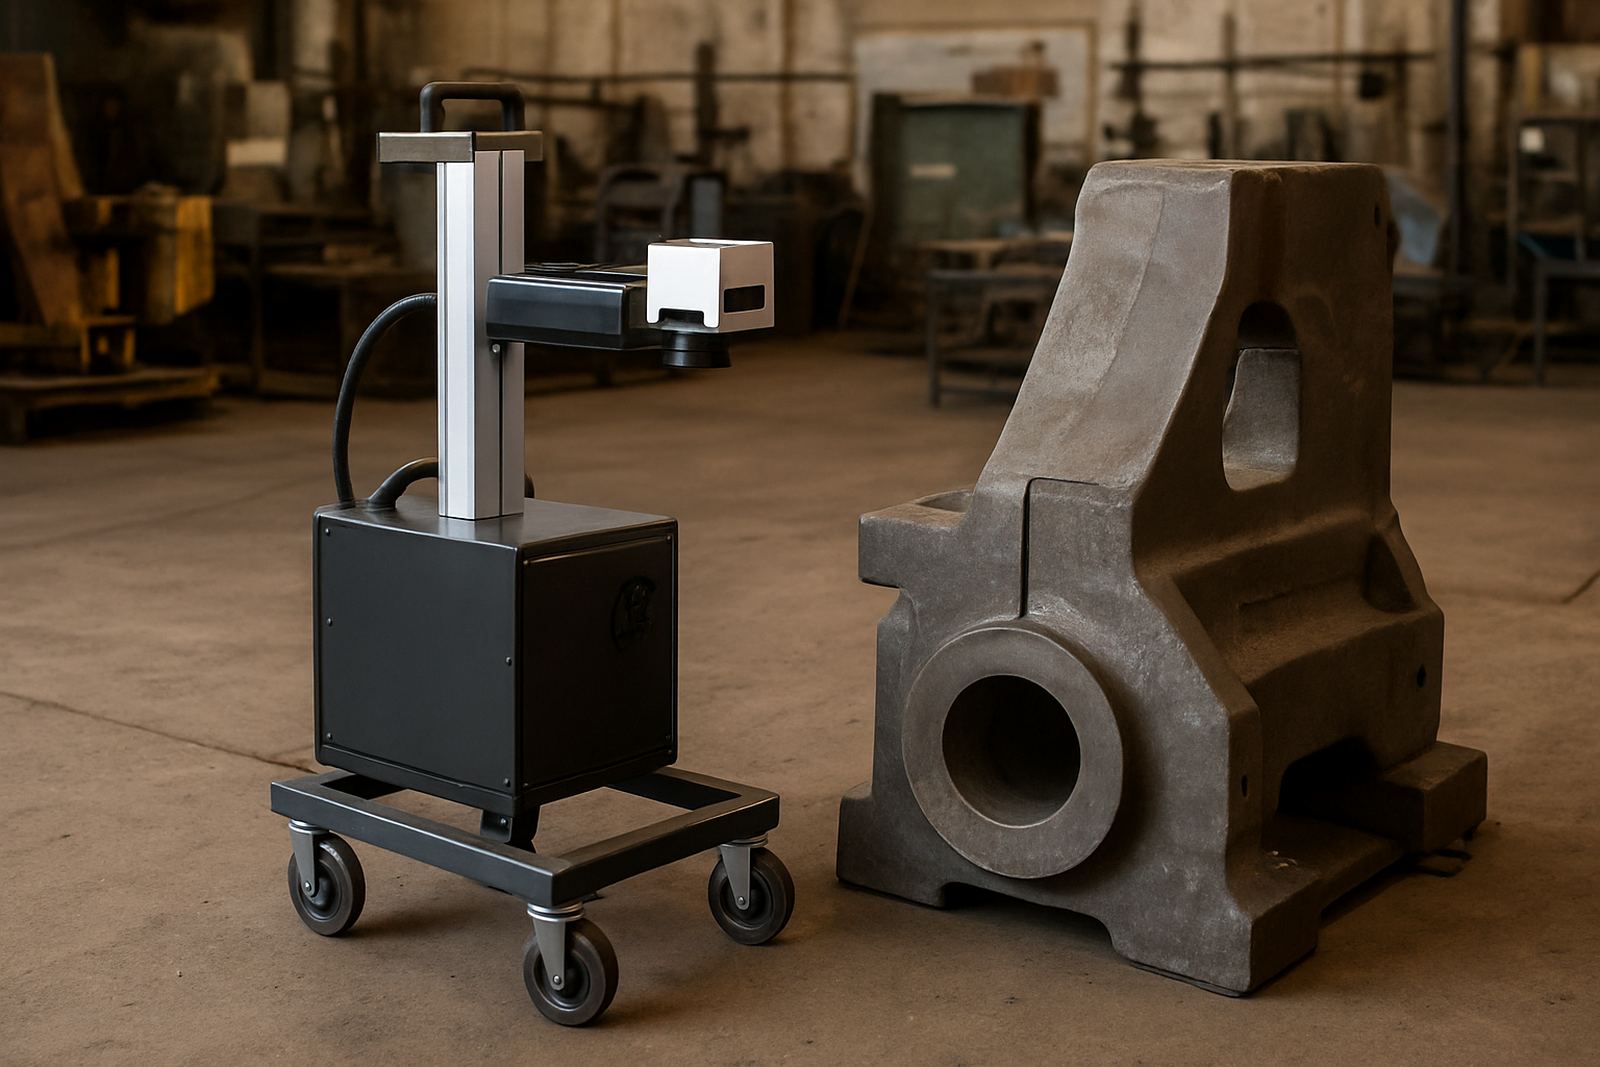
This floor standing fibre laser marker is designed for shops that handle bigger jobs or need more support around the work area. Compared with a small benchtop unit, the floor model gives you more room to set up jigs, hold fixtures and work with longer or heavier parts without crowding the marking area.
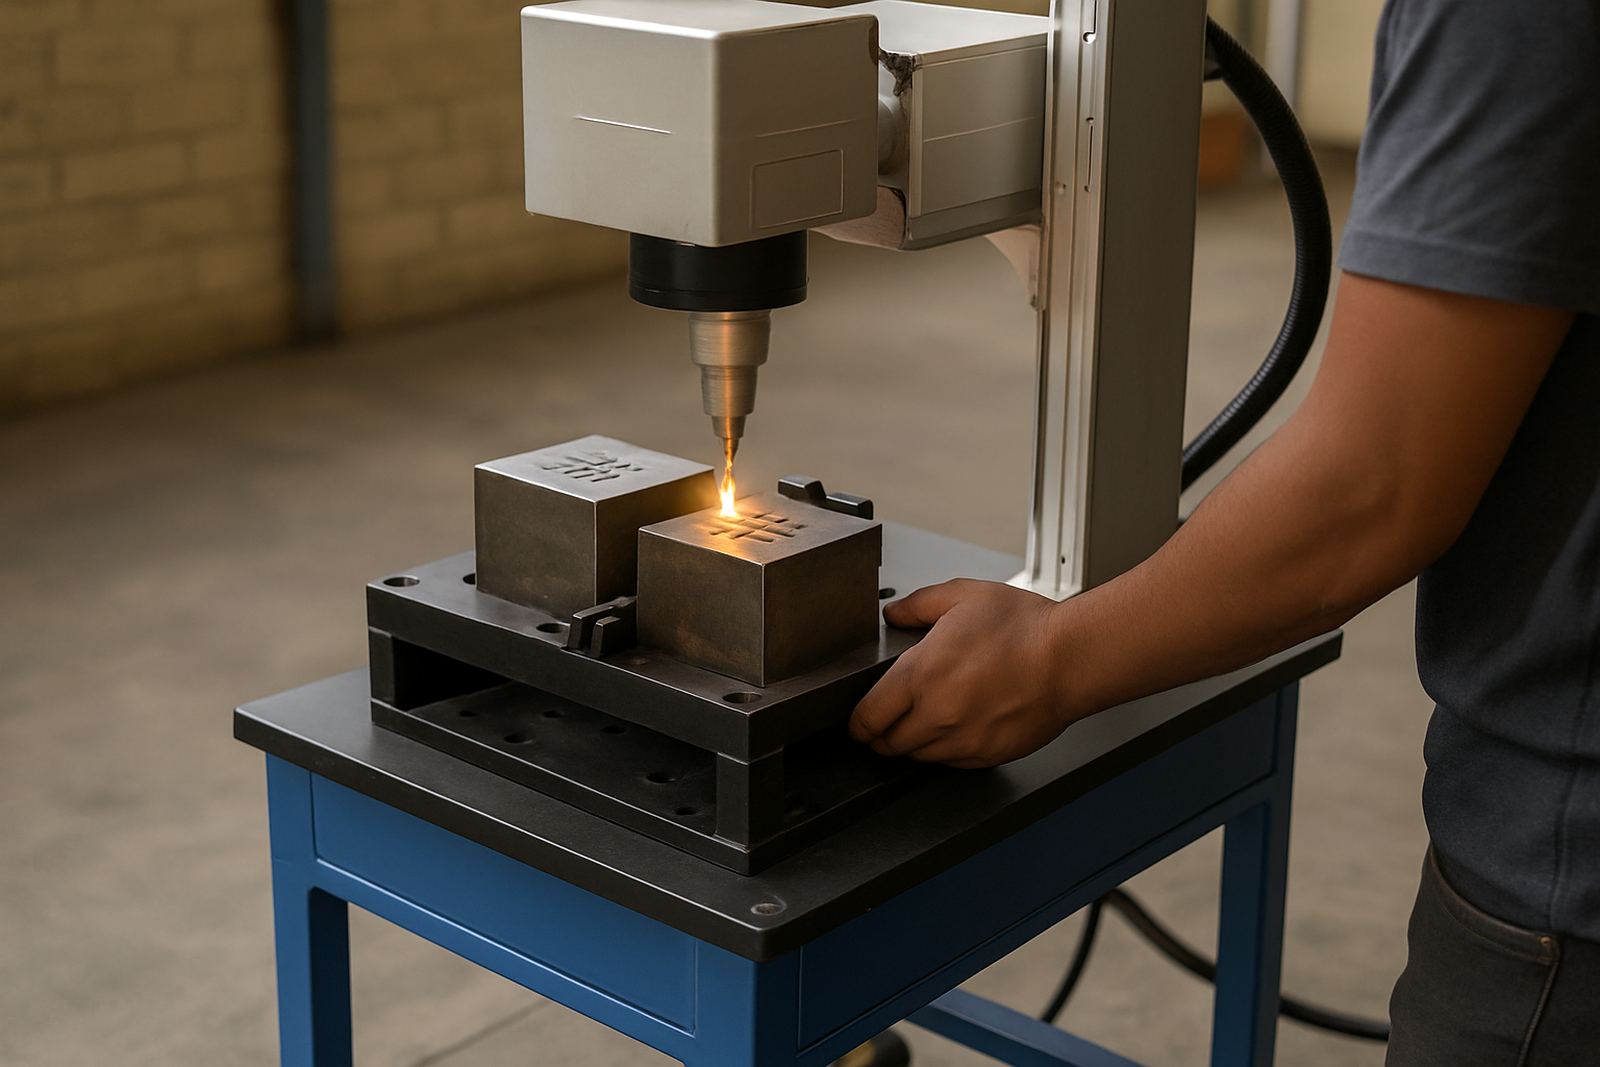
It is commonly used for serial numbers, logos, QR codes, batch codes and fine lettering on stainless steel, mild steel, aluminium, brass and some coated metals. Jewellery workshops also use it for rings, pendants, tags and small components where detail matters and the mark must stay readable after polishing or handling.
Because the machine sits on a floor cabinet or stand, it tends to feel more stable during repeated runs and when the operator is loading many pieces through the day. That extra height also helps in workshops where people need space for baskets, trays, pedals and small parts bins.
Sizes and options to match the job
We supply floor standing marker setups in different working field sizes and laser power ratings so you can choose the right setup for the work you do. A 110 x 110 mm field suits small components and jewellery work, while 150 x 150 mm or 200 x 200 mm fields give more room for plates, tools and larger part layouts.
Power options are usually selected by the material and the speed needed. Lower power units work well for light marking and fine detail, while higher power units suit deeper marking, faster cycle times and harder materials. If you are marking production parts every day, it is worth matching the source power to your cycle time, not only the part size.
- Working field: 110 x 110 mm, 150 x 150 mm or 200 x 200 mm
- Laser power: typically 20 W, 30 W, 50 W or 100 W
- Marker head: galvo type for fast, accurate movement
- Height adjustment: manual or motor-assisted depending on setup
- Fixture support: optional rotary, V-blocks, clamps and custom jigs
Where this machine suits best
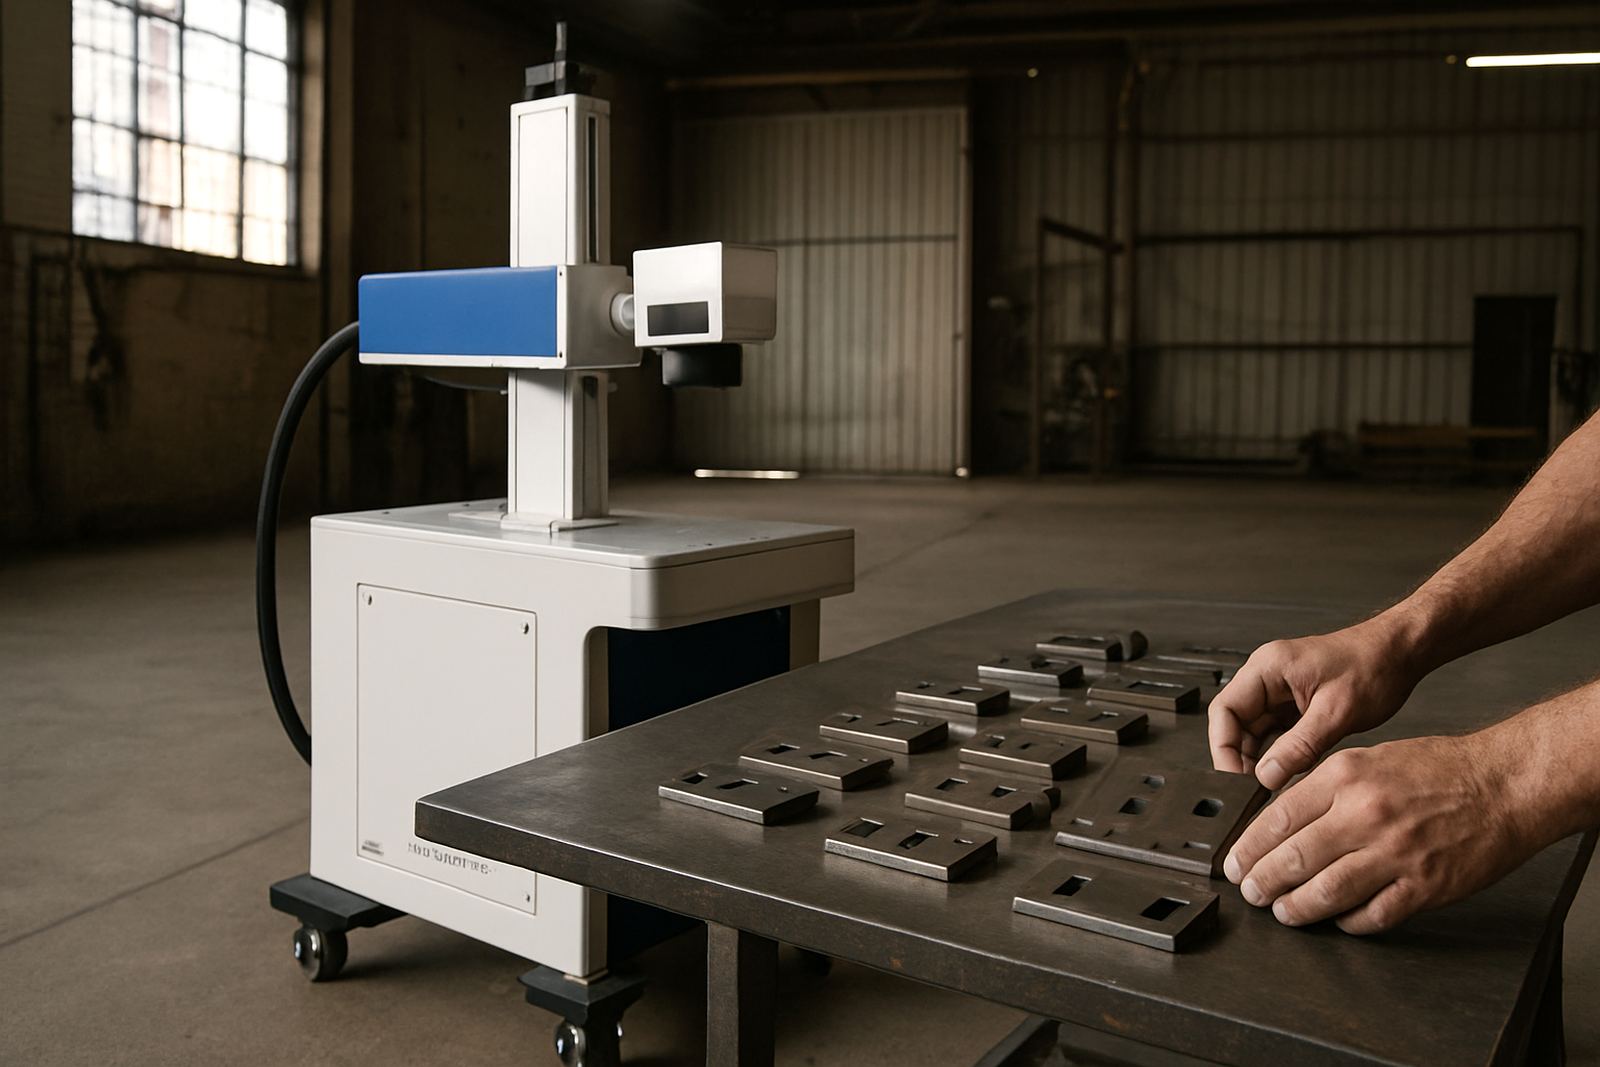
This model suits metal fabricators, contract engravers, security tag suppliers, toolmakers, electronics workshops and jewellery manufacturers that want cleaner identification and better repeatability. It also works well in environments where parts come in batches and each item needs the same marking position every time.
In South African workshops, it is often chosen where floor space is available but bench height is not ideal for bigger parts. If you work with items from Germiston, Wadeville, Jet Park, Isando or the broader East Rand, the floor standing format can make loading easier especially when you are marking components from trolleys or packing tables.
It is also a practical choice for coastal clients where humidity can affect storage and handling. The machine itself should be kept in a dry indoor area, away from grinding dust, oil mist and open wash bays. Marking quality stays more consistent when the room is clean and the part surface is prepared properly.
Installation, power and workshop requirements
Installation is straightforward, but the site should be ready before delivery. The machine normally runs on standard single phase or three phase power depending on the configuration, and we will confirm the supply needed before install. A stable electrical feed matters in load-shedding areas, so many clients add a suitable inverter or backup plan for the computer and marking system.
Unlike thermal marking systems, a fibre laser marker does not need gas for the marking process itself. Some setups may use a small amount of clean compressed air for lens protection or dust management, but this depends on the application. The main requirement is a clean, dry power source and enough space to allow safe loading around the cabinet.
- Allow a level floor with clear access for loading parts and moving the unit into place
- Keep the machine away from vibration, heavy dust and coolant spray
- Provide space for the controller, monitor and operator position
- Plan for proper earthing and a dedicated plug point where possible
- Check that the doorway, gate and route into the workshop can take the cabinet size
Care, servicing and keeping marks consistent
Routine care is simple but important. Keep the lens area clean, check the fixture surfaces for swarf or burrs, and make sure the work area stays free from oil and polishing compound. If you mark jewellery or small metal parts often, fine dust can collect quickly and cause a mark to look inconsistent if it is left too long.
Preventive maintenance should include inspection of the optics, cabling, cooling fans, cabniet condition and software settings. In production, it helps to do a sample mark at the start of each shift so the operator can confirm focus, depth and position before the main run starts.
For workshops in areas like Alberton, Boksburg and Kempton Park, we also recommend planned check-ups if the machine runs every day. That keeps the system aligned, reduces downtime and helps avoid costly breakdown repairs later on.
What to check before you order
Before you place an order, it helps to list the parts you want to mark, the material type and the marking size needed. The right setup for a small jewellery studio is not always the same as a production line marking tool plates or stainless tags. If you are unsure, send sample parts for testing so we can confirm the best focus height, field size and power level.
You should also confirm whether you need a rotary attachment, a custom fixture, barcode or QR code marking, or deeper engraving rather than light surface marking. For frequent changeovers, the right jig design can save time and reduce operator errors. It is better to get that right at the start than to patch it later on.
- Part material and finish
- Mark size, depth and readability requirement
- Daily volume and target cycle time
- Need for rotary marking or custom fixtures
- Available power supply and backup arrangements
- Workshop access for delivery and installation
We support installations and training nationwide from Wadeville, Germiston, with service for surrounding areas and remote assistance where needed. Our team can assist with machine installation, software setup, operator training, focus calibration, sample marking and ongoing servicing so the machine stays productive.
Key facts
| Machine type | Floor standing fibre laser marker |
|---|---|
| Laser source | Fibre laser, 20 W to 100 W options |
| Working field | 110 x 110 mm, 150 x 150 mm or 200 x 200 mm |
| Materials | Stainless steel, mild steel, aluminium, brass and coated metals |
| Power supply | Single phase or three phase, model dependent |
| Typical uses | Serial numbers, logos, QR codes, batch codes and fine engraving |