What Machine Installation Covers
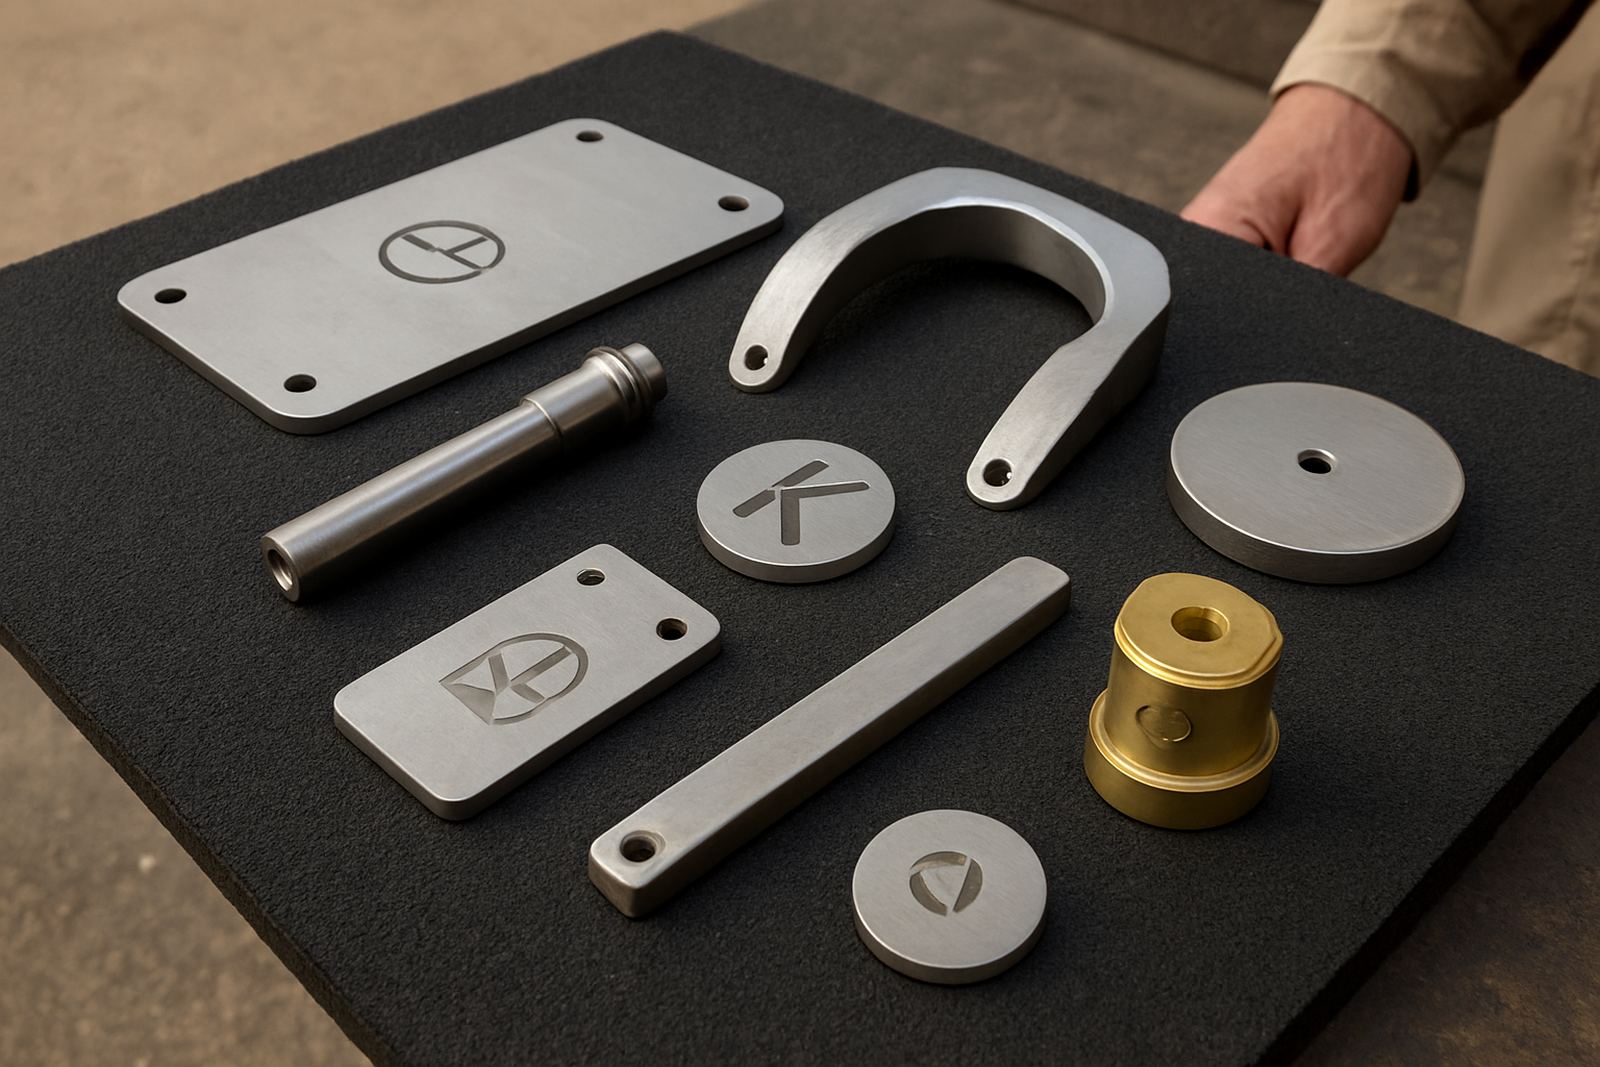
Our machine installation service covers the full start up of a new fibre laser marking system, not just dropping it off and switching it on. We plan the site, position the machine, connect the power and safety hardware, set up the control software, and test the marking results on your actual parts. That includes stainless steel, mild steel, aluminium, brass, titanium and plated components, plus fine work for rings, pendants and small tags.
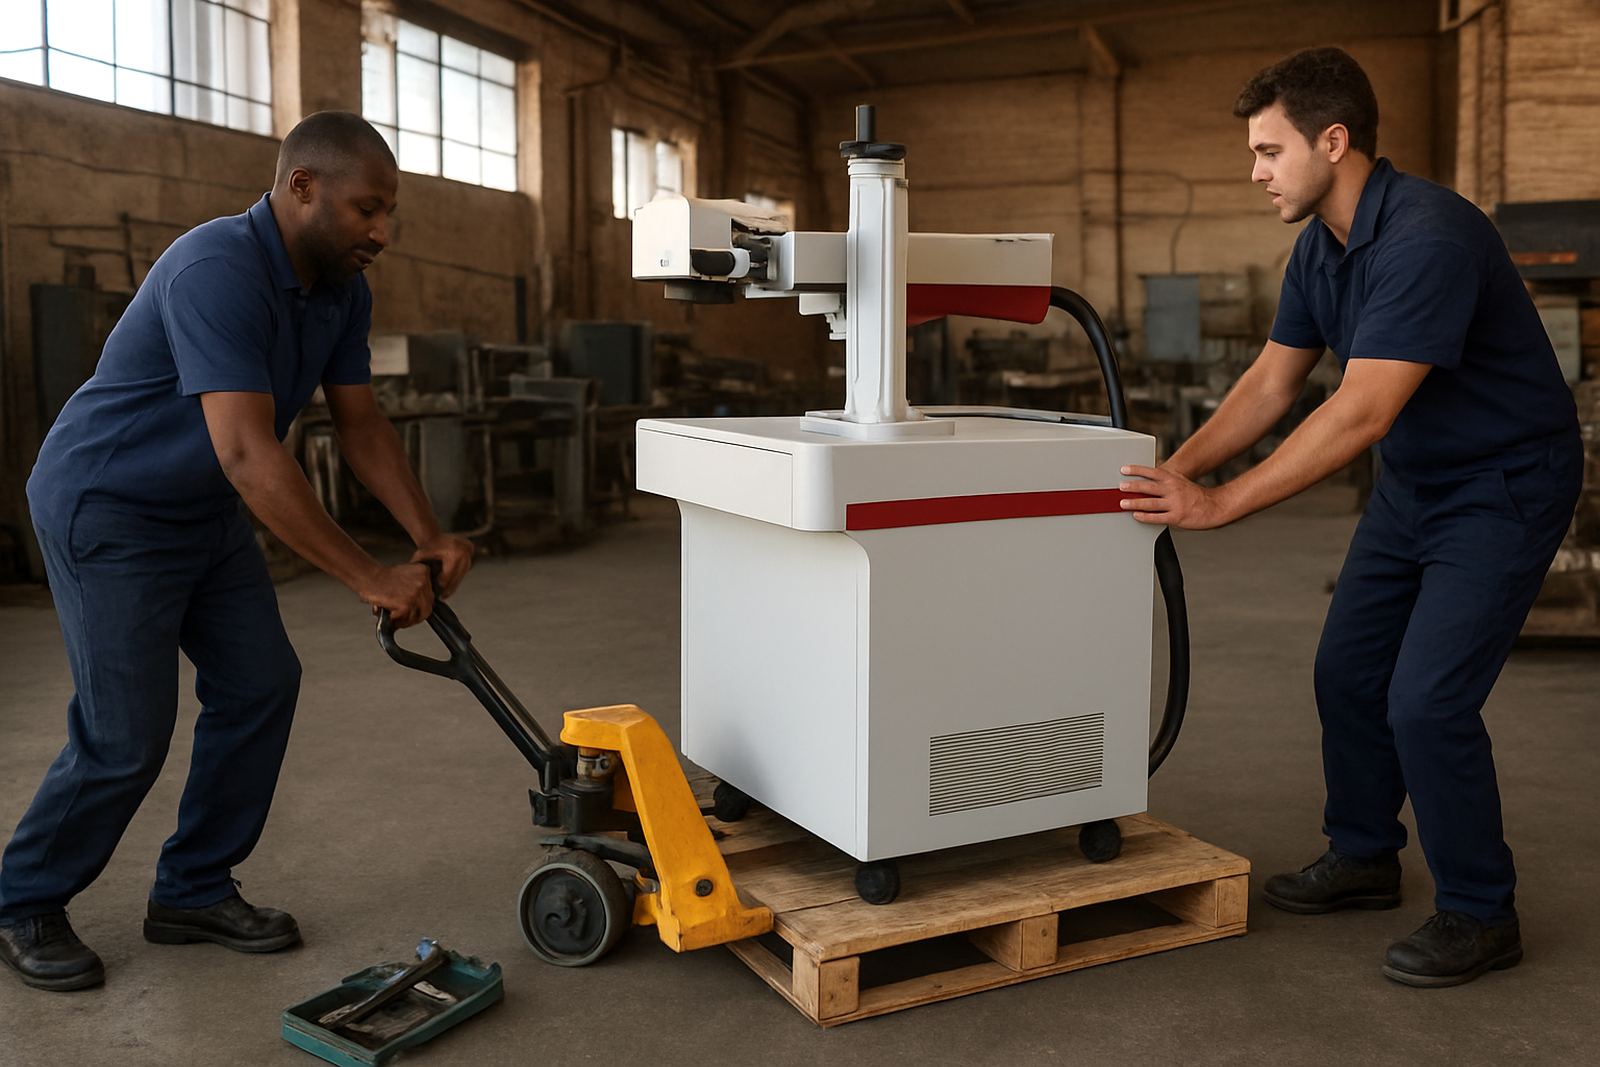
For most sites in Germiston, Jet Park, Isando, Kempton Park, Boksburg and Alberton, installation is arranged once the floor space, power supply and access route are confirmed. On coastal jobs, especially where humidity can affect sensitive parts and packaging, we check how the machine will be stored and used before commissioning. On larger factory floors, we also look at forklift access, bench height and cable routing so the setup is safe and practical for daily use.
- Delivery coordination and site access planning
- Machine placement and levelling
- Power connection and start up checks
- Software setup and first job configuration
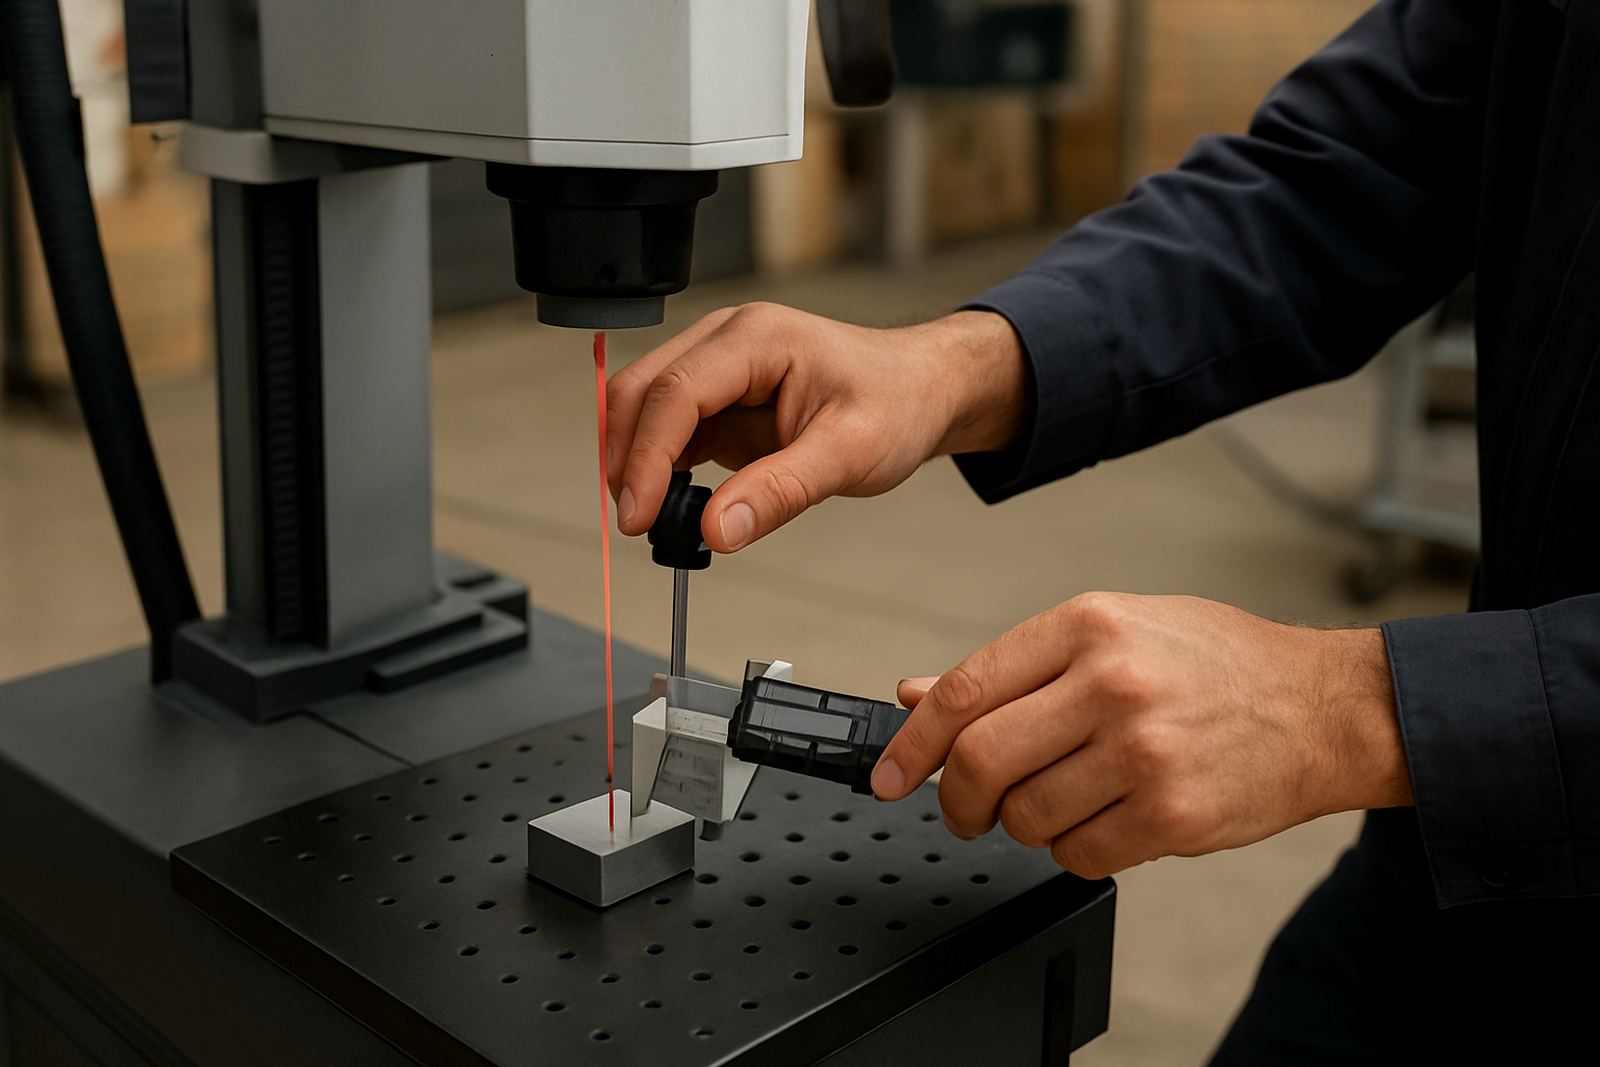
- Focus setting, beam alignment and sample marking
- Operator handover and basic training
How We Prepare The Site Before Arrival
A good installation starts before the machine gets to your premises. We ask for clear photos of the work area, the electrical point, the table or stand where the unit will sit, and any nearby windows, dust sources or vibration issues. That helps us confirm whether the room needs any small changes before commissioning. If the site is in an area with load-shedding, we will also discuss how you want to manage power interruptions, whether through a UPS, generator or scheduled work hours.
The usual checks are simple but important. We confirm that the floor is level, there is enough space for operator movement, and the electrical supply suits the machine and any extractor or rotary fixture. For jewellery work, we pay extra attention to lighting, cleanliness and dust control because small parts show up every flaw. A neat, dry site saves time and reduces call-backs later on.
- Single phase or three phase supply confirmed
- Bench or stand height checked for operator comfort
- Room size and door width checked for safe movement
- Ventilation and dust control reviewed
- Backup power plan discussed where needed
Step-By-Step Commissioning On The Day
On installation day we position the machine, inspect it for transit damage, remove packing materials and complete the physical checks before power is applied. We then verify the lens, galvo head, marking field and software communication. After that we run sample marks and compare line quality, depth and contrast against the job you want to produce.
The commissioning process is practical and hands on. We load test files, set focus, confirm speed and power ranges, and check whether the marking is holding up on the actual material. If you need serial numbers, logos, barcodes or QR codes, we set up those templates on site. For workshop managers, we also show how to save settings so the same result can be repeated later without guesswork.
- Unpacking and visual inspection
- Machine positioning and levelling
- Power up and control panel check
- Software connection and file test
- Material test runs and final sign off
Operator Training Included With Installation
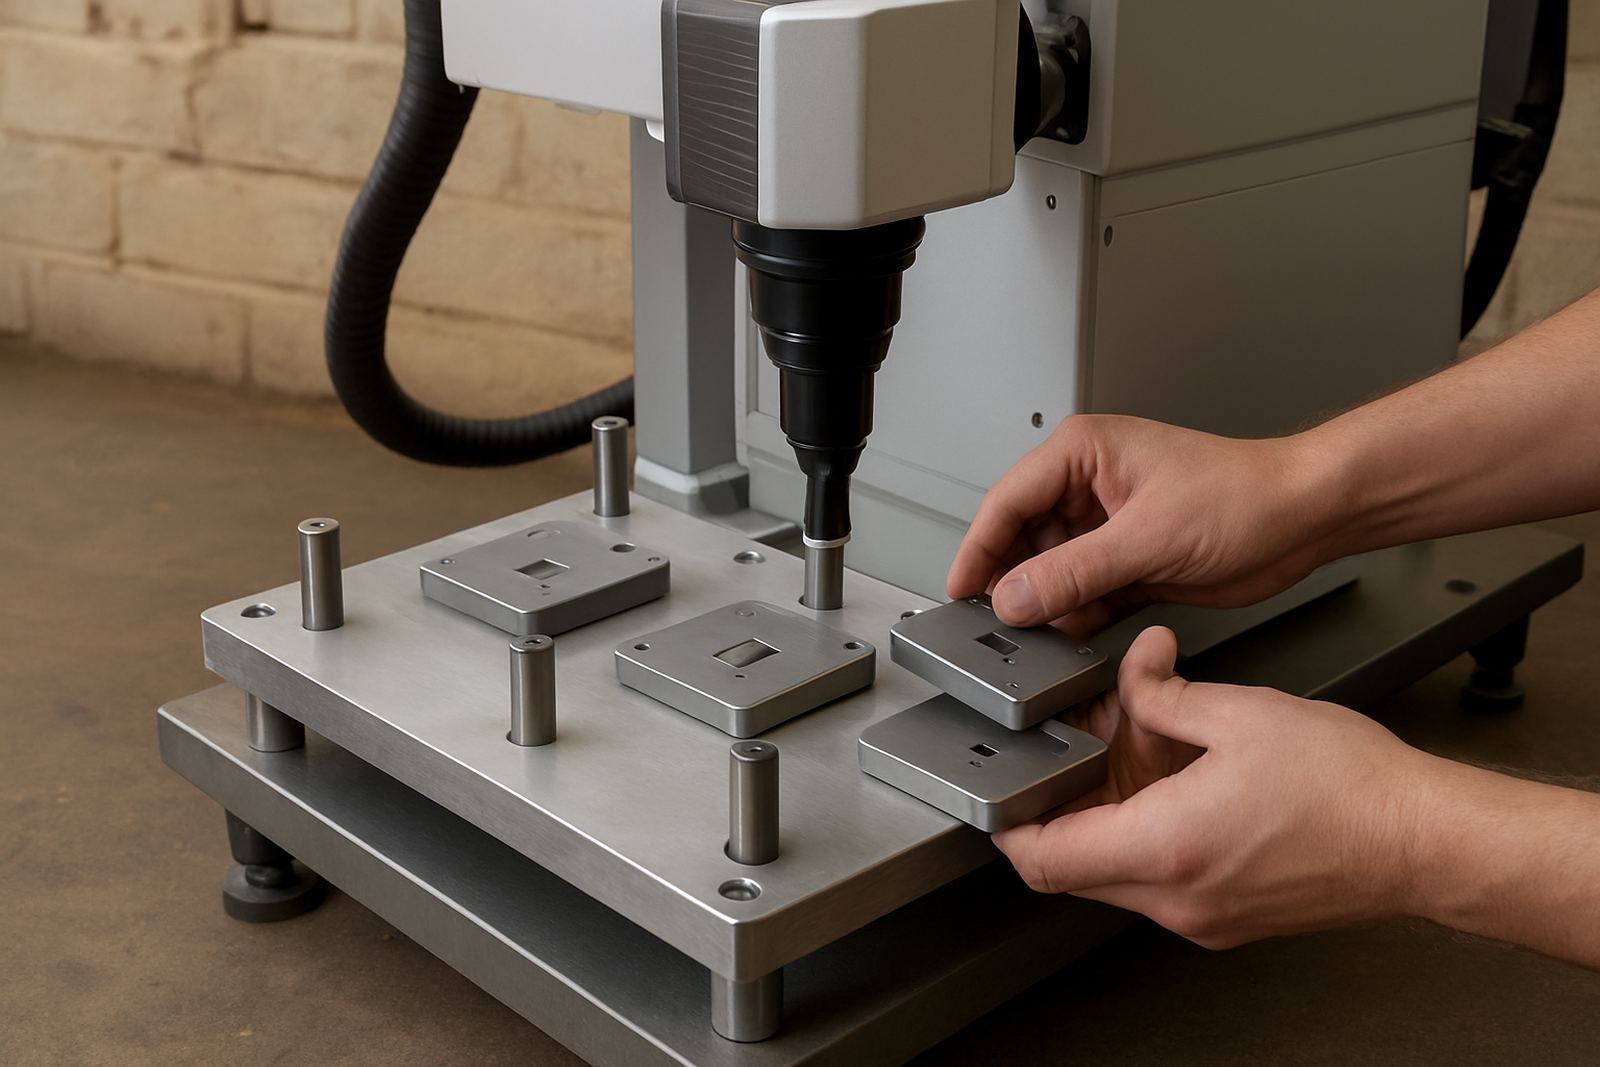
Installation is not complete until your team can run the machine properly. That is why our setup includes basic operator training, usually on the same visit or shortly after if the site is busy. We show your staff how to load files, set the correct focus, choose the right marking parameters and clean the working area without damaging the optics. If your team is marking small components, we also go through fixtures and part placement so every item sits in the same position.
Training is kept plain and practical. We cover daily start up, shutdown, lens care, safe handling and the signs that tell you when settings need attention. Where a business has multiple shifts, we can train the first group and leave a clear handover for the next team so nothing gets lost between shifts. That support matters in plants where production cannot stop for long and where one missed setting can waste a batch.
Typical Turnaround And Scheduling
For Gauteng sites, installation is often arranged within a few working days once the machine is in stock and the site is ready. Further afield, timing depends on route planning, freight access and whether training, sample marking or extra fixtures are needed. We work across South Africa, so a clean site and clear access helps us keep the schedule tight.
Simple installations can be completed in a single day. More involved setups, such as mixed product lines, rotary marking for rings or cylindrical parts, or sites that need process setup for barcodes and traceability, may take longer. If you are relocating an existing unit, allow time for decommissioning, transport, reinstallation and a fresh calibration check. Rushed moves often cause focus drift or alignment problems, so we prefer to do it properly the first time.
Pricing Approach, Warranty And Maintenance Intervals
We price installation according to the machine model, delivery distance, site conditions and the amount of setup required. A straightforward workshop install in Germiston or nearby industrial areas will usually cost less than a remote site that needs extra travel, lift assistance or extended training. If fixtures, rotary units or custom tables are included, those are quoted separately and clearly. There are no vague package surprises.
Maintenance after installation is also planned around real workshop use. We recommend a light check after the first 1 to 3 months of operation, then every 6 months for active production sites. In dusty areas or coastal environments, more frequent inspection may be sensible. That schedule usually covers lens cleaning, focus checks, cable inspection, software review and a short test mark to confirm the machine is still producing the same result. If a site runs long hours or handles fine jewellery detail, a quicker first follow up can help catch small issues before they slow production.
- Pricing based on machine type and travel distance
- Extra fixtures and custom jigs quoted separately
- First maintenance check at 1 to 3 months
- Routine service every 6 months, or sooner in harsh conditions
- Support available for remote guidance between visits
Proper fibre laser installation for South African sites
A fibre laser marking machine can only perform as well as its setup. When the site is prepared properly, the operator is trained, and the markings are tested on real stock, you get cleaner output, less downtime and fewer rejected parts. That matters whether you are supplying machine shops, medical component lines, jewellery counters or general fabrication work. We know South African conditions too, from unstable power to hot factory floors and busy loading bays.
Our Wadeville base gives us a practical starting point for Gauteng, and we install nationwide with the same focus on neat work and correct commissioning. If your business needs one machine or several, we handle the job in a way that suits your floor space, your staff and your production targets. The aim is simple: switch on, mark accurately, and get on with the day.
Key facts
| Machine types | Desktop and enclosed fibre laser marking systems |
|---|---|
| Marking materials | Stainless steel, mild steel, aluminium, brass, titanium, plated metals and jewellery alloys |
| Marking field options | Common field sizes from 70 x 70 mm to 300 x 300 mm, depending on model |
| Power supply | 220 V single phase on most workshop systems, with three phase planning where specified |
| Installation scope | Delivery, placement, levelling, software setup, commissioning and basic operator training |
| Typical turnaround | Same day for simple Gauteng installs, longer for remote sites or complex setups |