Why sample marking matters before you run a full batch
On metal parts and jewellery, a marking that looks fine on screen can behave differently on stainless steel, brass, anodised aluminium or plated items. Grain direction, curvature, surface finish and even oxide layers can change the outcome. A sample run shows you what the mark will really look like on the part, not just in theory.
It also saves time and scrap. Instead of adjusting settings after hundreds of pieces are already marked, we test on a small quantity first and agree on the result. For jobbing shops in Germiston, Jet Park, Isando and Kempton Park, that can make a big difference when orders change quickly.
What we check during a sample marking run
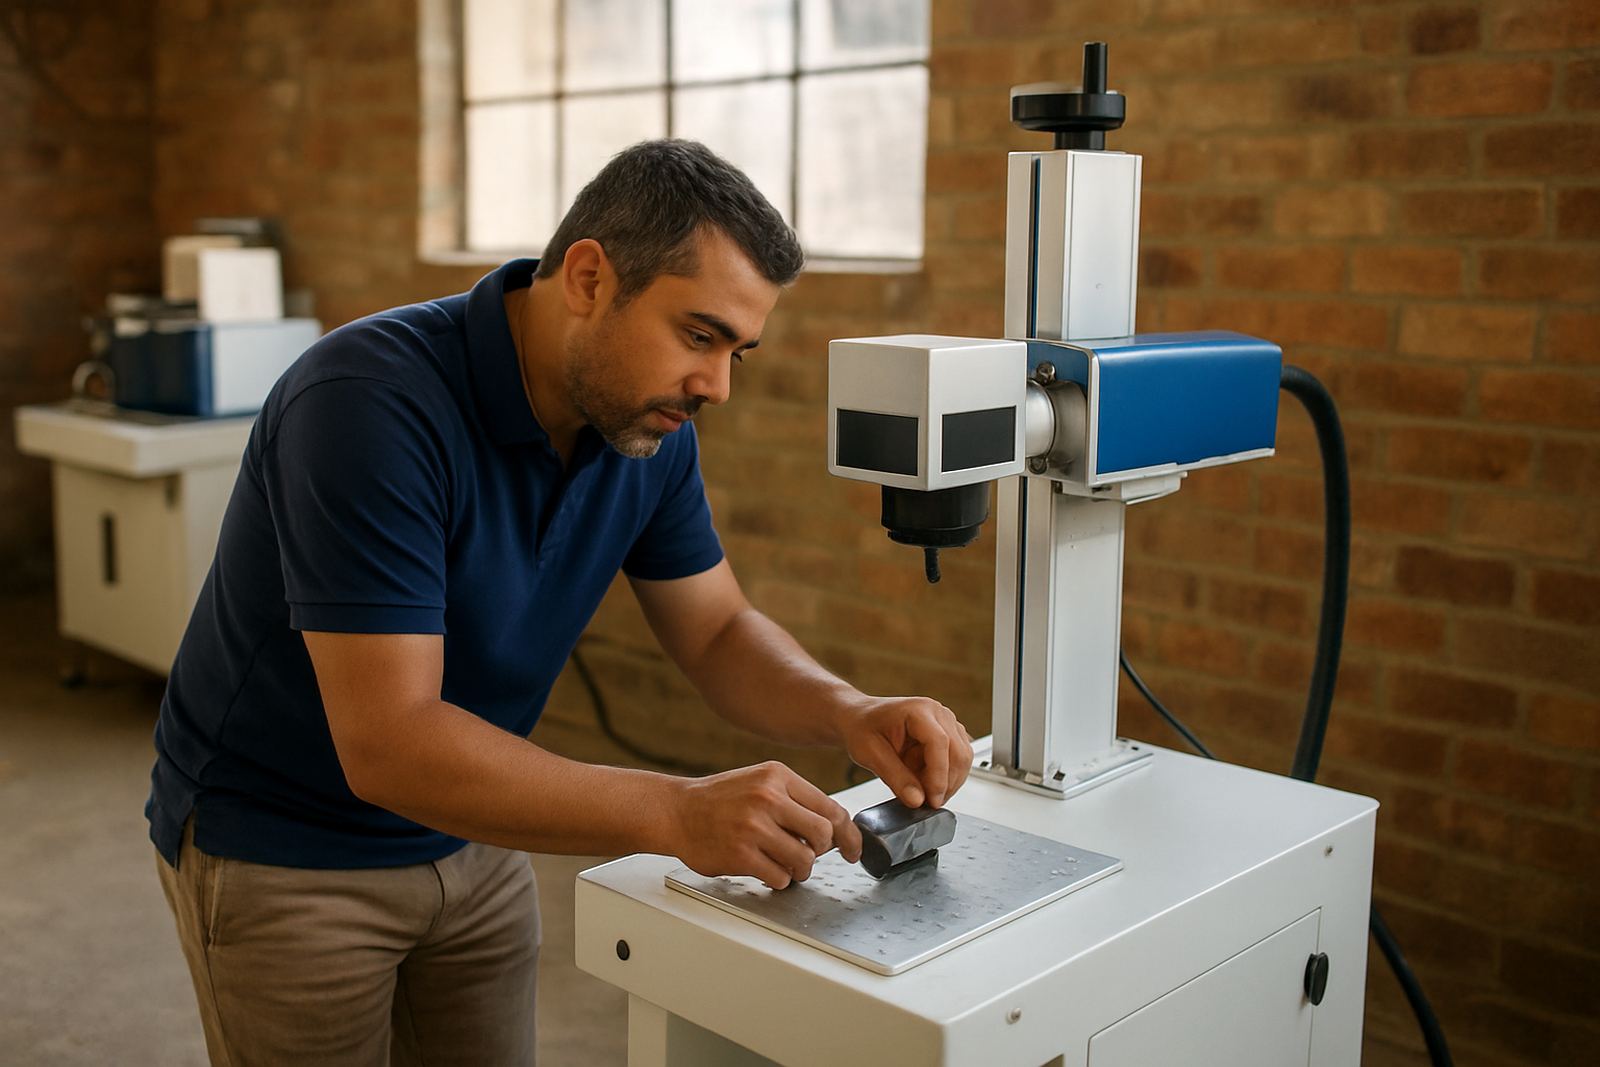
We use your actual parts where possible, because part shape and material matter. A flat test coupon can help, but it is not a true substitute for the real item. During the trial, we check the mark against the use of the part and the environment it will go into.
- Mark clarity on the chosen metal or jewellery item
- Line thickness, spacing and small text readability
- Depth and contrast for engraving or dark marking
- Positioning on curved, angled or small surfaces
- Resistance to handling, cleaning and normal wear
- Consistency across a few samples before full production
If your parts need serial numbers, logos, barcodes or fine detail, we can test each element separately. That way you do not discover later that a logo is too dense, or a barcode scans badly after finishing.
How to prepare parts for a sample test
Bring or send the exact part you plan to mark if at all possible. If the item has a coating, polish, anodised layer or protective film, let us know before the test. We also need to know whether the part will be marked before or after heat treatment, assembly or final cleaning.
- Send 3 to 10 sample pieces if you need a few setting options tested
- Include your drawing, sketch or a clear photo with dimensions
- State the material type and any surface treatment
- Tell us the required mark size, font or logo detail
- Confirm whether the finish must stay cosmetic, or can be functional only
For jewellery, small changes matter even more. A mark on the inside of a ring, clasp or tag must stay neat and legible without affecting the item feel. We often test more than one position before the final decision is made.
Our sample marking process step by step
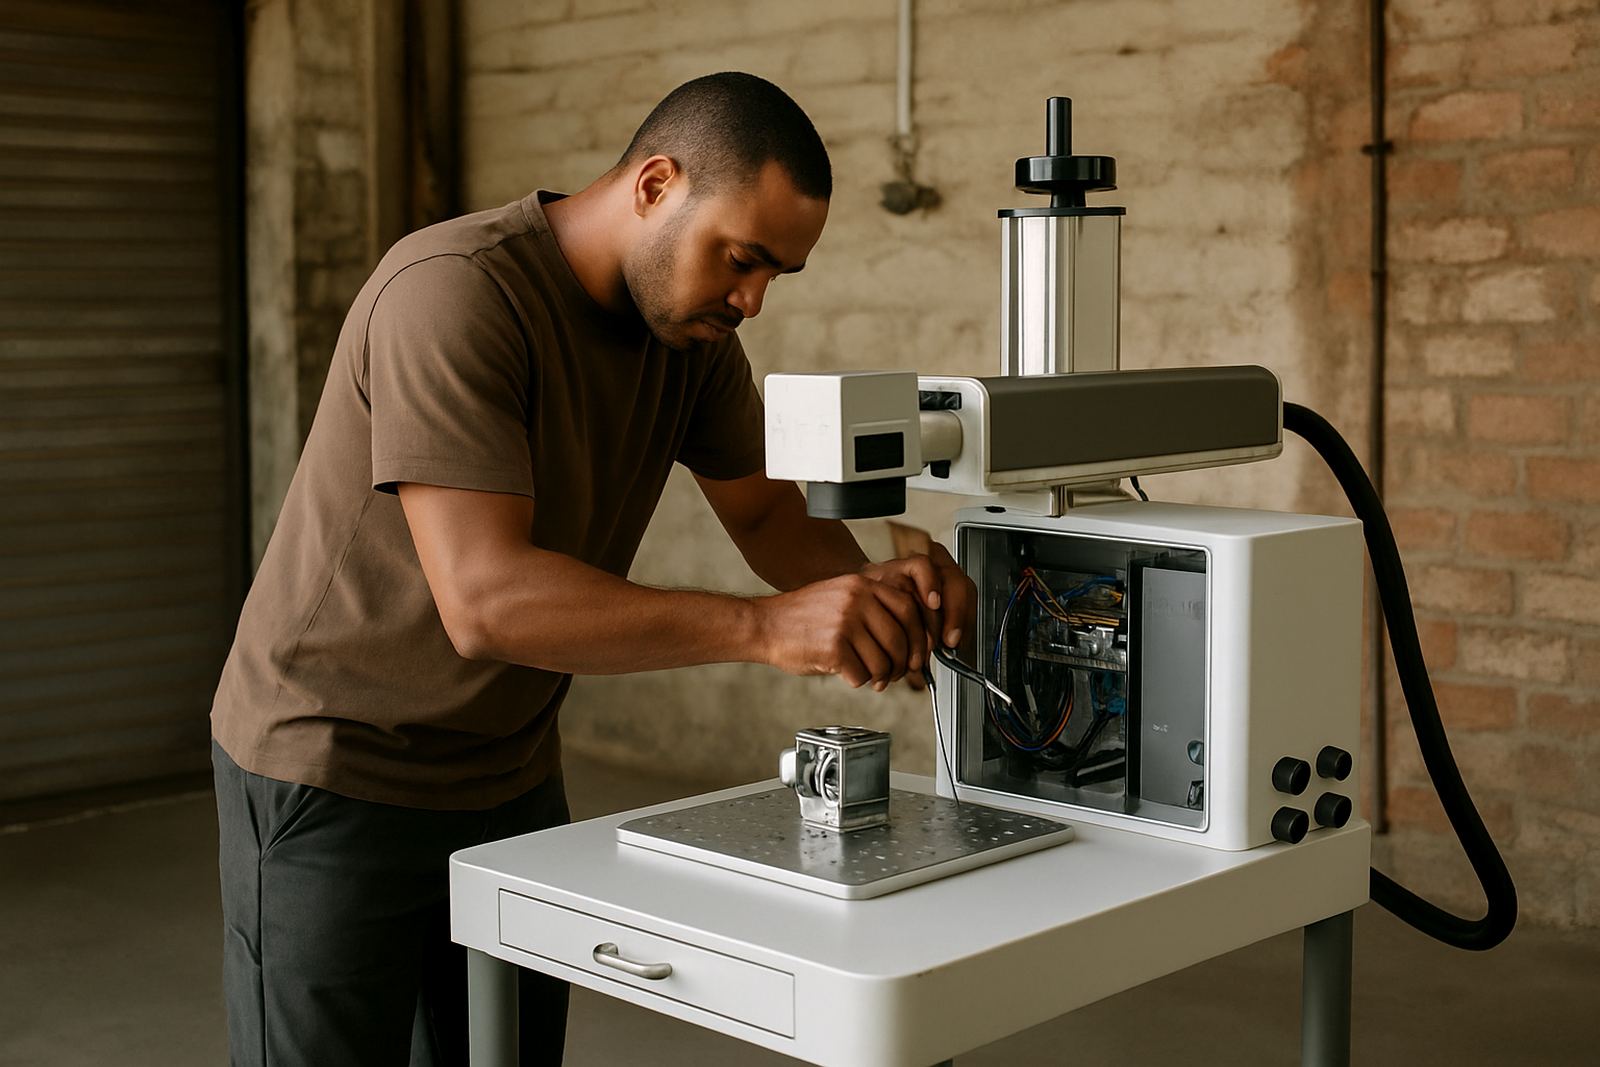
First, we discuss the part, material and the purpose of the mark. Then we set up the machine parameters for the trial. This may include marking speed, power, frequency, focus and line spacing, depending on the material and the finish you need.
Next, we run the sample and inspect it with you or send clear feedback if you are off site. If the first attempt is close but not perfect, we adjust and run again. Small changes can have a big effect, so we do not guess when a setting needs tightening.
- Review the part and the mark requirement
- Prepare a sample piece and confirm the marking position
- Run the first trial and inspect the result
- Adjust the settings and repeat if needed
- Approve the sample for production or further testing
When the sample is approved, we can note the settings for future batches. That helps keep repeat work consistent, especially when the same item returns months later.
Sample marking for workshops, factories and jewellery work
We support small workshops, subcontractors and larger manufacturers across South Africa. Some clients need one-off samples for a new product launch, while others need trial marks for ongoing work with strict quality checks. We handle both.
In coastal areas, humidity can affect storage and cleaning between marking and packing, so it is worth checking how the part looks after a short wait. In busy production spaces where load-shedding and rushed changeovers are common, sample marking helps reduce avoidable errors and rework.
- New product samples before tooling changes
- Supplier approval for part identification marks
- Jewellery branding on rings, pendants and tags
- Serialisation and traceability testing
- Before and after checks for surface finish changes
How to book sample marking support from Wadeville
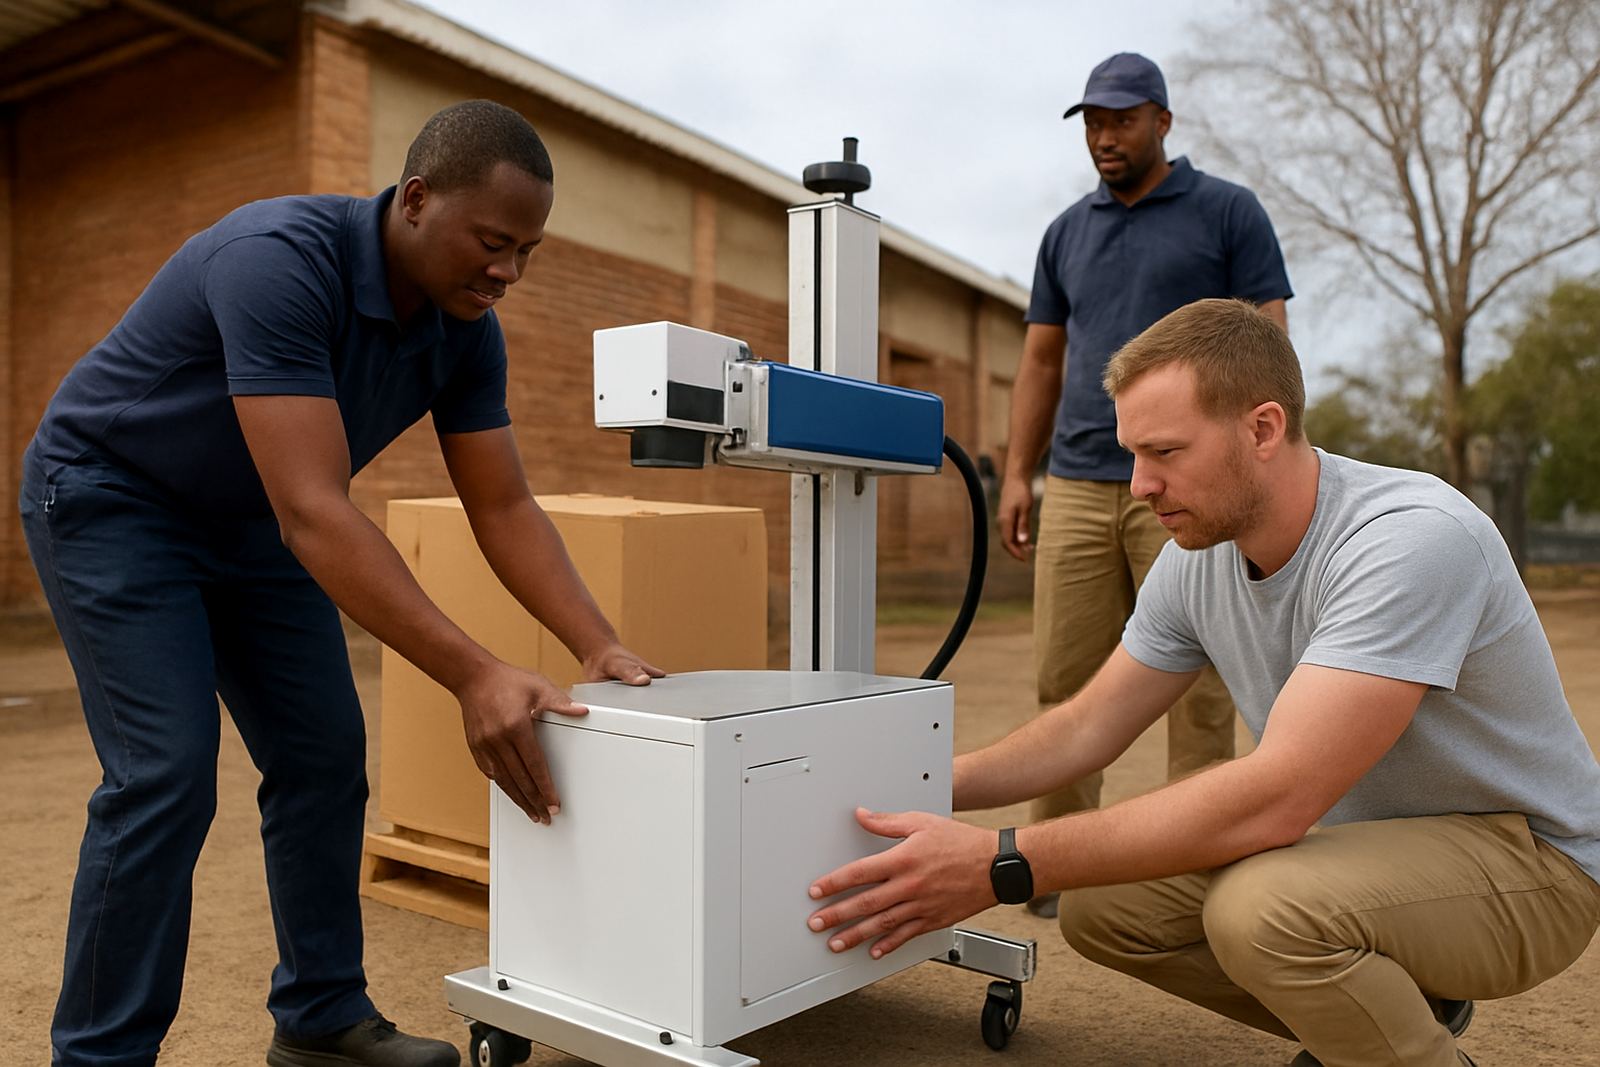
Our base is in Wadeville, Germiston and we support clients nationwide, with installs and training available on site where needed. To start a sample marking request, use the enquiry form on our contact page and tell us what part you want tested, how many samples you have, and what finish you are aiming for.
If the part is urgent, mention the deadline and the town or site location so we can plan properly. We regularly support clients in Alberton, Boksburg, Isando, Jet Park and Kempton Park, as well as further afield. Material, mark content and part size up front let us set up the trial and get you a sample you can sign off.